page 16
... print your plane | www.3DLabPrint.com
F1
26,2g/0.92oz LW
F2
24,4g/0.86oz LW
F3
13,9g/0.49oz LW
F4
10g/0.45oz LW
ball pen spring
motor mount
5,1g/0.18oz PET
rubber band holders
3,0g/0.11oz PET
engine valves
12,2g/0.43oz PLA
cooler & exhausts
3,0g/0.11oz PLA
cover 1
1,8g/0.06oz LW
cover lock
0,5g/0.02oz LW
cover 2
5,3g/0.19oz LW
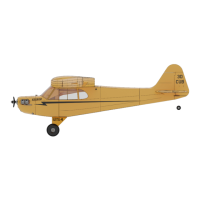
5.2.1 Fuselage assembly Piper J-3 Cub
You can use snap knife for cleaning the surface of printed parts, but mostly it is not necessary.
Glue fuselage parts F1-F4 with CA glue together. The new 3DLabPrint lock system will help
you. Check the alignment of F4 part compared to the wing before glueing. Do not glue
rudder part before tail and elevator assembly. Use any hot tool to remove the unnecessary
material from F4 tail part for the elevator arm.
Insert printed rods making a rubber band wing holders. No need to glue it for easy
replacement. Wall thickness should be 0.55-0.67.
For fuselage cover arm use a ball pen spring. Put it to the part 2 and glue with part 1 together.
See video guide Piper J-3 Cub fusselage assembly
you will need: CA Glue - medium + Activator for CA Glue
Snap knife, SandPaper Some cloth for wiping CA glue...
BallPen Spring
 Loading...