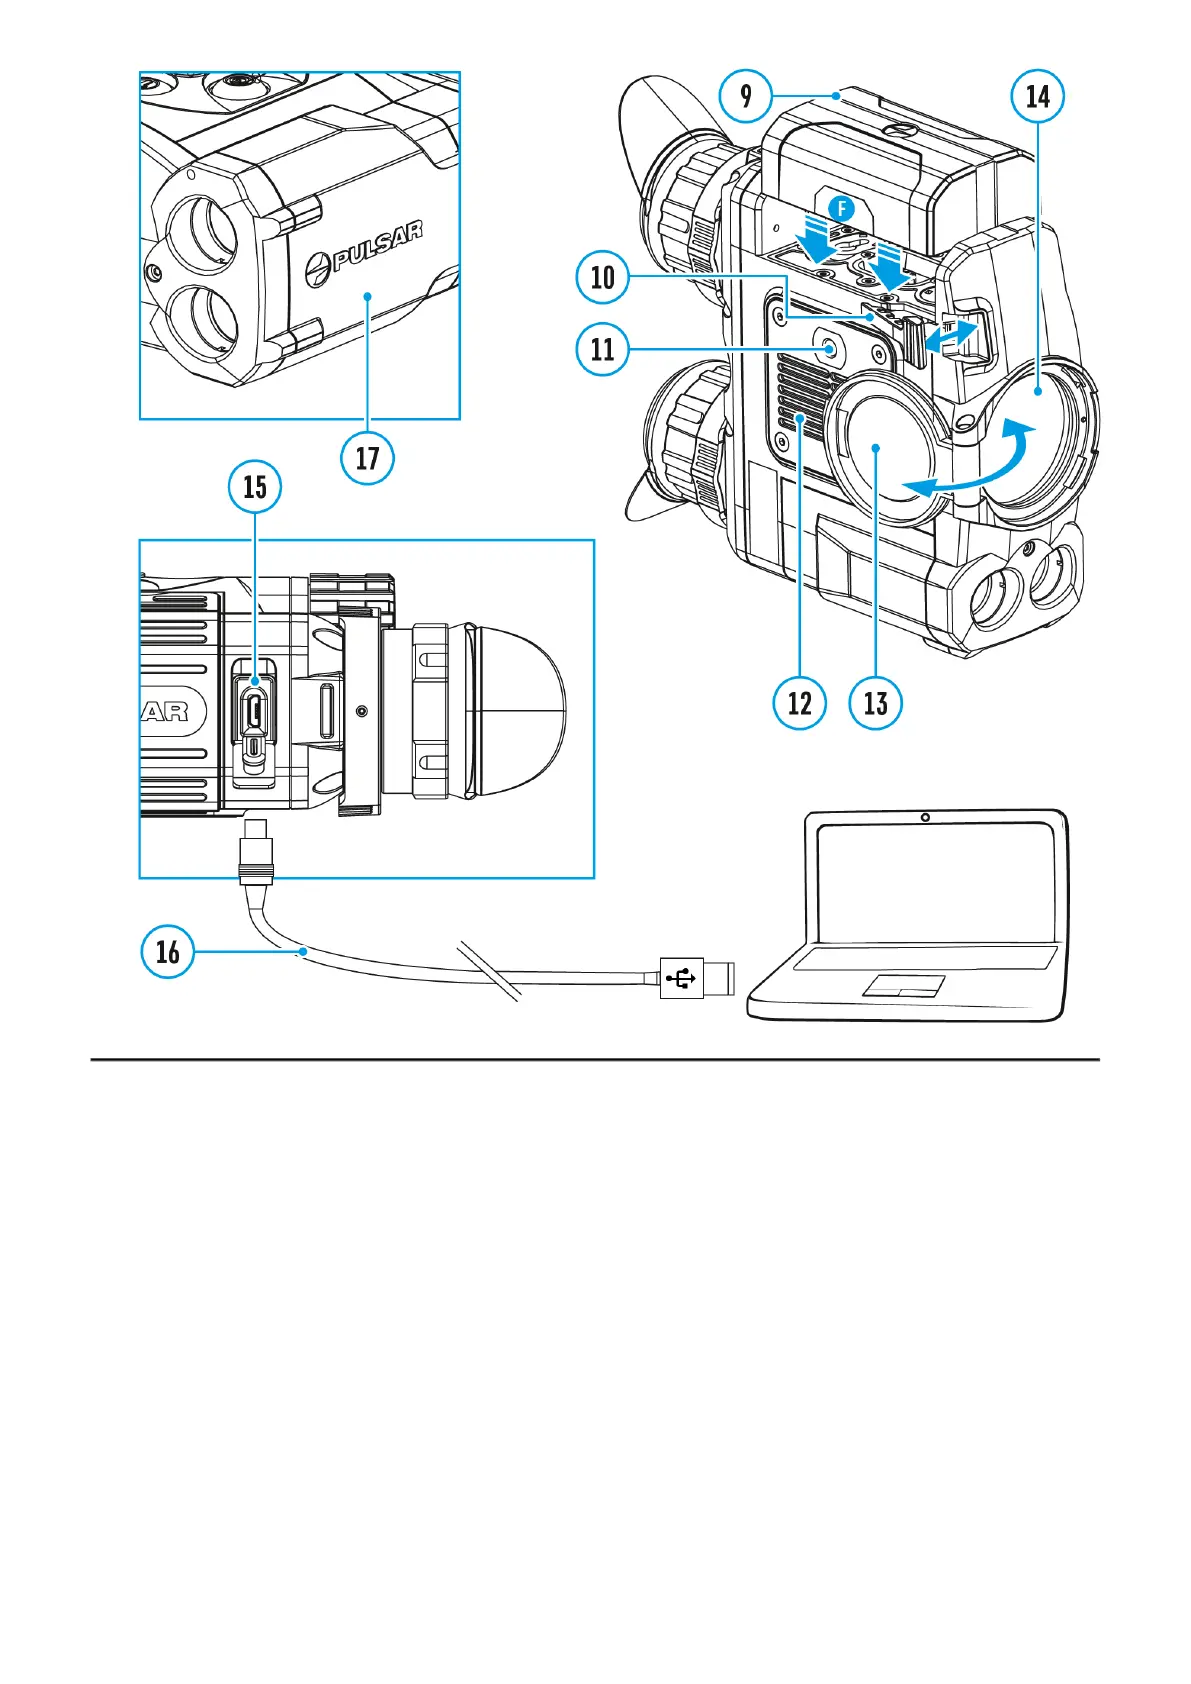
1.
Open the lens cover (13).
2.
Turn the device on with a short press of the ON/OFF (1) button.
3.
Adjust the interpupillary distance with the rings (6) by moving the eyepieces farther or
closer to each other.
4.
To obtain a crisp image of the icons on the display, rotate the diopter adjustment ring (7).
Once adjusted, there is no need to rotate the diopter adjustment ring for distance or any
other conditions.
5.
To focus on the object being observed rotate the lens focusing ring (8).
6.
Select the calibration mode: manual (M), semi-automatic (SA) orautomatic (A) in the
main menu (enter the menu by long pressing theMENU (3) button).
7.
Calibrate the image with a short press of theON/OFF (1) button (when calibration mode
(SA) or (M) has been selected). Close the lens cap before manual calibration.
8.
Select the desired observation mode (Forest, Rocks, Identification or User) by a long
press of the DOWN (5) button or in the main menu. User mode allows you to configure
and save custom
9.
To set up display brightness and contrast and continuous zoom, please refer to the
Quick Menu Functions