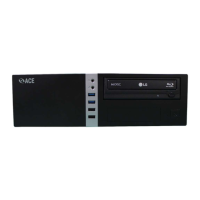
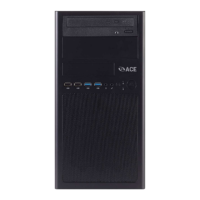
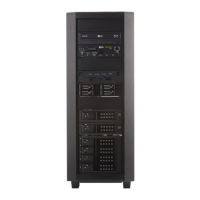
ACE146
Chassis Cover Removal
Location: In order to access the internal components of your system, you will need to remove the
left cover of the chassis.
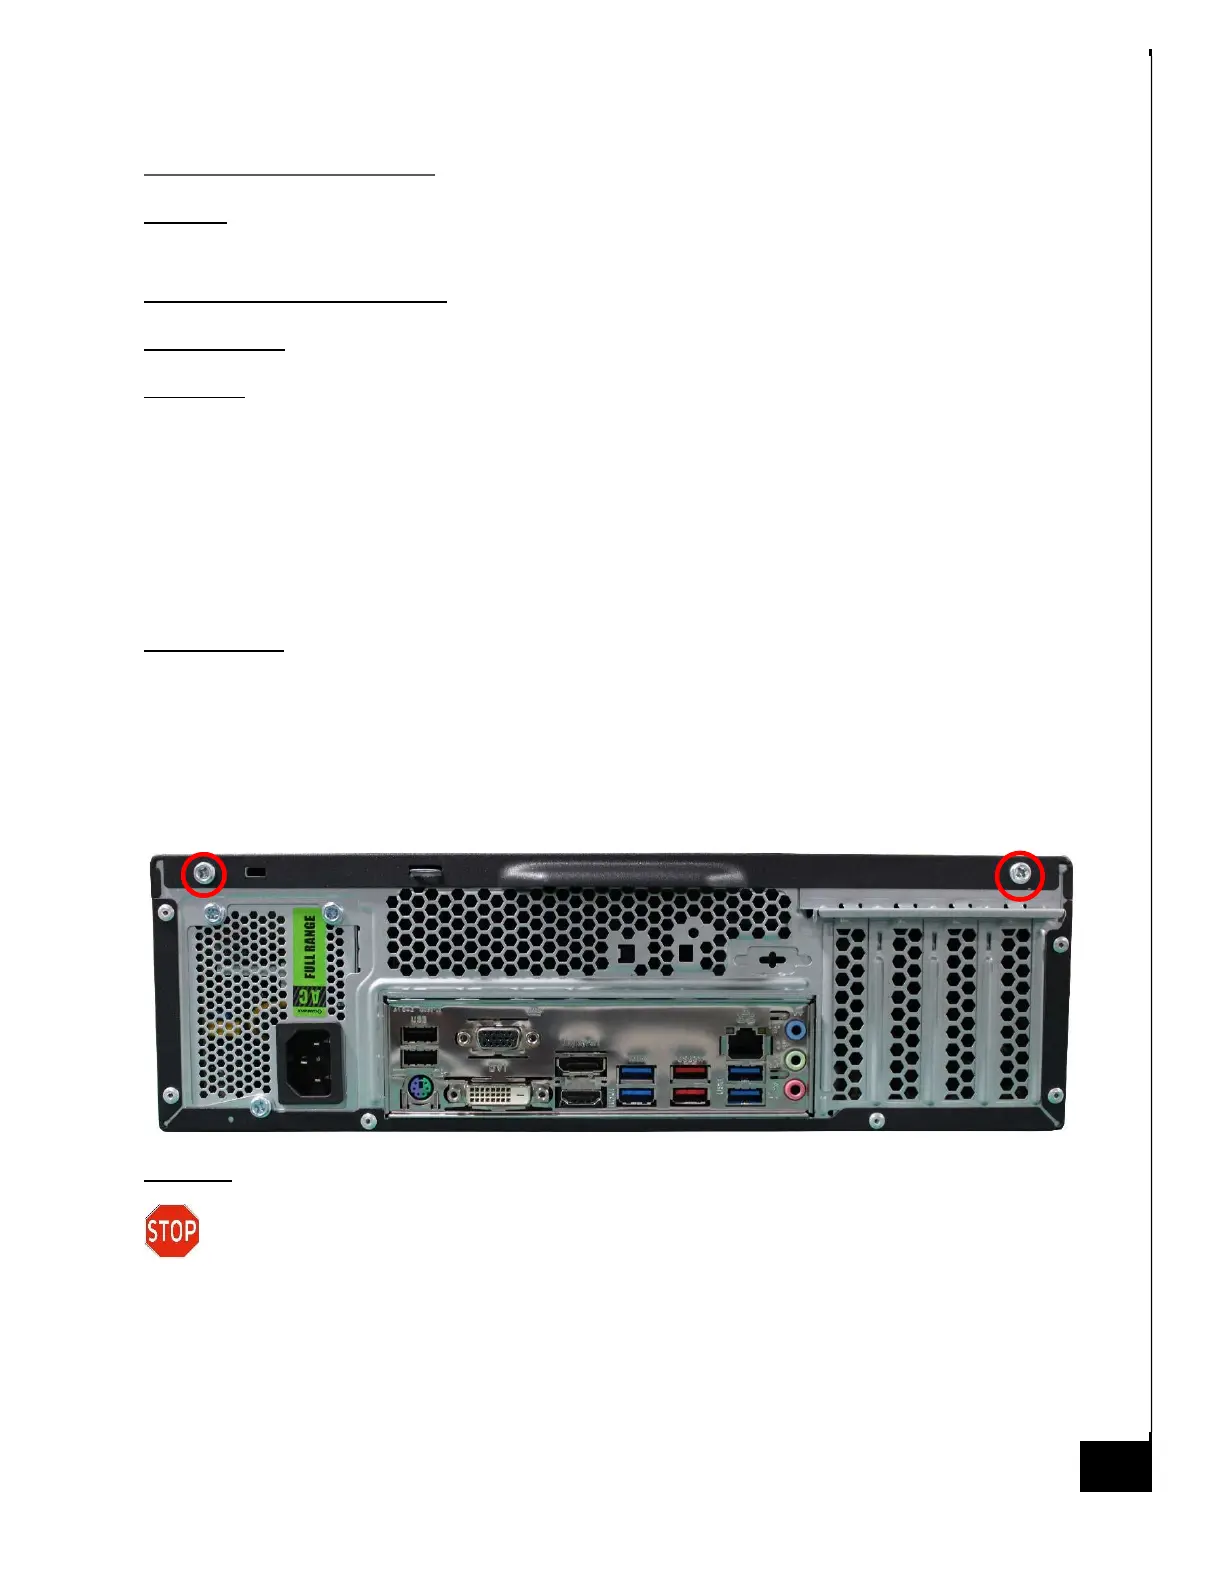
Type and number of fastenings: Two thumb screws
Tools required: Thumb screws
Procedure:
Step 1: Ensure the desktop is off, unplugged, and any potential energy is dissipated.
Step 2: Unfasten the two (2) thumb screws on the rear panel of the chassis.
Step 3: Once removed, slide the chassis top panel parallel to the chassis towards the rear (out of
the page with respect to the image below), this will disengage the various tabs that are holding
the panel to the chassis.
Reinstallation:
Step 5: To reinstall the panels lay them against the side of the case and gently slide them along
the perforations ensuring the tabs catch in the proper channels.
Step 6: Reinsert the screws and tighten until firm.
Disposal:
Selective Treatment/Special Handling Per Annex VII, Directive 2012/19/EU: None