Automation Components, Inc.
2305 Pleasant View Road | Middleton, WI 53562
Phone: 1-888-967-5224 | Website: workaci.com
Page 2
WIRING INSTRUCTIONS
Shielded cable with 16 to 22AWG conductors is recom-
mended. Use the Wiring Connections table below to
determine the proper wiring for your application.
Insert the wire into the depluggable terminal block
sockets and tighten the screws. In some circumstanc-
es, it may be easier to remove the terminal blocks
while connecting the wires. Refer to TABLE 1 (below).
PRESSURE CONNECTIONS
The recommended connection tubing is ¼” O.D.
push-on tubing (1/8” – 3/16” I.D.). ACI recommends to
keep the tubing runs as short as possible so as to not
aect the response time.
ZERO ADJUSTMENT
Small positive or negative pressure osets can be removed using the Zero push button. Make sure that there is no pressure
at the HI and LO pressure ttings. Additionally, a small piece of tubing can be connected between the HI and LO brass ttings
to neutralize any external pressure eects. Press and hold the Zero button for 5 seconds. MLP2 will enter zero mode AFTER
push button is released. The Zero adjustment should only be performed with no pressure applied.
Version 6.0
I0000791
A/SPT
A/VPT
FILTER
DIRECTION
OF AIR FLOW
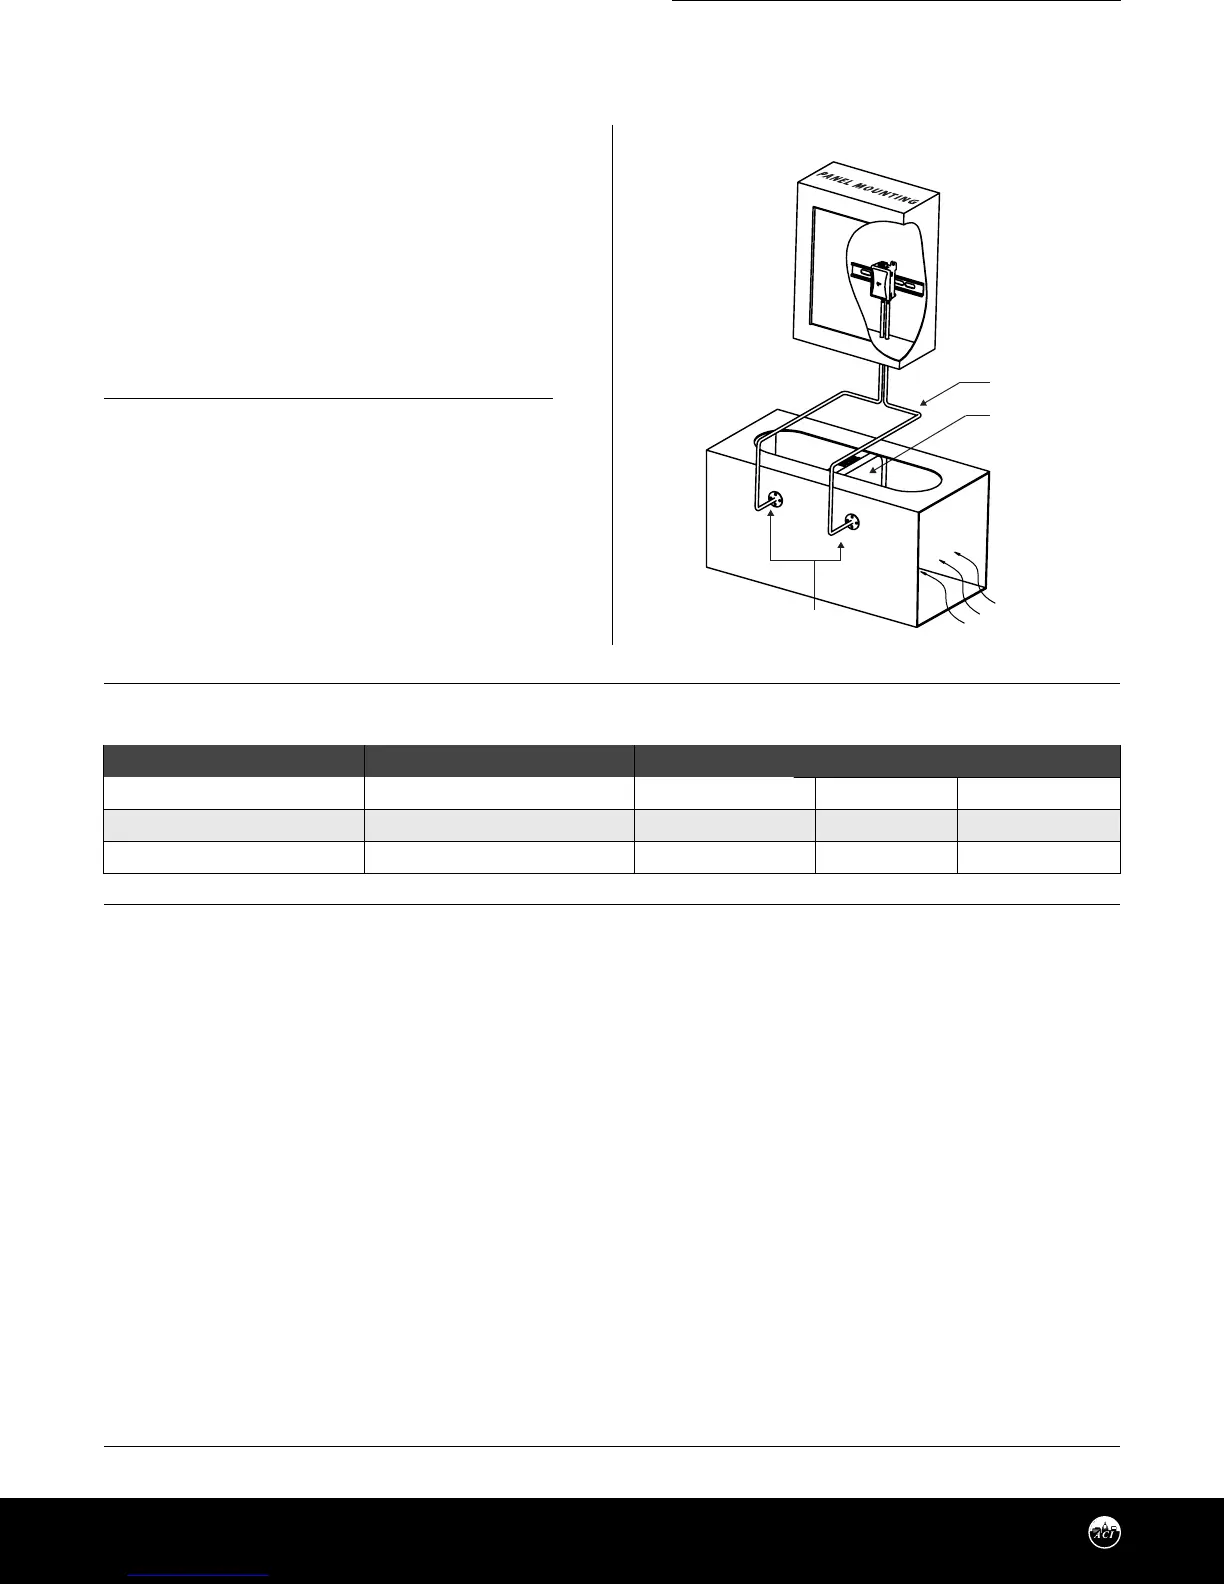
POLY TUBING
FIGURE 3: DUCT ASSEMBLY
TABLE 1: WIRING CONNECTIONS
OUTPUT SIGNAL
VDC
mA
mA
SUPPLY VOLTAGE
AC/DC
AC
DC
OUT
OUT
OUT
GND
GND
- - - - -
VIN
VIN
VIN
WIRE CONNECTIONS
 Loading...