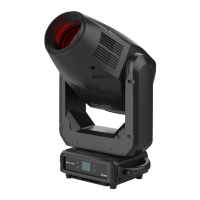
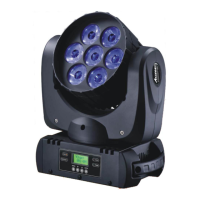
3. How To Set The Unit
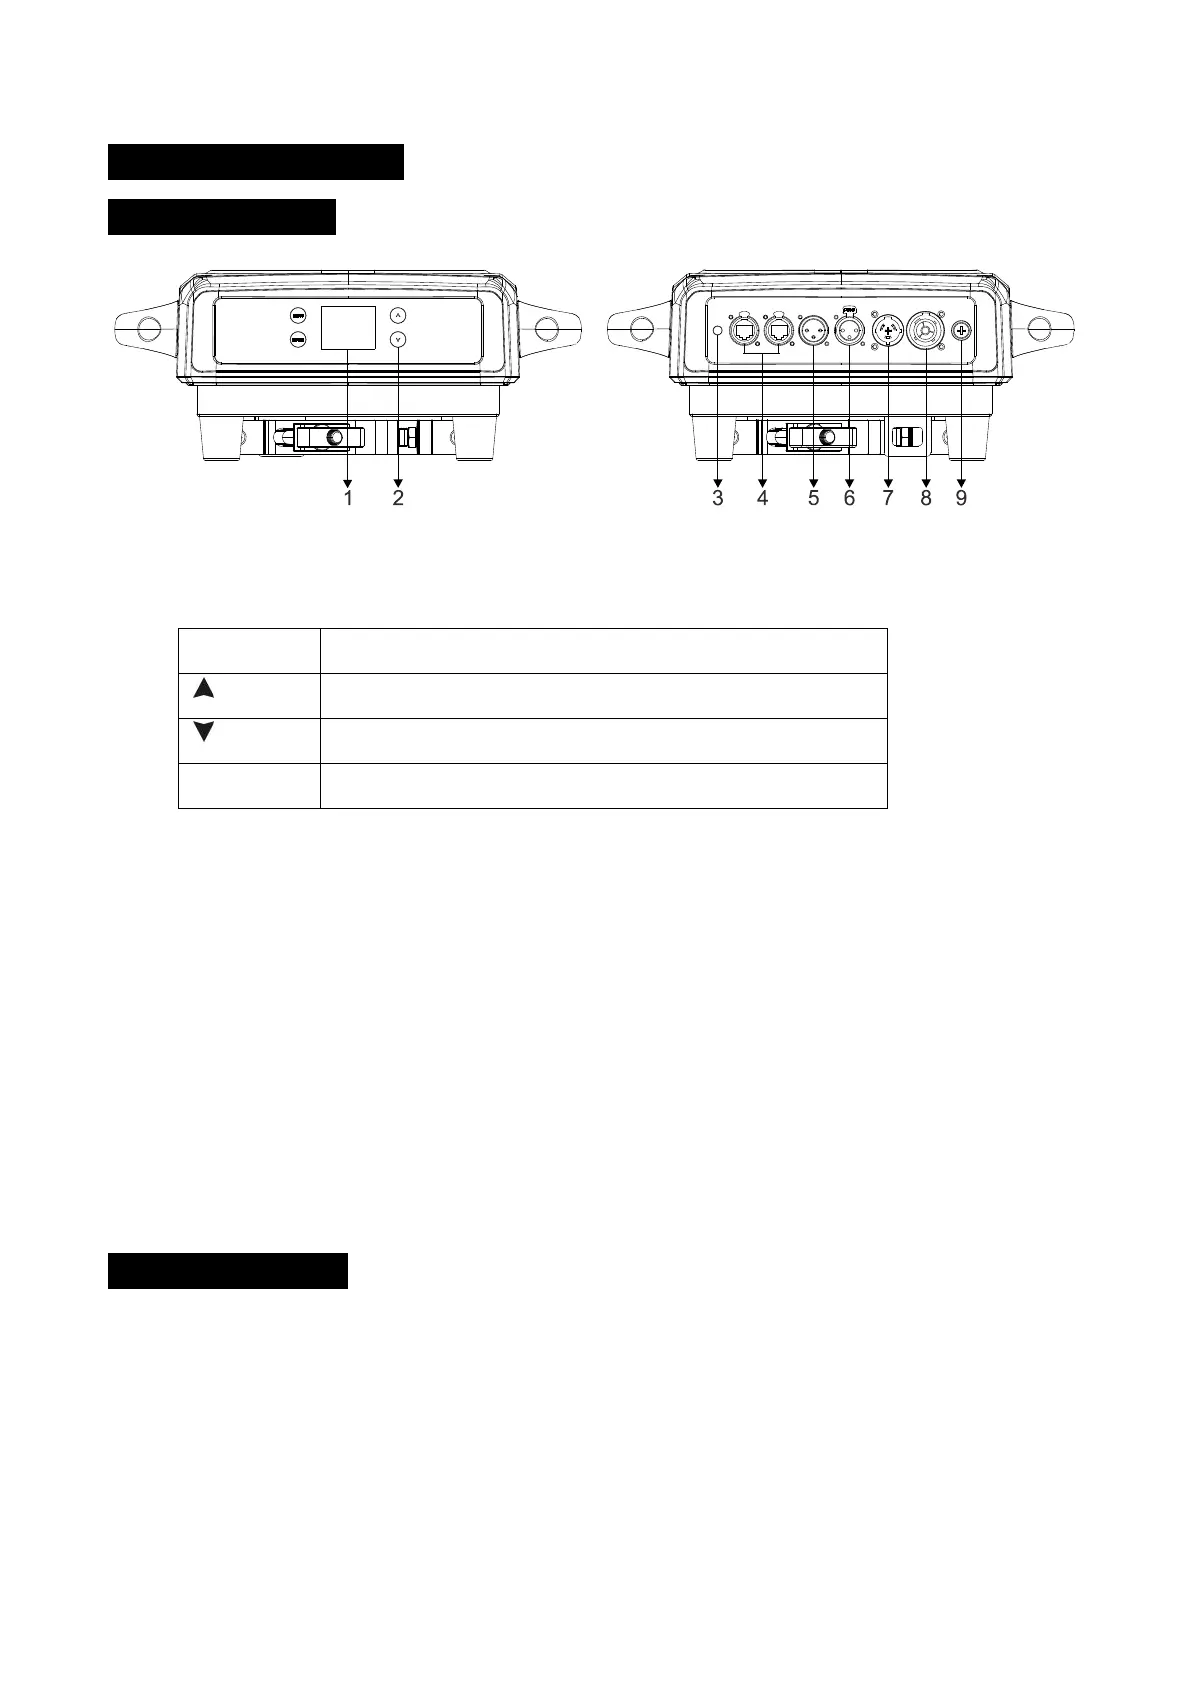
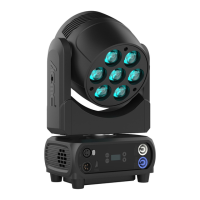
3.1 Control Panel
1. Display: To show the various menus and the selected function
2. Button:
To enter into move backward or leave the menu
To go backward to move up in the menu
To go forward to move down in the menu
To perform the desired functions
3. BATTERY DISPLAY
4. ETHERNET: Transfers fixture’s information to a main controller
5. DMX IN:
For DMX512 link, use 3-pin XLR cable to link the unit and DMX controller (5-pin XLR is optional)
6. DMX OUT:
For DMX512 link, use 3-pin XLR cable to link the next units (5-pin XLR is optional)
7. POWERCON IN: To connect to supply power
8. POWERCON OUT: To connect to the next fixture
9. FUSE(T 15A): To protect the unit from over-voltage or short circuit
3.2 Main Function
Turn on the unit, press the MENU button into menu mode, and press the UP/DOWN button until
the required function is shown on the monitor. Select the function by the ENTER button. Use the
UP/DOWN button to choose the submenu, press the ENTER button to store and automatically
return to the last menu. Press the MENU button or let the unit idle 30 seconds to exit menu mode.
The main functions are shown below:
6B