12 | P a g e
Category II bracket mounting: The mounting location must be easily accessible for manual deployment and
performance of required maintenance and functionality tests. Typical locations include near the helm station or just inside
the companionway door.
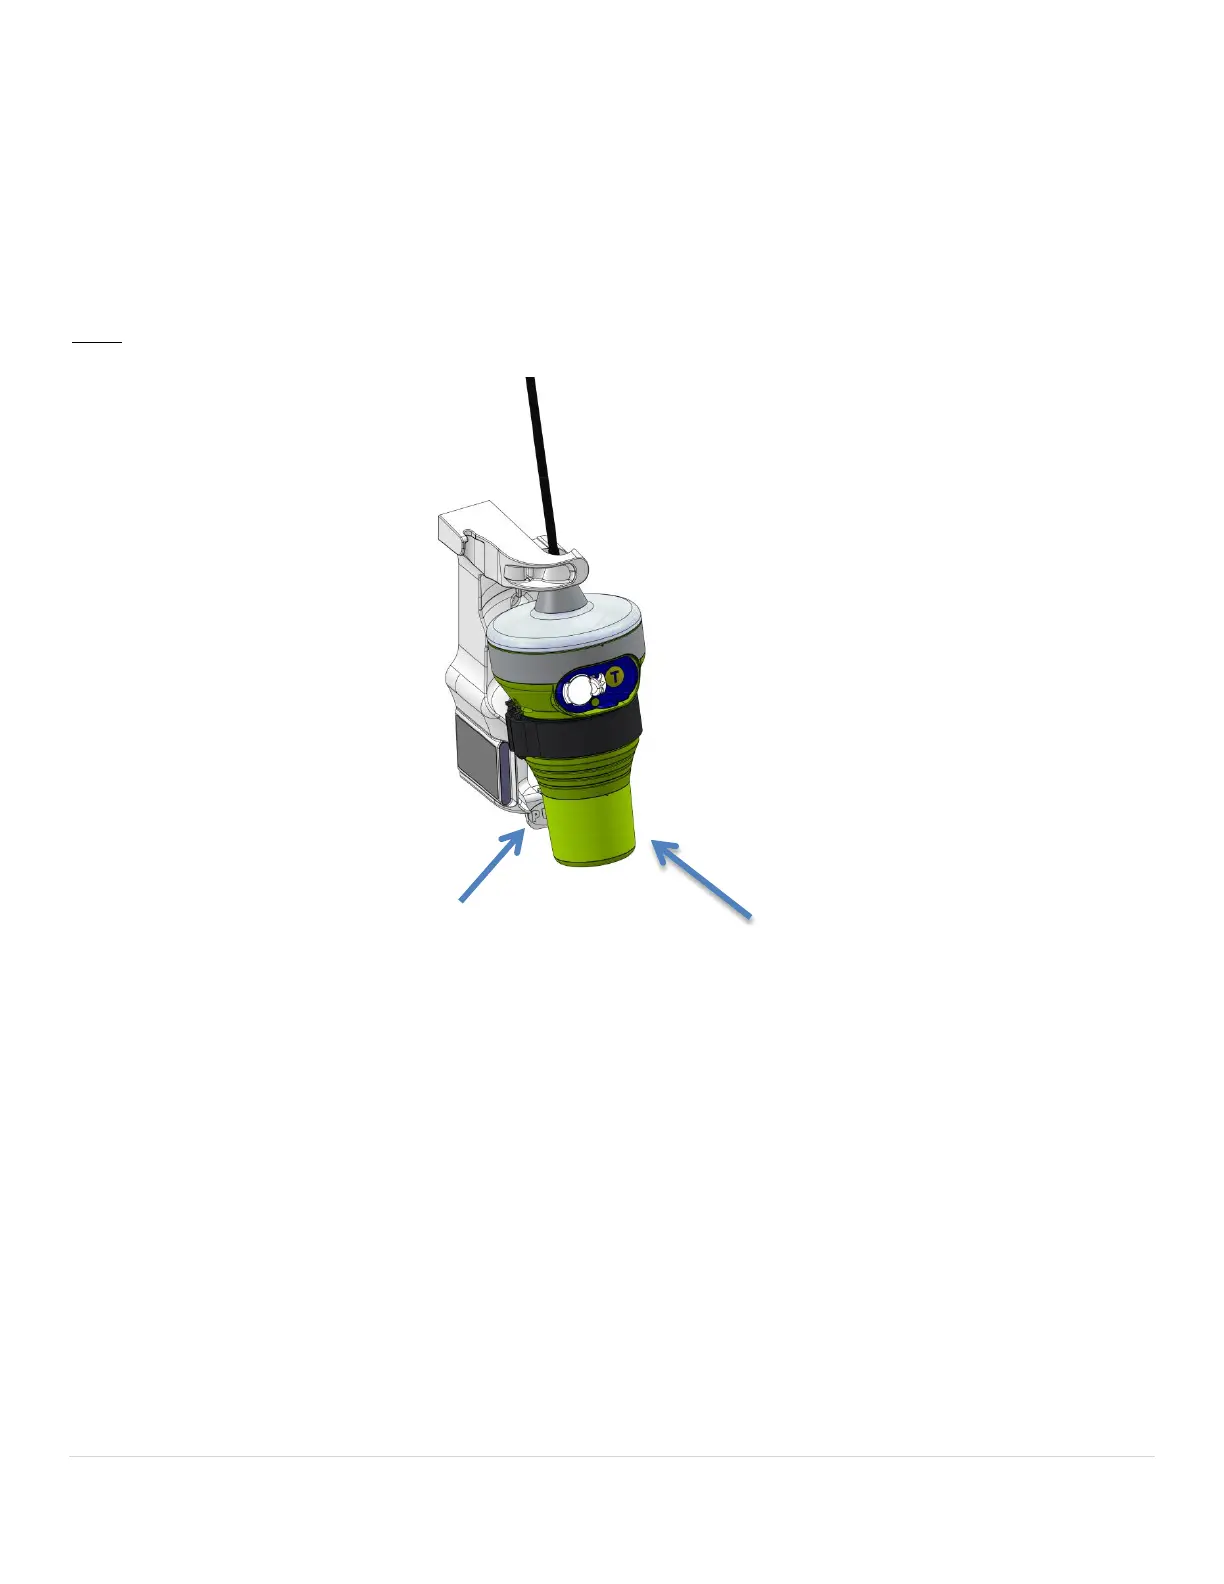
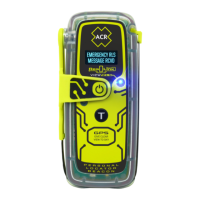
To use the bracket’s three pre-drilled screw holes, first remove the beacon from the bracket by pressing the release and
pulling the beacon bottom forward (see illustration below). The beacon will slide down and out of the bracket. Hold the
bracket in place to mark the screw holes or use the provided mounting template. The use of #8 pan head stainless steel
fasteners and #10 3/8” (0.95 cm) washers is recommended. Be sure to confirm that fasteners will not contact any wires
or plumbing before drilling pilot holes.
NOTE: FASTENERS AND WASHERS NOT INCLUDED.
Step 3: Install The Beacon
To install the beacon in the Category I or Category II bracket, insert the top cap first at a slight angle and then press the
bottom casing until the beacon clicks and is firmly supported. The beacon can only be mounted inside the bracket with
the ON/Test buttons facing out (see Category I bracket illustration on page 11 and Category II bracket illustration above).
beacon out and down to
from the bracket, press