Welcome!
Step
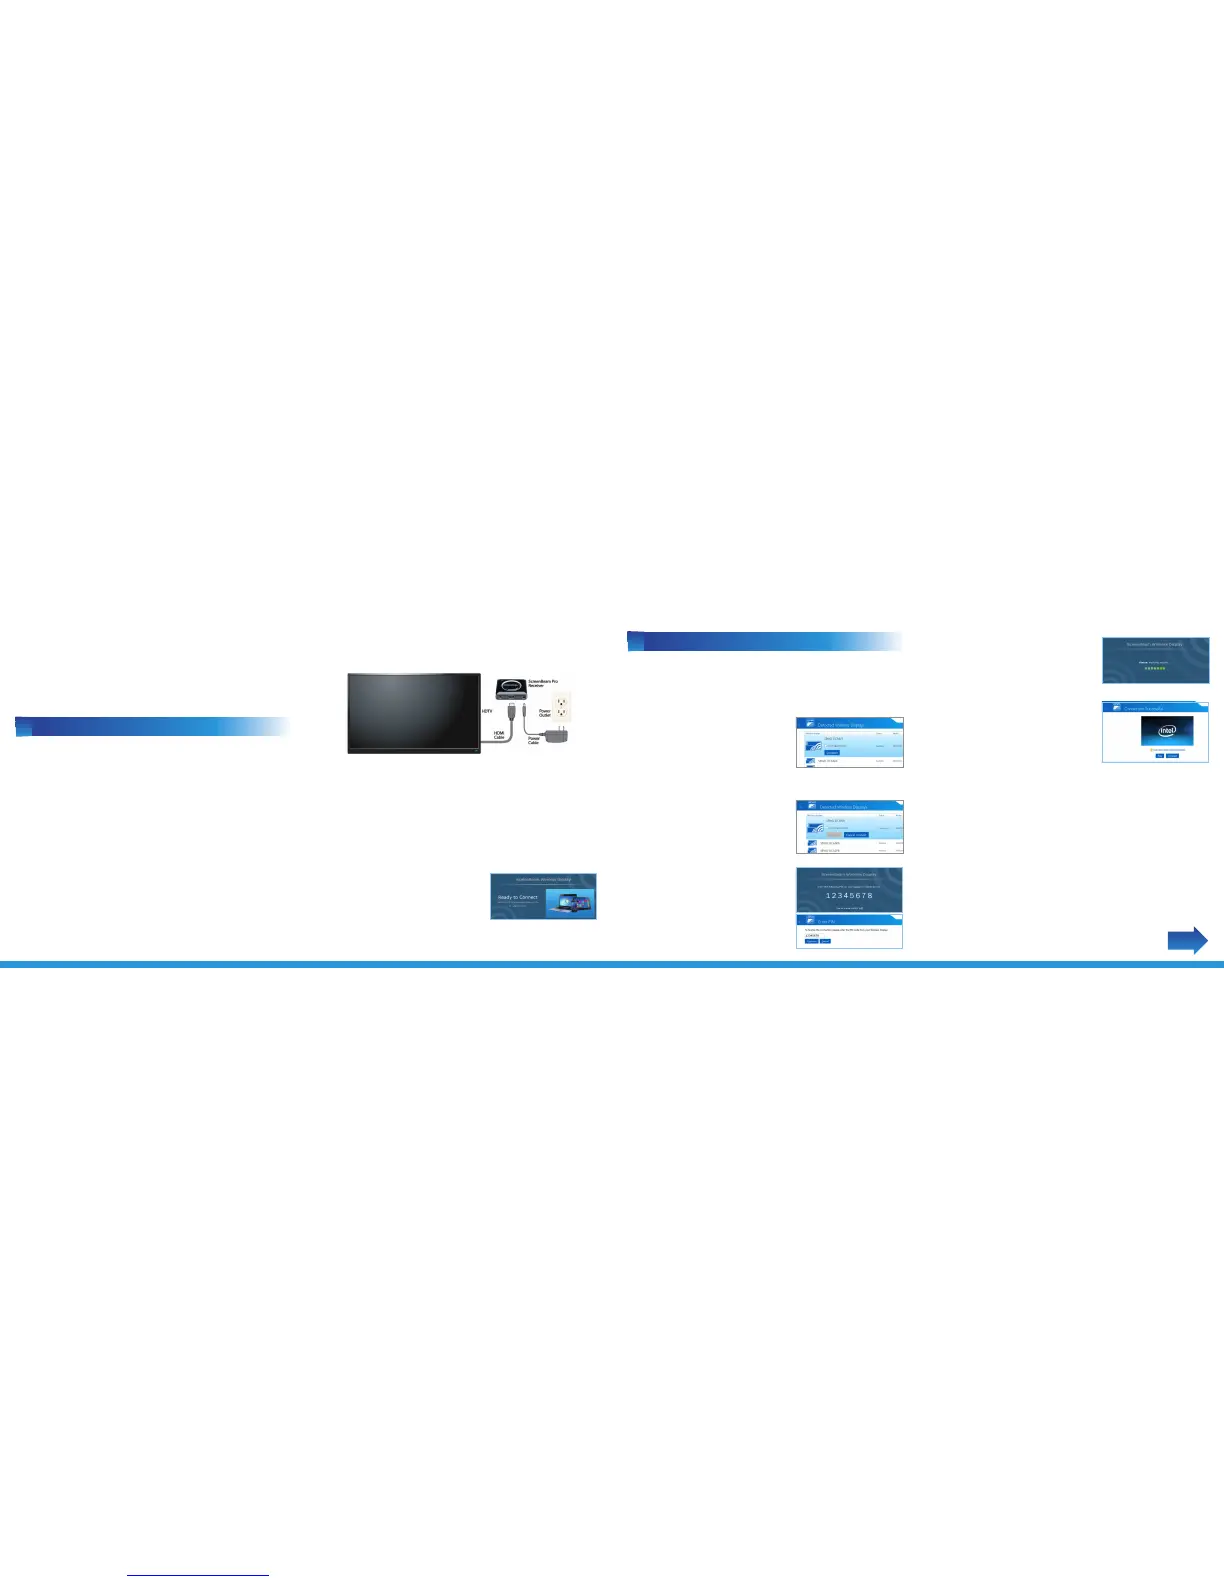
2 Plug one end of the power cord into the Receiver, and
the other end into a power outlet.
Step
3 Plug one end of the supplied HDMI cable into the HDMI
port on the Receiver, and the other end into an available HDMI
port on the HDTV.
NEXT
Flip this Guide over to continue
A Install the Receiver
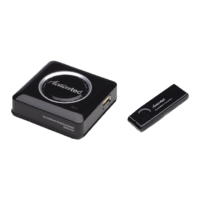
Congratulations on your purchase of a ScreenBeam Pro Wireless
Display Receiver. The Wireless Display Receiver lets you wirelessly
transmit what’s on your compatible Intel WiDi or Miracast
wireless display-capable device, and display it on your HDTV.
B Connect Using Intel WiDi
Step
2 The device scans for
available receivers. Select the same
receiver name as seen on the HDTV
and click Connect. (The Connect
Automatically checkbox is optional.)
Step
4 The Receiver displays a PIN
on the HDTV, and a PIN entry box
on the screen of the WiDi device.
Enter the PIN in the PIN entry box
on the WiDi device.
Step
1 Get the ScreenBeam Pro Wireless Display Receiver,
power cord, and HDMI cable from the ScreenBeam Pro box.
Step
1Find the Intel Wireless Display application on the device
and launch it. To nd the application, go to Windows Search on
your device and search for “Intel WiDi” in your apps.
Note: Make sure the device supports Intel Wireless Display (WiDi)
software version 3.5 or higher. To nd out what version of Intel
WiDi your device has, enter the Intel WiDi application and click
Help, then navigate to the “About WiDi” section. To obtain the
latest Intel WiDi software and drivers, go to:
http://www.intel.com/go/wirelessdisplayupdate
Step
3 Wait until the device syncs
with the Receiver connected to
the HDTV.
Step
5 The HDTV displays
messages to show the status of the
connection process.
Step
4 Make sure the HDTV is turned on and set to display the
input from the correct HDMI port (the one you plugged into
during Step 3).
Display Tip: If the edges of the device screen cannot be seen on
the HDTV, adjust cropping. To do this, enter the WiDi application
and click Settings. Navigate to the “Picture and Sound” section,
click Adjust cropping…, and adjust the HDTV picture by clicking
plus (+) or minus (-).
Step
5 Verify that the Ready to
Connect screen appears on the
HDTV.
Step
6 A Connection Successful
screen appears on your device’s
screen, as well as on the HDTV.
When Steps 1, 2, and 3 are complete, the hardware should be
connected as shown in the gure, below.
 Loading...