953.165UK User Manual
Installation
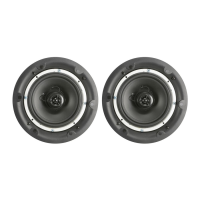
The BCS65S is supplied as a set of two speakers – one active and one passive.
Decide where the active speaker is to be situated and bear in mind that it may be the target
for a Bluetooth sending device and will need to be connected to the mains using the power
supply included.
Carefully mark out and cut a hole 202-207mm diameter for each speaker, ensuring that
there is enough headroom to accommodate the rear housing of each speaker.
The BCS65S set is supplied with a fig.8 speaker cable. Feed the bare wire ends of this cable
through the hole for the active speaker and feed the crimped end through the hole for the
passive speaker.
Connect the crimp connectors onto the + and – tabs of the passive speaker (there is one
large and one small to avoid incorrect connection) and make a note of the colour coding on
the speaker cable for + and – terminals, which will need to be matched on the active unit.
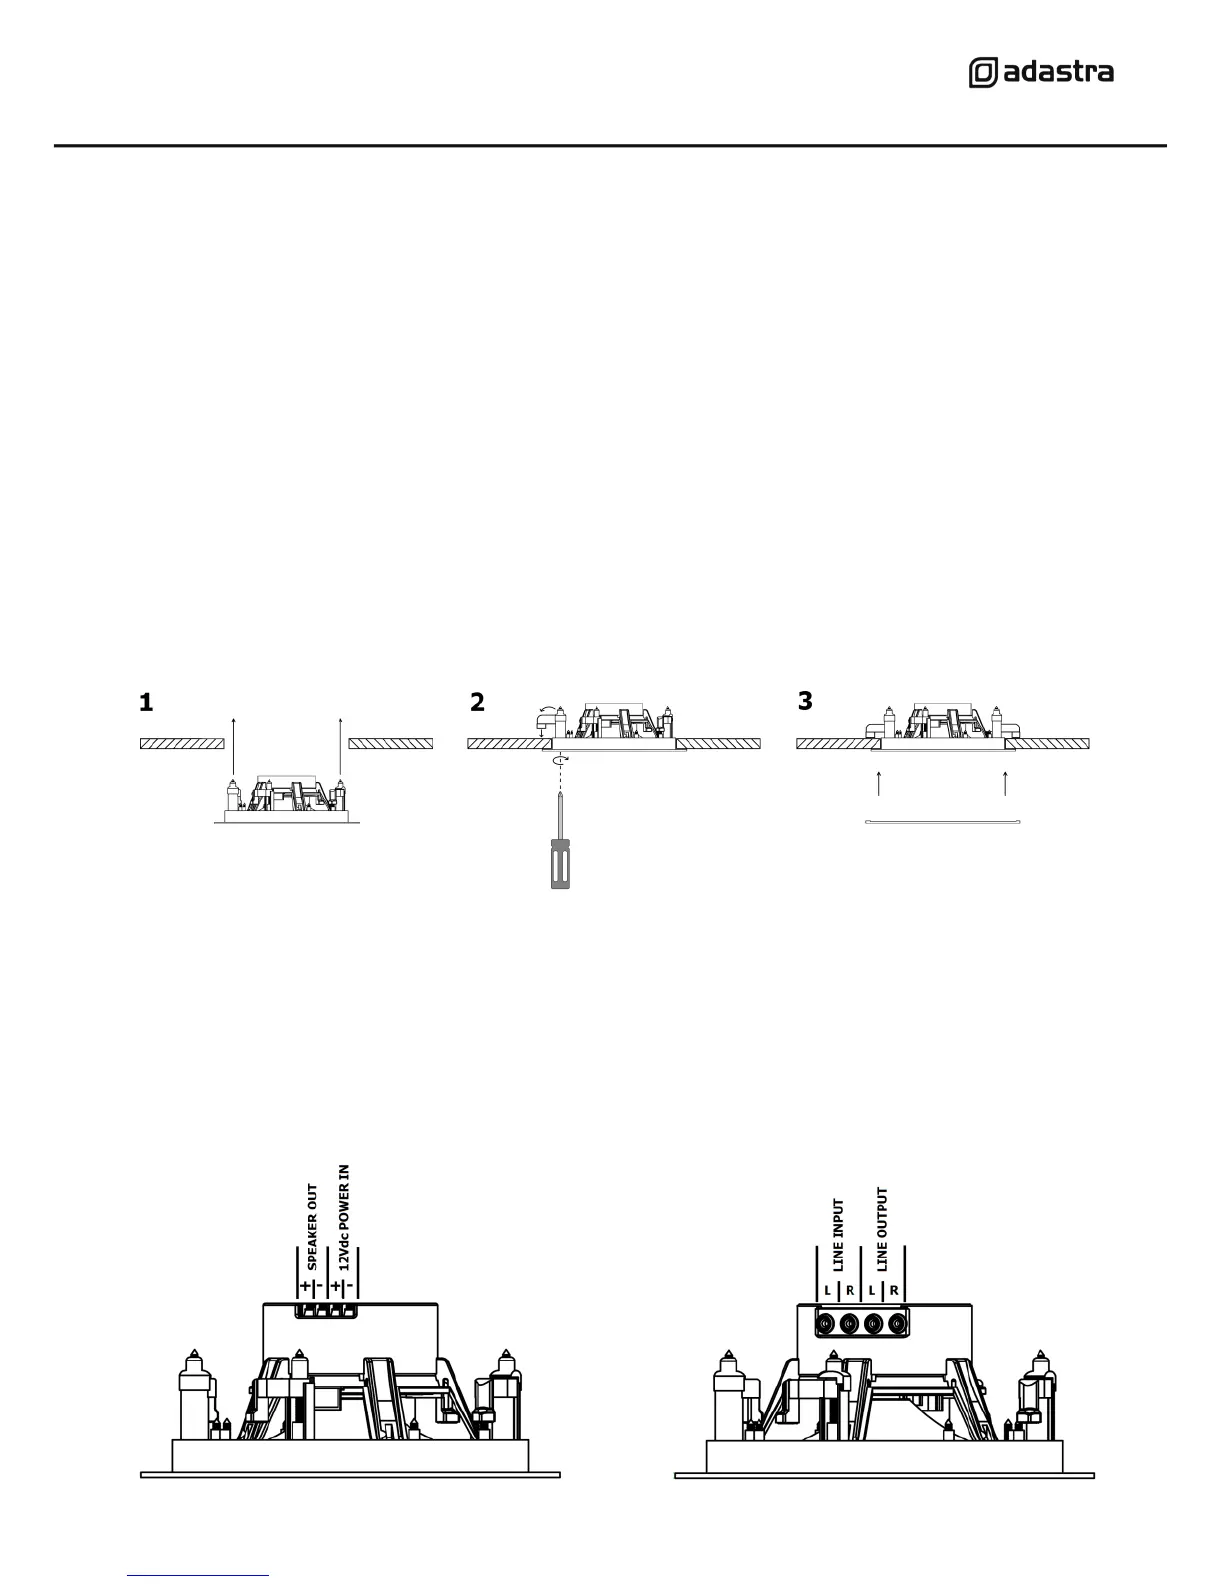
Install the passive speaker as follows:
1. With the grille removed, position the passive speaker into its hole in the ceiling or
wall, ensuring that the wire is not trapped and is clear of the dog-ear clamps.
2. Use a cross head screwdriver to turn the 4 dog-ear clamps outward in turn, then
continue turning the screwdriver to draw the dog-ear clamps toward the ceiling or
wall supporting surface, taking care not to over-tighten the clamps.
3. Once secured, replace the magnetic grille by simply lifting it up to the speaker.
For the active speaker, all connections must be in place before positioning the speaker into
the ceiling or wall.