OK OK
Press and aer the screen turns off, press and hold again unl you see “00” on the screen aer every shown segment.
-
+
Turn on (“On”) or off (“oF”) the adapve start by using the and buons. This funcon reaches the temperature set by
the user at a specific me. For example, if you want the temperature at 9 o'clock to be 22°C, the heater will determine when
it has to start heang so that it reaches 22°C at the desired me.
-
+
Select “On” or “oF” by pressing or . This funcon is turned off by default.
The funcon of an open window detects if a window is open (i.e., it detects a rapid change in temperature in a short period of
me). Aer the heater detects an open window, the heang is automacally turned off and changed to an-freezing mode by
maintaining a temperature of 7°C and „AF“ is displayed. Aer the window is closed, i.e., when the temperature in the area
increases, the heater automacally turns the previous program on or maintains a permanent constant temperature.
Select the desired “reduced” temperature by pressing
+
and
-
. By pressing
OK
, you will enter the seng menu.
- OK
+
Select the desired comfort temperature by pressing and . By pressing , you will enter the seng menu.
OK
OK
P1 will nofy you that you are going to adjust the user program. Confirm this by pressing . Select which day(s) you are going to
adjust by using the and buons: 7d – 7 days, 5d – 5 business days, 2d – weekend, d1 – Monday, d2 – Tuesday,
d3 – Wednesday, d4 – Thursday, d5 – Friday, d6 – Saturday, d7 – Sunday, and confirm your selecon by pressing . Use the
and buons to change the hours from 00 to 23 and select the desired temperature for every hour: a decreased
temperature (green light above is on), a “comfort” temperature (green light above is on). Aer pressing , you will
return to the selecon list of the desired day for further programming or quit the seng menu by pressing for 3 seconds.
If you wish to iniate a weekly program, see chapter “Program menu”. The last value used on the screen will be aributed to
the “comfort” temperature before the start of the programming.
<
<
-
OK
OK
<
<
<
<
+
Descripon of funcon
Opons
td
Pr
Co
Seng the me of the heater
Set the day of the week by pressing : 1 – Monday; 2 – Tuesday, etc., and save by pressing .
Set the hour: 0-23 and save by pressing . Set the minutes: 0-59 and save by pressing .
You will not be able to adjust other sengs unl you set the me and day of the week.
- OK
OK OK
Adjustment of weekly heang program
Adjustment of “comfort” temperature
Seng a lower temperature
rd
OP
C
AS
rE
Funcon detecng an open window
Calibraon of the temperature
The ambient temperature is displayed on the screen. If it does not correspond to the thermometer readings, then it may be
calibrated. For example, the heater shows that the ambient temperature is 20°C; meanwhile, the other thermometer shows
that it is 22°C. Then you can calibrate it and set the temperature which you have measured using the other thermometer.
Adapve start
Reset the heater to factory default sengs
+
<
<
OK
OK
SETTING MENU
By pressing and holding buon for 3 seconds, the selecon menu can be turned on or off. Use the buons to scroll through the list and
use the buon to select the necessary seng or confirm your selecon:
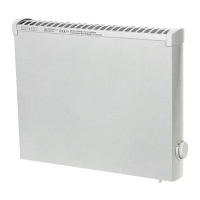
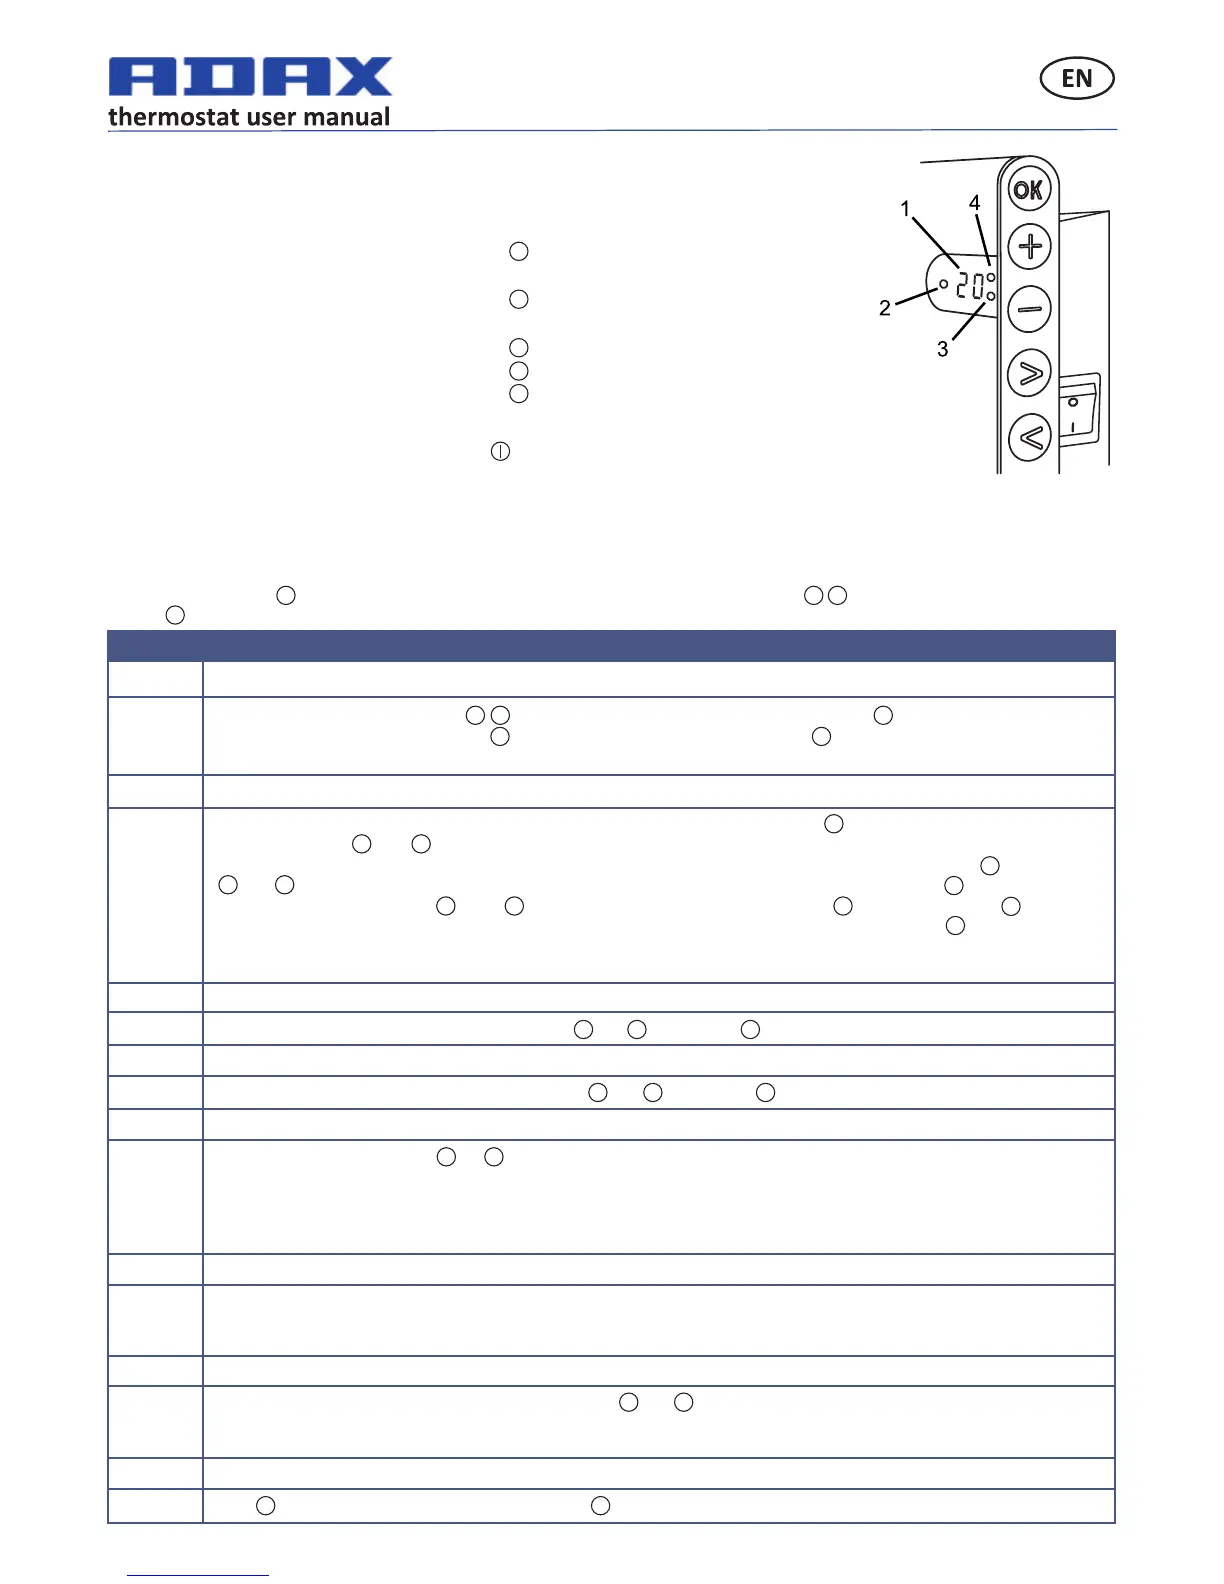
GENERAL OVERVIEW OF THE THERMOSTAT DISPLAY
LIGHT INDICATORS:
1. Display showing temperature and control parameters.
2. The red light is on when the heater is operang.
3. Green light showing a reduced temperature. It is on
when the heater is operang in accordance with the
chosen program, maintaining the reduced temperature.
temperature. It is on when the heater is operang in
dance with the chosen the
FUNCTIONS OF THE BUTTONS:
– Increases temperature, me or
other parameter.
– Decreases temperature, me or
(See Addional funcons).
other parameter.
4.
Green
light
indicator
showing
the
“comfort”
– Selecon buon meaning “less”.
– Selecon buon meaning “more”.
+
-
accor
program,
maintaining
“comfort” temperature.(SeeAddionalfuncons).
OK
– Confirmaon of selecon.
<
<
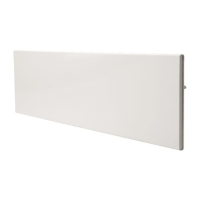
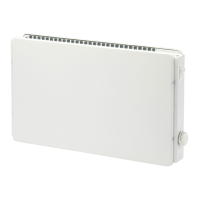
HOW TO OPERATE
The appliance is switched on or off by pressing the buon on the right side of the heater. When the heater is switched on for the
first me, it begins operang at the default “comfort” temperature of 22°C; meanwhile, the blinking screen will show that a clock
me has not yet been set (See Seng menu). The heater will maintain the temperature displayed on the screen if the user does not
select the desired program from the Program menu. You can create your own weekly heang program (P1) or you can use the
exisng standard programs “Office” (P2) or “Home” (P3). The weekly programs determine when it will maintain the comfort
temperature (22°C) and when it will maintain the reduced temperature, which saves energy (17°C).
2018-04-13
art.no.: 62235
DT S5.1
4
 Loading...