133
ADOBE FRAMEMAKER 7.0
Classroom in a Book
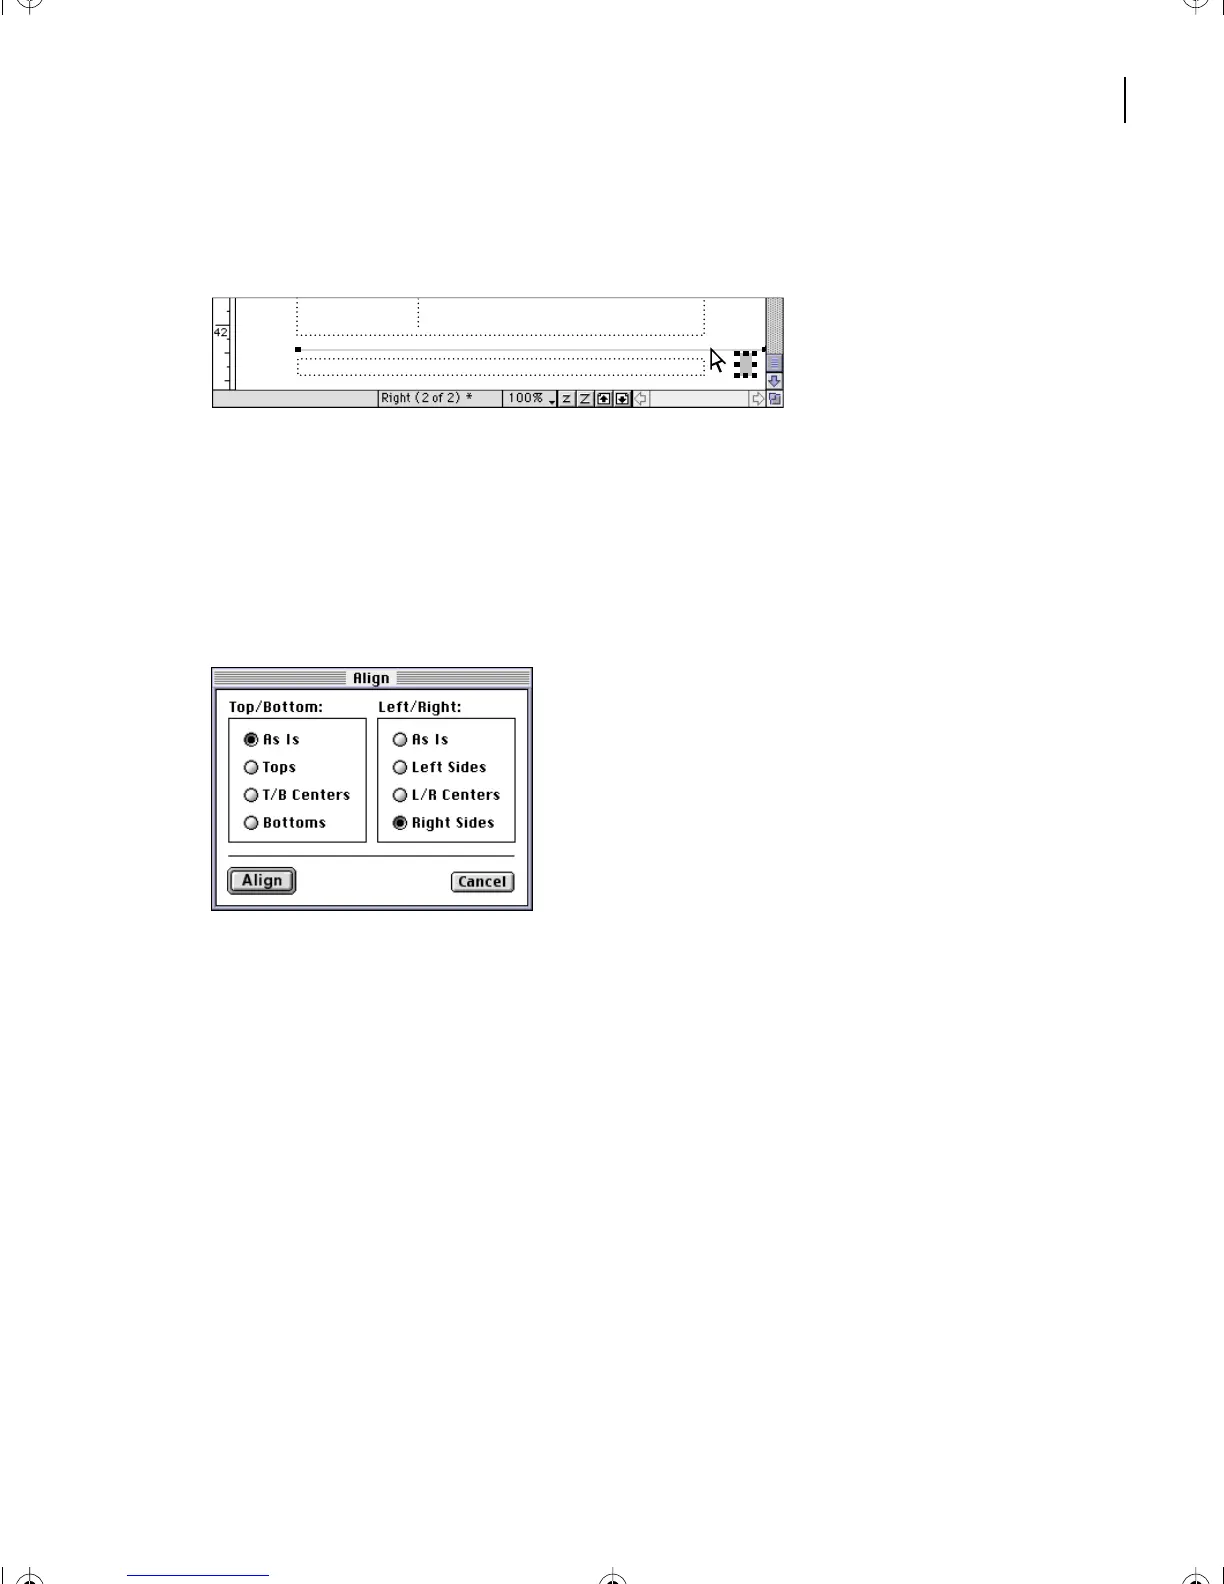
1 With the small rectangle you created in the previous section still selected, Shift-click
the horizontal line to add it to the selection.
Rectangle and line selected
2 Choose Graphics > Align.
Yo u’ll align the right sides of the rectangle and line.
3 In the Top/Bottom area, select As Is to leave the vertical alignment unchanged.
4 In the Left/Right area, select Right Sides and click Align.
The right side of the rectangle is aligned with the right endpoint of the line. (The last
object selected—the line—doesn’t move. Other selected objects—in this case, the
rectangle—move until the objects are aligned with the last-selected object.)
5 Make sure the rectangle and line are both selected, choose Graphics > Distribute.
6 In the Horizontal Spacing area, select As Is, so that you don’t change the horizontal
spacing.
Running H/F 1: Running H/F 2
L05.fm Page 133 Saturday, July 6, 2002 11:45 AM