Drive Installation:
Open the USB 2.0 Hard Drive Kit
enclosure by removing the top
from the kit.
Next, set the hard drive’s jumper
setting to “MASTER” or single drive
setting (Western Digital). For more
information about jumper settings,
please refer to your hard drive’s
documentation.
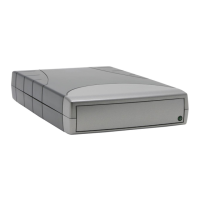
STEP 1:
Now install your hard drive into the
enclosure by rst connecting the
power supply cable and then the
at ribbon cable to your hard drive.
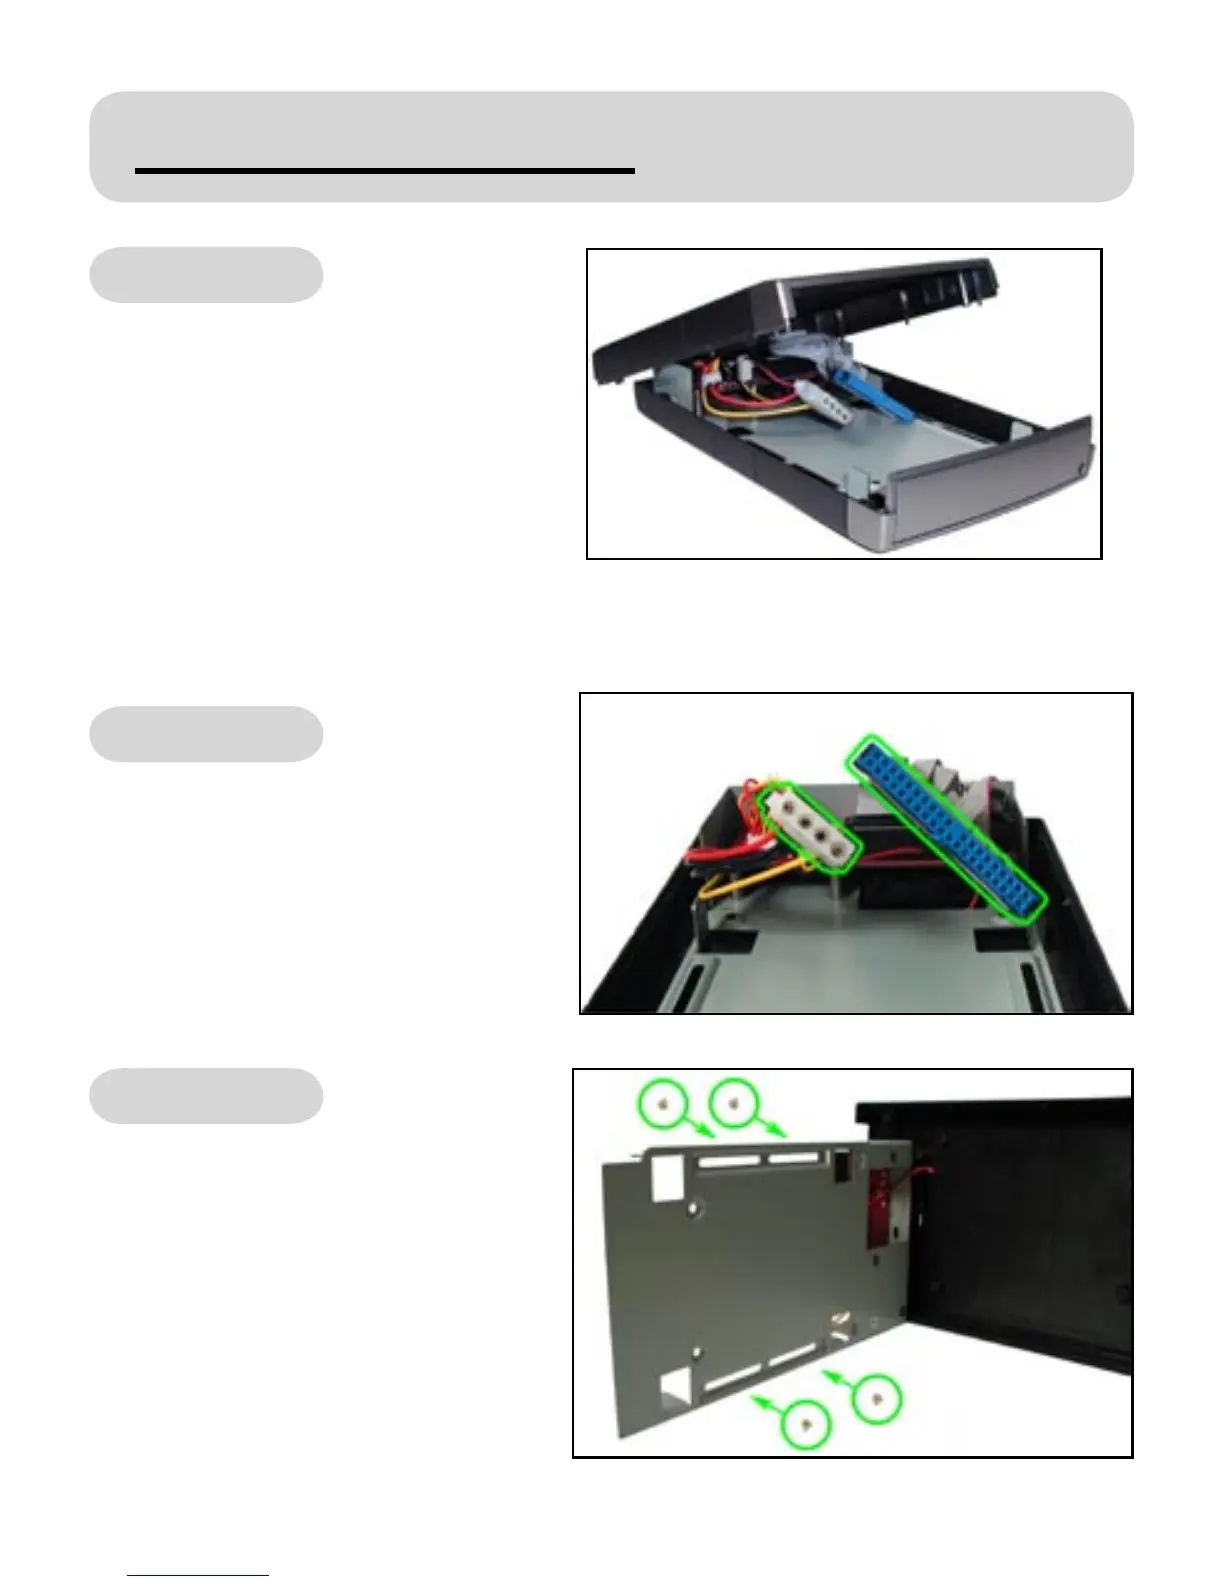
STEP 2:
Afterwards, gently separate the
metal support brace from the
plastic casing, keeping in mind to
not detach the wire that’s attached
to the fan. Screw in your hard drive
with the supplied screws to mount
it securely into the support brace.
STEP 3: