English
40
Intended Use
Thisapplianceisintendedforironingofclothingandtextiles.
It is intended for use in households.
Any other use shall be considered as not intended use and
can lead to material damage or even personal injury.
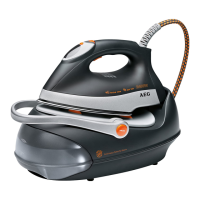
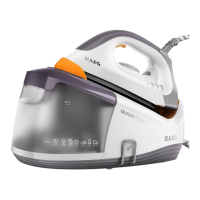
Overview of the Components
1 Steam jet button
2 Connecting tube
3 Mains lead
4 Base
5 Iron rest
6 Releasing device for handle “UNLOCK“
7 Water tank with lime filter
8 Handle
9 Lock for continuous steam
10 Steam jet button
11 Selector button SET
12 Control lamp
13 Temperature selection display
14 Lime filter cartridge
not shown
RELEASE button below the water tank. Releasing device of
the water tank
Instructions
Unpacking
• Removeanyprotectivefoilsandstickersfromthesole-
plate.
• Pleaseunwindtheleadcompletely.
Electrical connection
• Makesurethattheironvoltage(seenameplate)andthe
line voltage match.
• Themainsplugshouldonlybeinsertedintoacorrectly
installed230V~50Hzsocketwithearthingcontact.
Power Requirements
Thestationhasatotalmaximumwattageof2400W.With
this connected load a separate supply line protected by a
16 A household circuit breaker is recommended.
CAUTION: OVERLOAD!
• Ifyouuseextensionleads,theseshouldhaveacable
cross-section of at least 1.5 mm²
• Donotuseanymultiplesockets,asthisdeviceistoo
powerful.
Turn on and off
Turn on: Connect the mains plug to a properly
installed230V~50Hzsafetysocket.The
appliance is immediately switched to
operating mode. This is indicated by the red
control lamp in the display.
Turn off: Press the selector button SET (11) repeat-
edly until the red control lamp appears in
the display. Disconnect the mains plug from
the socket. The light in the display goes out.
Automatic shut-off function
The appliance has an automatic shut-off function.
• Iftheironstationisnotinuseitwillshutoffafter
20 minutes. The red control lamp in the display flashes.
• UsetheselectorbuttonSET(11)toresetthedesired
temperature, if you want to continue ironing.
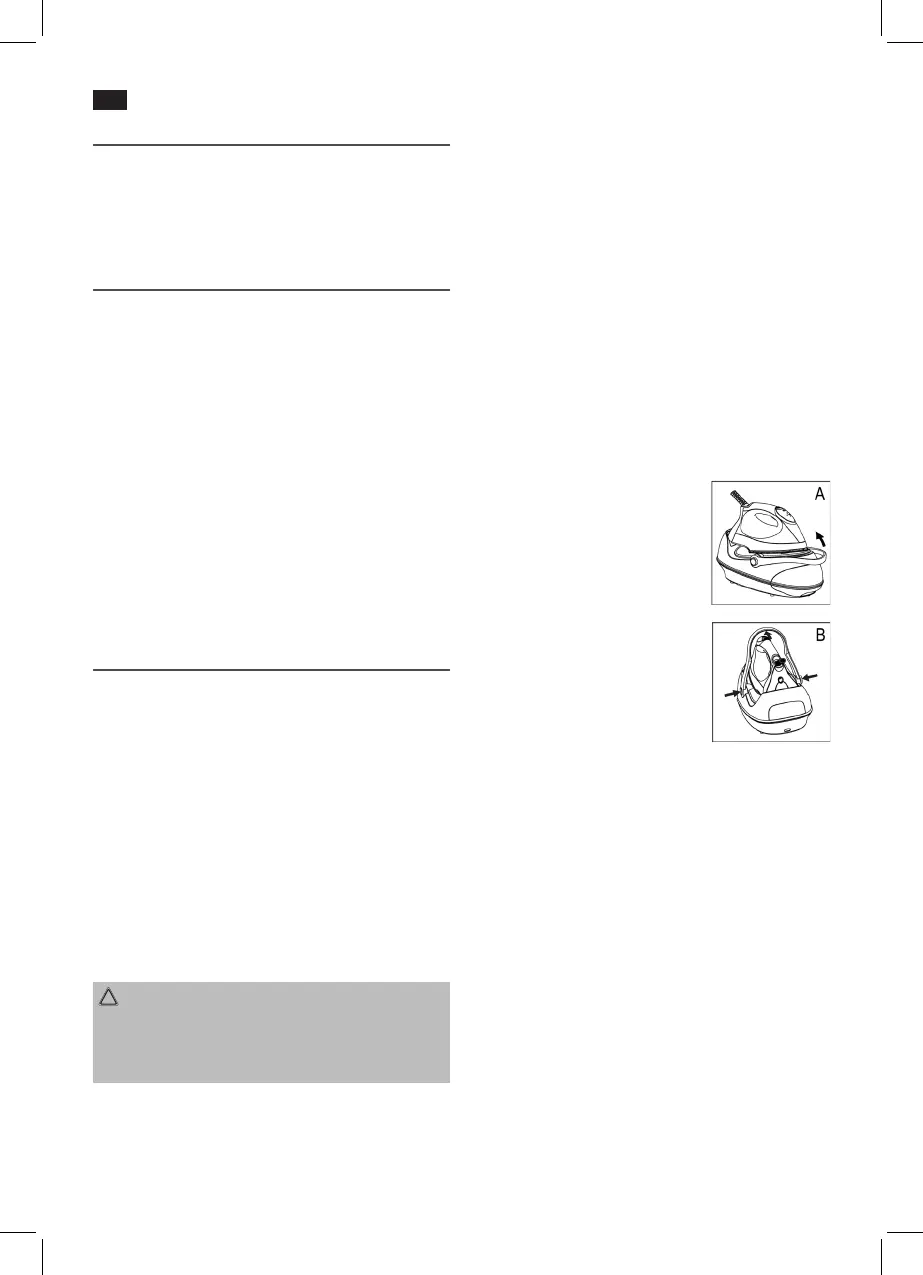
Function of the Handle (8)
The handle attached to the base
serves for carrying the appliance
when the mains plug has been
pulled from the outlet.
• Tocarrytheappliance,raisethe
handle until it engages (Fig. A). A
"click" confirms that the handle
has been locked. You can use
the handle for transport of the
appliance.
• Tounlockthehandlelock,press
both buttons "UNLOCK" (6) at
the same time and lower the
handle (Fig. B).
Electronic temperature adjustment using the selector
button SET (11)
• Observetheironinginstructionsontheclotheslabel.
• Selectthetemperaturesettingaccordingtothefollowing
table.
• Turnwoolenclothesinsideouttoavoidshinyspotson
the fabric due to steam ironing. In addition, lay a thin
cotton cloth onto the fabric.
• Theinstructionsinthetableonlyrefertofabricswith
no additional surface treatment (gloss, impregnation,
wrinkles, etc.). Select a low temperature setting for fabrics
with additional surface treatment and iron them inside
out.
• PresstheselectorbuttonSET(11)tosetthedesired
temperature.
 Loading...