17
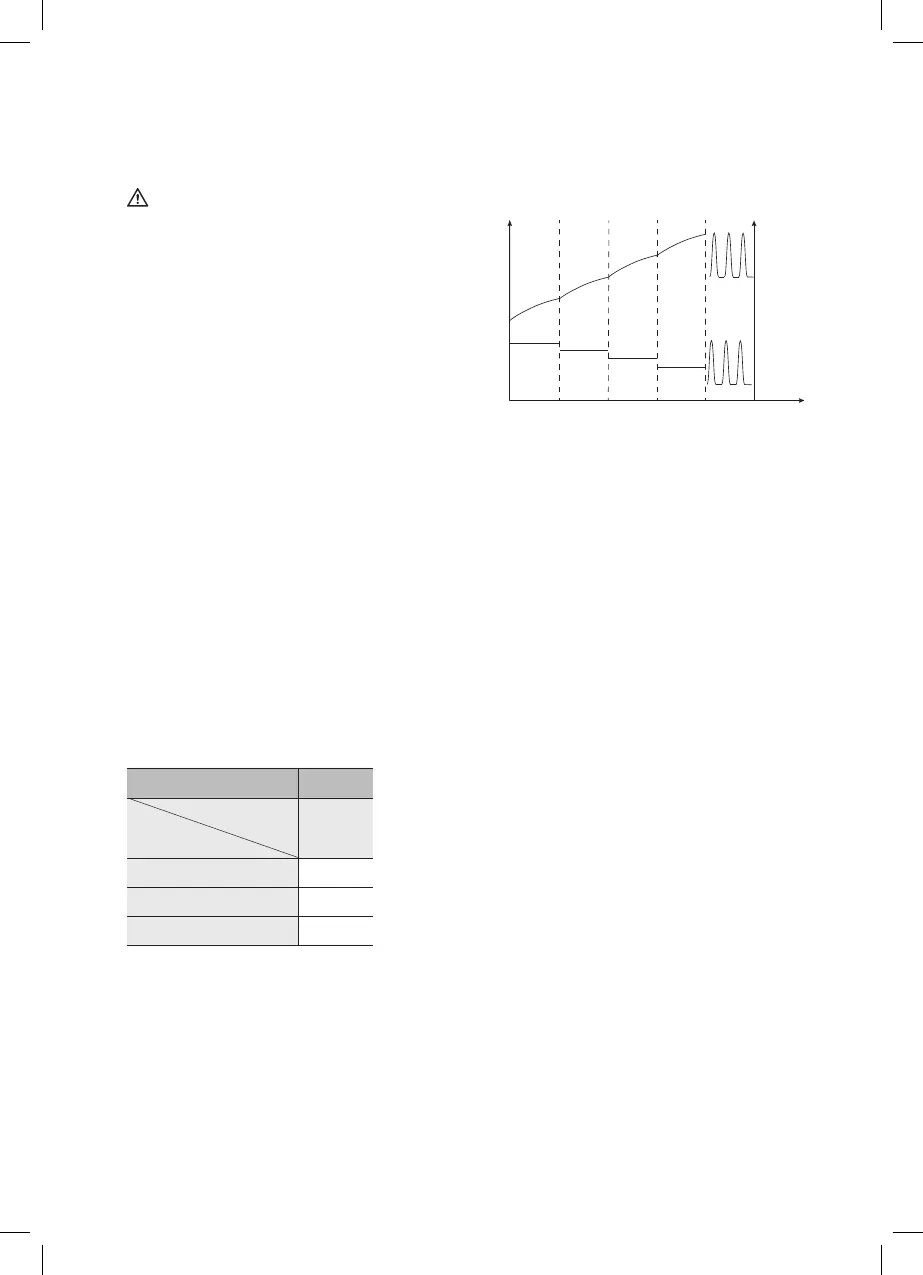
CHARGING PHASES
10.5
4A
4.2-6 A
3-4.2 A
2-3 A
1.2-2 A
Maintain
10.5-12 V
12-13 V
13-14 V
14-14.7 V
Charging current ”A”
Time ”T”
13
14.7
12
14
Voltage „V“ Charging current „A“
Time „t“
LG 6
Start charging
Warning!
The charging process must be monitored and the
charging time limited. Please follow the instructions
of the battery manufacturer.
Continuous connection of the charger can damage
the battery.
If the charging device is correctly connected it will
automatically start charging.
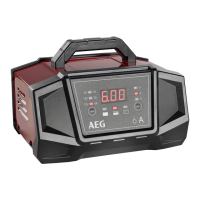
This process is indicated by the charging status
indicator (4 LED):
Depending on the charging status of the connected
battery one or all four LEDs will light up red. The
indicator start at 25 % on the left and ends at 100 %
on the right, indicating the battery is fully charged.
Completing charging and disconnecting the
charger
1. First, remove the plug from the 230V power
socket.
2. Disconnect the black (-) terminal connection
cable (5) from the negative battery terminal.
3. Disconnect the red (+) terminal connection cable
(6) from the positive battery terminal.
CHARGING TIME
Charging time in hours (approx.)
Output 12 V
4,2 A
up to 15 Ah 5 h
up to 50 Ah 15 h
up to 90 Ah 25 h
Battery size
Max. rated
output current


 To Next Page