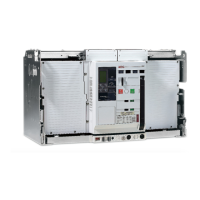
.. On-reconditioning u:;ethe rt:v'is'ion set (-2.7, figure 811) to move the
contacts in end-p(sition ON or end-position OFF manually. The
adjustment of the fixed contact can be performed easily.
- Fix the revision set on the assembling trestle. For this purpose,
at the bottom of the frame (2.7.0!) are four holes with diameter
22 mmand a modular dimension of 500 mmx 290 mm.
- Mount the po
1
e co
1
umn on the rev is i on set. Fas ten with
1;10
lts
M16x70 (2.7.16)/ nuts (2.7.17) and washers (2.7.18). Tighten the
bolts with a torque of 202 Nm.
- Position the hver (2.7.06) in such way, that the edge of the
cover (1.8.21) . s visible when looking through the adjustment
hole (P). Secu"'e the lever with washer (2.7.20) and bolt
(2.7.21).
- Couple the connEction piece (2.7.04) with the pin (2.7.07) and
secure with slee\f.e (2.7.08), washer (2.7.10) and bolt (2.7.09).
To determine the adjustment position proceed as follows:
- Fasten the nut (2.7.12) up to the revision set is free from
backlash when in end-position OFF.
- Measur~ the length Ll in end-position OFF.
- To move the interrupter unit to end-position ON turn the nut
(2.7.12) to the right so that L2
=
Ll + 103 mm is reached. The
accuracy of L2 has to be
±
3 mm.
By turning the nut 12.7.12) slowly to the left, the interrupter unit
is opened.
 Loading...