48
ENGLISH
Rear view (not shown)
AUX IN connection
AC~ mains supply
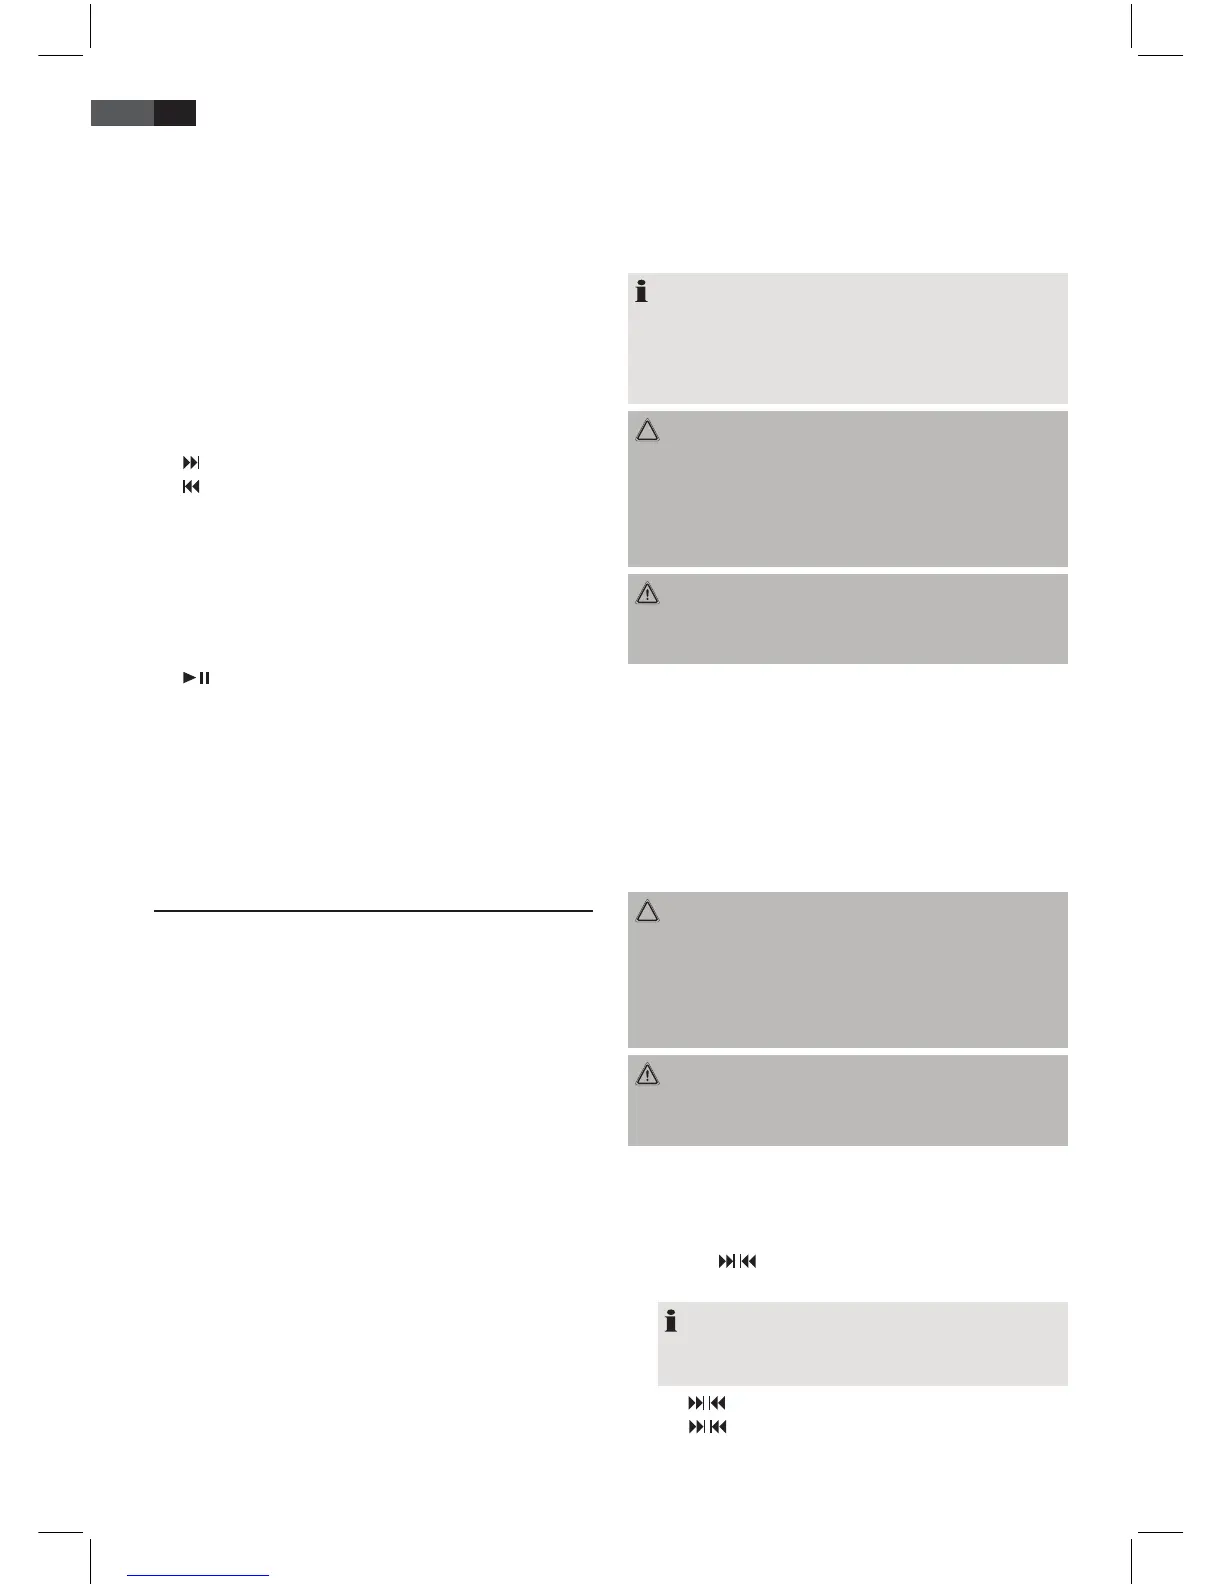
Remote control
1 CLOCK button
2 MUTE button
3 PRE-DN/PRE-UP buttons (radio station memory)
4 SNOOZE button
5 INTRO button
6 MEMORY button
7 RAND button (random playback)
8 INFO button
9
button (search forward)
button (search backwards)
10 VOLUME +/- buttons
11 FUNCTION (function switch)
12 MENU UP button (iPod/iPhone menu navigation)
13 ENTER button (conrmation)
14 MENU DN button (iPod/iPhone menu navigation)
15 EQ button
16 MENU button
17 (play/pause) button
18 STOP button
19 REPEAT button
20 MONO/ST button
21 FOLDER +/- buttons (up/down, album)
22 SLEEP button
23 TIMER button
24 STANDBY button
Installation/Introduction
• Read the manual thoroughly before operating the
device!
• Select a suitable location for the device. Suitable loca-
tions are dry, even and anti-slip surfaces on which you
may operate the device easily.
• Make sure there is proper ventilation for the device!
• Remove, if necessary, the protection sheet from the
display.
Power supply
• Connect the supplied mains cable (see battery com-
partment (15), if necessary) to a correctly installed
power outlet 230 V / 50 Hz and the power connection
AC ~ on the back of the device.
• Make sure the voltage is in conformity with the rating
plate.
• The saved time will be lost as soon as the power is
disconnected.
Battery Operation (Batteries not supplied)
• Open the cover of the battery compartment (15) on
the bottom.
• Insert the 8 batteries type UM 2/R14 1.5 V. Observe the
correct polarity (see bottom of battery compartment)!
• Close the battery compartment.
Should the device not be used for a long periods, remove
the batteries, to prevent any “leakage”.
NOTE:
• If a mains cable is connected, the batteries are
automatically switched o.
• During battery operation, the rechargeable battery
of a connected iPod/iPhone will not be charged.
CAUTION:
• Dierent battery types or new and used batteries
must not be used together.
• Do not dispose of batteries with your household
trash. Please hand over at authorized collection
points or return to your dealer.
WARNING:
Do not expose batteries to heat or direct sunlight. Never
throw batteries into re. Danger of explosion!
Batteries of remote control (Batteries not included)
• Open the cover of the battery compartment on the
rear side of the remote control.
• Insert 2 x R03 “AAA” 1.5 V batteries. Please observe
correct polarity (see bottom of battery compartment)!
• If you do not use the remote control for a longer
period of time, please remove the batteries in order to
avoid “leakage” of battery acid.
CAUTION:
• Dierent battery types or new and used batteries
must not be used together.
• Do not dispose of batteries with your household
trash. Please hand over at authorized collection
points or return to your dealer.
WARNING:
Do not expose batteries to heat or direct sunlight. Never
throw batteries into re. Danger of explosion!
Setting the clock (during standby mode)
1. Briey hold down the CLOCK button (5/1). The display
will show “24 HOUR”.
2. Use the
/ buttons (8/9) to select between 24-hour
and 12-hour display setting. Conrm with CLOCK.
NOTE: The 12-hour setting will result in the
following display
AM = morning, PM = afternoon.
3. Use
/ buttons to set the hours. Conrm with CLOCK.
4. Use
/ buttons to set the minutes.
5. Press CLOCK again in order to save the time settings.
 Loading...