English
41
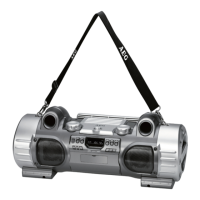
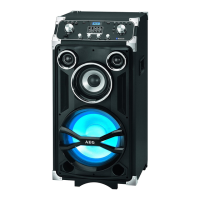
Overview of the components
1 CD compartment
2 CD tray lock (OPEN/LOCK)
3 VOLUME control (volume)
4 LCD display
5 IR sensor for the remote control
6 REPEAT button
7
button (Stop)
8
button (play/pause)
9 / buttons (search forward/backwards)
10 PROG button (Memory)
11 Memory card slot
12 AUX IN jack
13 USB connection
14 FOLDER+ button (folder upward)
15 MUTE button
16 FOLDER- button (folder downward)
17
STANDBY/ON button (standby/power)
18 EQ button (Equalizer)
19 MODE function switch
20 BASS control
21 Nylon handle mounting
22 Telescopic antenna
A Speaker
Rear view (not shown)
POWER ON/OFF switch
DC IN 12 V Power supply connection
Battery compartment
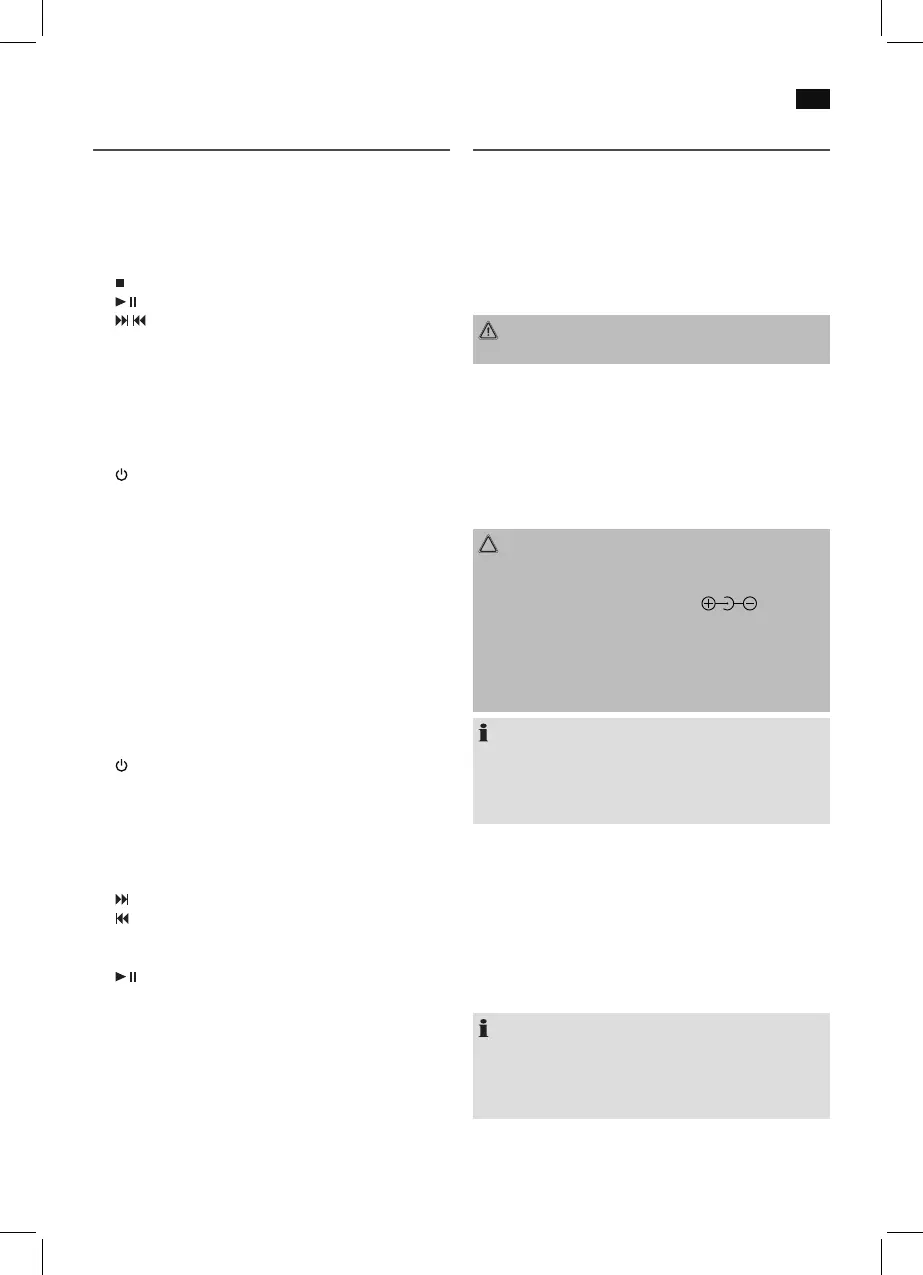
Remote control
1
STANDBY button
2 FM button (radio)
3 AUX IN button
4 PROG button (Memory)
5 PRESET utton (radio memory)
6 ID3 button
7 EQ button
8 / SKIP/TUNING UP button (search forward)
/ SKIP/TUNING DOWN button (search backwards)
9 STOP / FM MONO/ST button
10 VOLUME +/- (volume) button
11 PLAY/PAUSE
12 RANDOM button (random playback)
13 REPEAT button
14 FOLDER +/- buttons (Album selection)
15 MUTE button
16 CD/USB/SD button
Installation/Introduction
• Readthemanualthoroughlybeforeoperatingthede-
vice!
• Selectasuitablelocationforthedevice.Suitableloca-
tions are dry, even and anti-slip surfaces on which you
may operate the device easily.
• Makesurethereisproperventilationforthedevice!
• Remove,ifnecessary,theprotectionsheetfromthe
display.
WARNING:
Turning up the volume too high may damage your hearing.
Power supply
• Insertthegridplugintoaproperlyinstalledthreeprong
socket with 230 V, 50 Hz. Connect the device with the
plug connector by inserting its plug into the IN 12 V jack
of the device.
• Makesurethegridvoltagecorrespondstothegureson
the rating plate.
CAUTION:
• TheincludedACadaptermayonlybeusedwiththis
device. Do not use it for other devices.
• UseonlyanACadapterwith12V(
). A differ-
ent AC adapter may damage the unit.
• Themainsplugshallremainreadilyoperable.
• Thedirectplug-inadapterisusedasthedisconnect
device, the disconnect device shall remain readily
operable
NOTE:
• Disconnectfrommainspowersupplyduringlonger
periods of non-use.
• Thepresettimeandstationislostassoonasthepower
supply has been interrupted.
Battery Operation (Batteries not supplied)
• Openthelidofthebatterycompartmentontherear
side.
• Insertthe10batteriestypeUM1/R201.5V.Observethe
correctpolarity(seebottomofbatterycompartment)!
• Closethebatterycompartment.
Should the device not be used for a long periods, remove
the batteries, to prevent any “leakage”.
NOTE:
• Ifamainscableisconnected,thebatteriesareauto-
matically switched off.
• Thepresettimestationislostassoonasyouremove
the batteries.
 Loading...