10
3.INSTALLATION AND CONNECTION
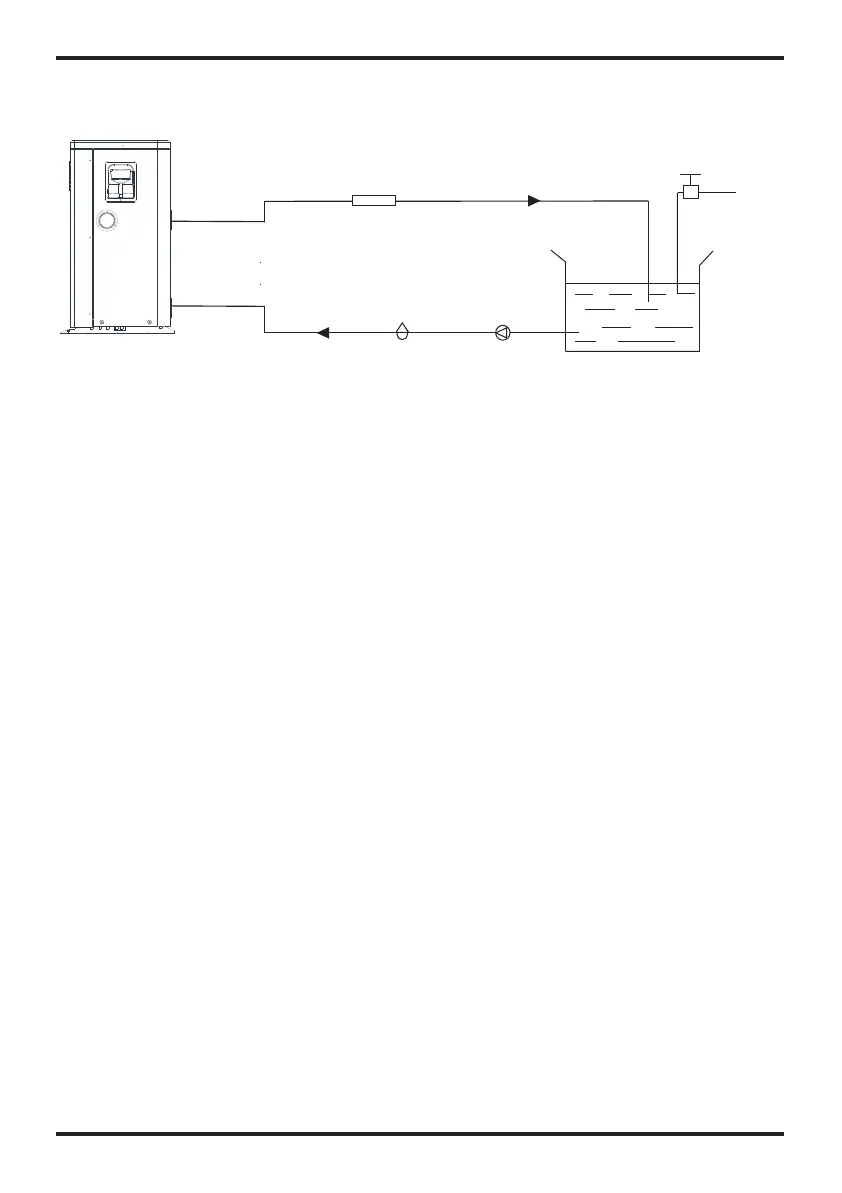
3.1 Installation illustration
Chlorinator cell
Water outlet
Pool
Valve
Water supply
Water inlet
Water pump
Sand filter
(or other type filter)
Installation items:
The factory only provides the main unit and the water unit; the other items in the illustration
are necessary spare parts for the water system ,that provided by users or the installer.
Attention:
Please follow these steps when using for the first time
1.Open valve and charge water.
2.Make sure that the pump and the water-in pipe have been filled with water.
3.Close the valve and start the unit.
ATTN: It is necessary that the water-in pipe is higher than the pool surface.
The schematic diagram is for reference only. Please check the water inlet/outlet label on the
heat pump while plumbing installation.
The schematic diagram is for reference only. Please check the water inlet/outlet label on the
heat pump while plumbing installation.
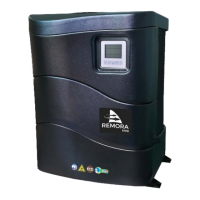
The controller is mounted on the wall
2.2 The dimensions for Swimming Pool Heat Pump Unit
2.SPECIFICATION
9
Model:PIV21/32
unit:mm
862
466
96
1160
790
Water outlet
Φ50
Water inlet
Φ50
470
Models: PIV25/32
PIV25T/32
PIV30/32
PIV30T/32
unit:mm
Water outlet
Φ50
Water inlet
Φ50
1161
775
1275
490
550
97.2