EN 4
© Copyright LOTRONIC 2024
EN 4
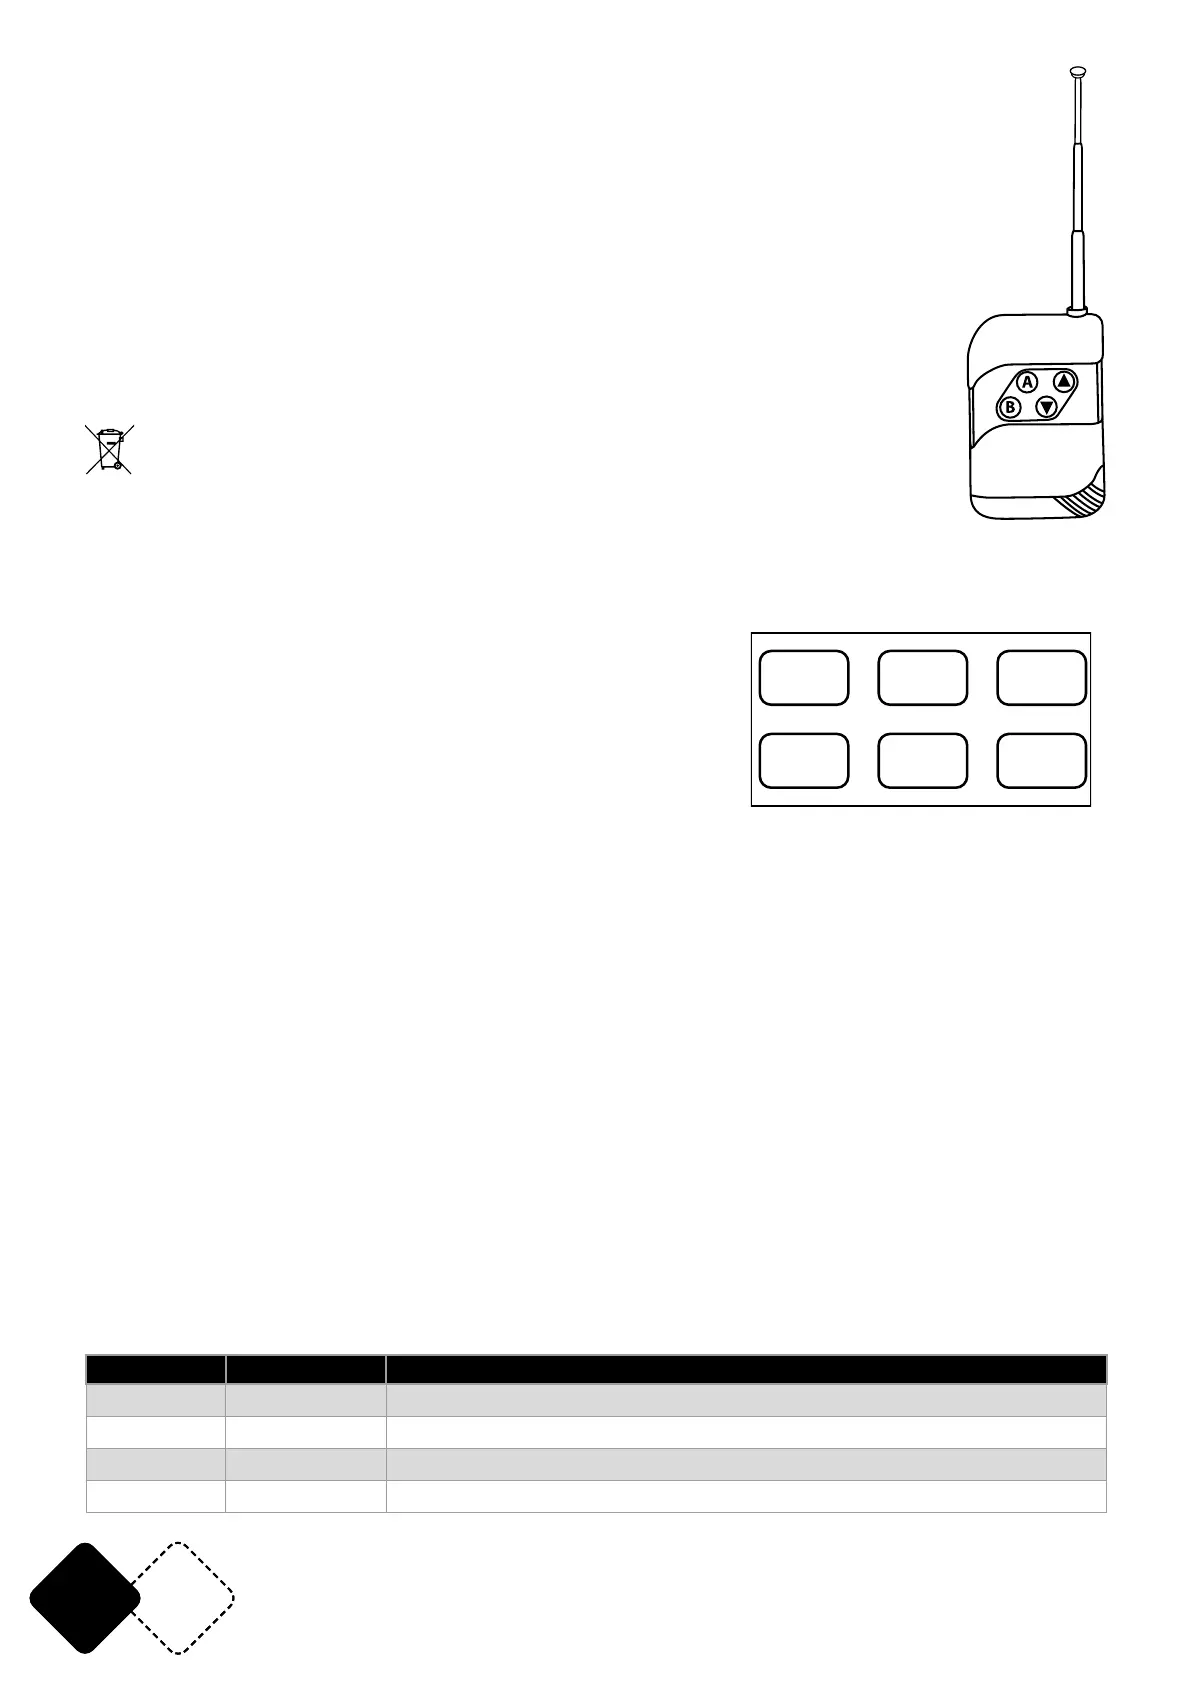
WIRELESS REMOTE CONTROL
Button A: Adjust the fan speed with buttons “▲” and “▼”
Button B: Adjust the fog volume with buttons “▲” and “▼”
INSTALLING THE BATTERY IN THE REMOTE CONTROL
• Place the remote face down on a at surface.
• Push the compartment cover into the direction of the arrow to slide the battery
compartment open.
• Remove the old battery and install the new one (23A 12V alkaline) with the correct
polarity.
• Gently slide the battery compartment closed. It locks automatically.
RECOMMENDATIONS FOR BATTERIES
This symbol indicates that used batteries should not be disposed of with household waste but deposed correctly in
accordance with your local regulations..
Batteries shall not be exposed to excessive heat such as sunshine, re or the like.
When the internal batteries are not to be used, remove them to avoid damage caused by battery leakage or corrosion.
ATTENTION: Danger of explosion if battery is incorrectly placed. Only replace by the same or equivalent type.
WARNING :Do not swallow the battery. Danger of chemical burns. Keep new and old batteries out of the reach of children.
If the battery compartment doesn’t close properly, stop using the product and keep it out of the reach of children.
If you are in doubt whether the batteries have been swallowed or introduced into any other part of the body, contact immediately a doctor.
LCD DISPLAY
Button functions:
“FUNCTION” button: Press to go to the next page
“UP” button: Increase the value
“DOWN” button: Decrease the value
“TIMER” button: Press to set up the timer for the fog output
“VOLUME” button: Press to start or stop fogging
“MANUAL” button: Long press to fog, release to stop fogging
MENU DISPLAY INSTRUCTION:
1. Main menu: During warming up, you will see “Warming Up” on the LCD display. When the ma-
chine is ready to fog, “Ready To Fog/ “WATER FOGGER” will be displayed
2. Fogging timer set up: Interval Timer (1-200s)
3. Continue fogging time set up: Duration Timer (1-200s)
4. DMX set up: DMX address (1-512)
5. Fluid sensor (ON/OFF): No uid protection switch. When "uid sensor on" is displayed and no
uid is in the tank, "No Fluid" will be displayed and the machine stops working. Turn it off, ll the
tank and turn it on again.
6. Continue working fog output: Volume Out Level (1-100)
7. Fan speed setting: Fan Speed Level (1-100)
DMX CONNECTION
Connect an XLR cable to the male 3-pin XLR output of your controller and the other side to the fe-
male 3-pin XLR input of the device.
DMX TABLE
Channel Value Description
CH1 0-5 No fan output
6-255 Fan output from slow to fast
CH2 0-5 No Fog
6-255 Fog volume from slow to fast
FUNCTION
VOLUME
UP
DOWN
TIMER
MANUAL