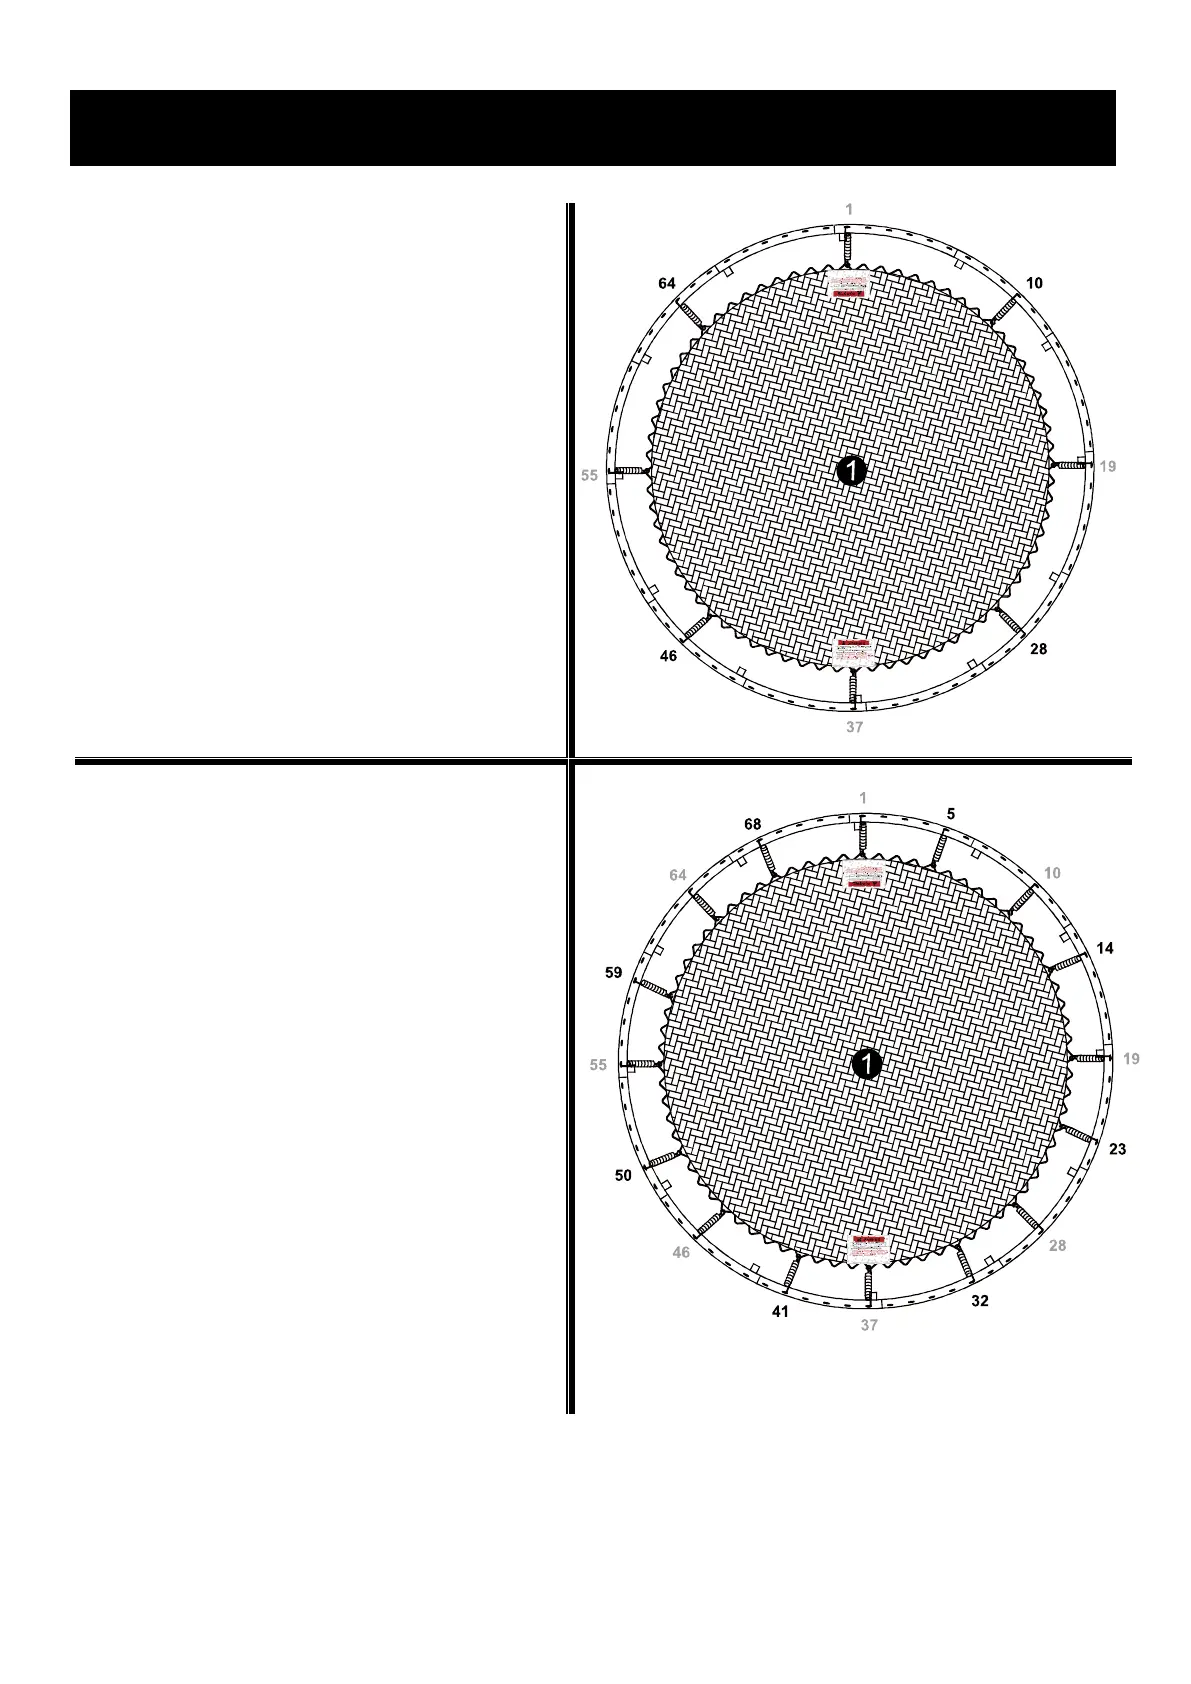
Step 2
Continue to attach springs in the same manner.
For even distribution of tension and ease of
assembly, the springs must be placed on opposite
sides of the mat in an alternating manner, i.e. 10
then 46, 28 then 64, etc. In addition to the
previously installed springs, you should now have
springs at 10, 28, 46 and 64 as shown.
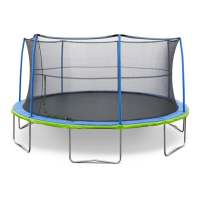
Step 3
Continue to attach springs in the same manner.
For even distribution of tension and ease of
assembly, the springs must be placed on opposite
sides of the mat in an alternating manner, i.e. 5
then 41, 14 then 50, 23 then 59, 32 then 68, etc. In
addition to the previously installed springs, you
should now have springs at 5, 14, 23, 32, 41, 50,
59 and 68 as shown.