AIRMAR
TECHNOLOGY CORPORATION
35 Meadowbrook Drive, Milford, New Hampshire 03055-4613, USA
■
www.airmar.com
4
Copyright 2003. All rights reserved.
2. Using a 51mm or 2" hole saw, cut the hole from outside the hull
through the
outer
skin only
(see
Figure 4).
3. From inside the hull, use a 60mm or 2-3/8" hole saw to cut
through the
inner
skin and most of the core. The core material
can be very soft. Apply only light pressure to the hole saw after
cutting through the inner skin to avoid accidentally cutting the
outer
skin.
4. Remove the plug of core material so the
inside
of the outer skin
and the inner core of the hull are fully exposed. Sand and clean
the inner skin, core, and the outer skin around the hole.
Caution
: Completely seal the hull to prevent water seepage
into the core.
5. If you are skilled with fiberglass, saturate a layer of fiberglass
cloth with a suitable resin and lay it inside the hole to seal and
strengthen the core. Add layers until the hole is the correct
diameter.
Alternatively, a hollow or solid cylinder of the correct diameter
can be coated with wax and taped in place. Fill the gap between
the cylinder and hull with casting epoxy. After the epoxy has set,
remove the cylinder.
6. Sand and clean the area around the hole, inside and outside, to
ensure that the sealant will adhere properly to the hull. If there is
any petroleum residue inside the hull, remove it with either mild
household detergent or a weak solvent (alcohol) before sanding.
7. Proceed with “Bedding” and “Installing” (see page 2).
Maintenance
,
Repair & Parts
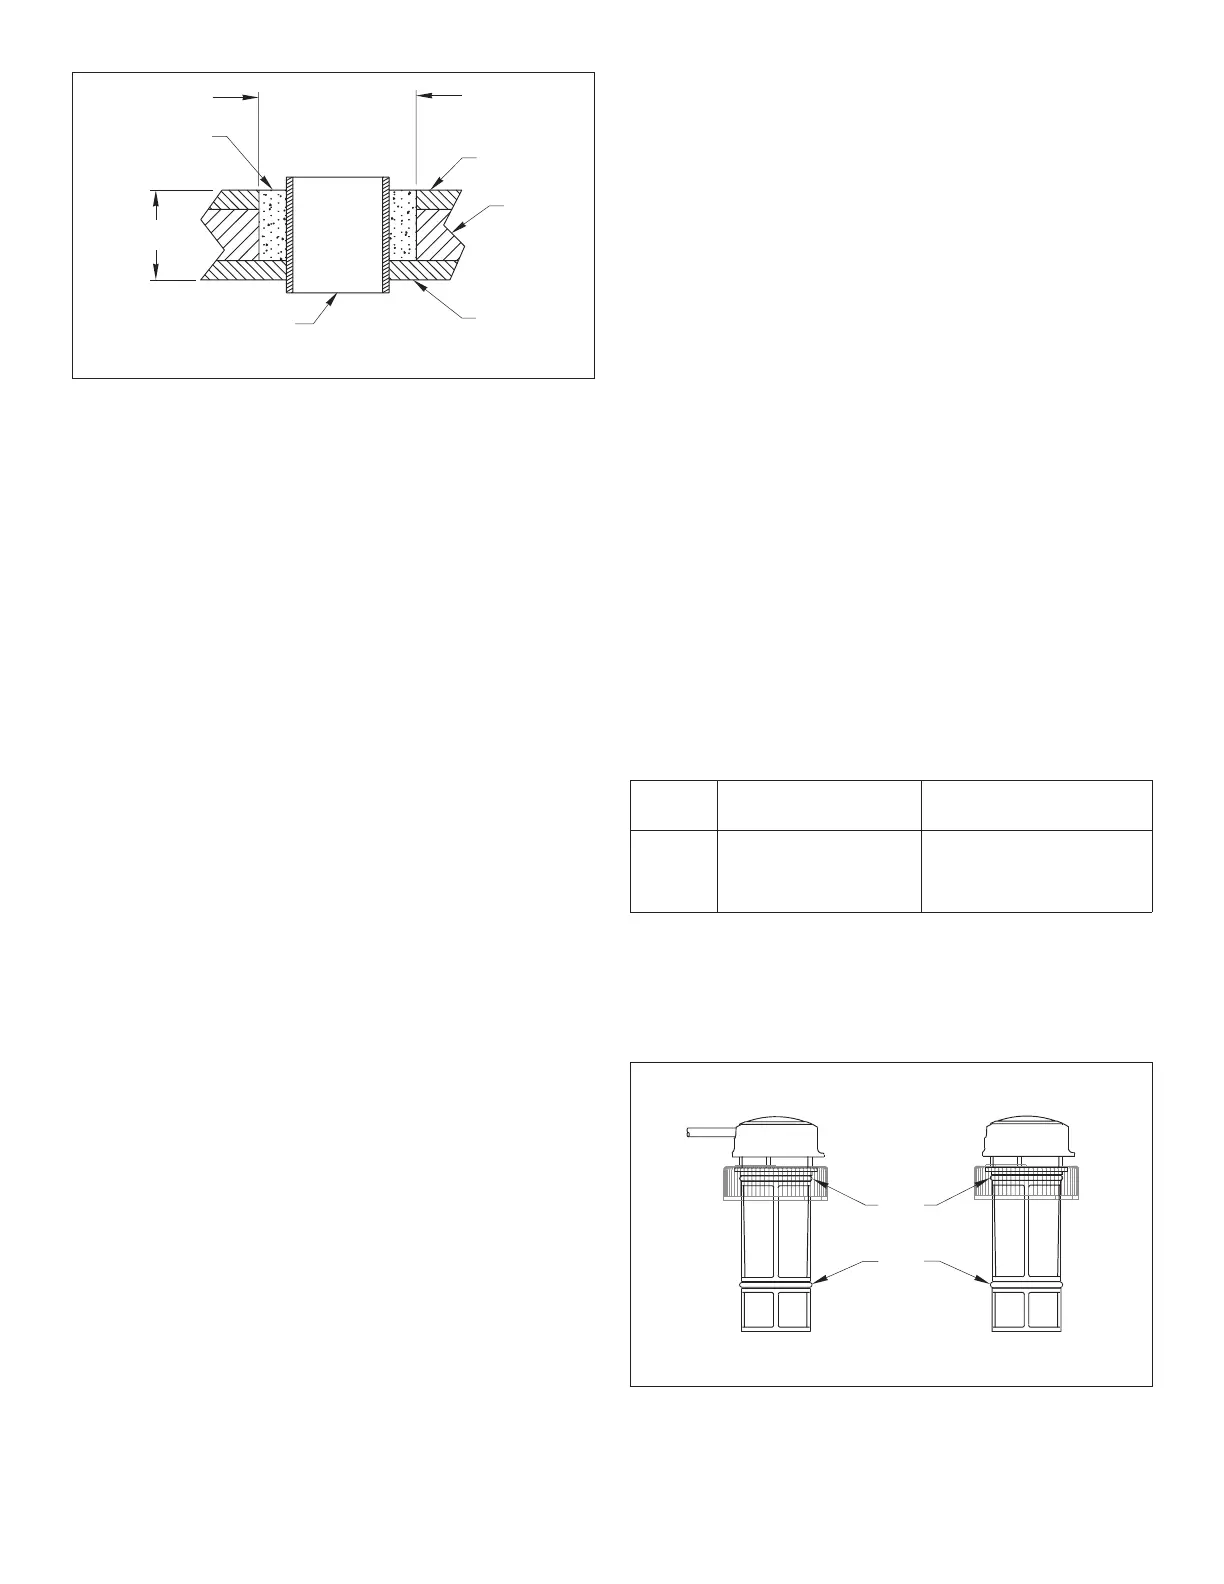
Using the Blanking Plug
To protect the sensor, use the blanking plug when the boat will be
kept in salt water for more than a week, the boat will be removed
from the water, or aquatic growth build-up is suspected due to
inaccurate readings from the instrument.
Warning: The O-rings must be intact and well lubricated to make
a watertight seal.
1. Inspect the O-rings on the blanking plug (replace if necessary)
and lubricate them with the silicone lubricant supplied or
petroleum jelly (Vaseline
®
) (see Figure 5).
2. Remove the insert from the housing by removing the safety
wire. Loosen the cap nut (see Figure 3).
3. With the blanking plug ready in one hand, pull the insert most of
the way out. Remove the insert and rapidly replace it with the
blanking plug. With practice, only 250ml (10oz.) of water will
enter the boat.
4. Screw the cap nut several turns until there is resistance.
Rotate
the insert until the key engages the notch in the housing.
Be
sure
the arrow on the top of the blanking plug is facing forward
toward the bow. Continue to tighten the cap nut. Hand-tighten
only.
Do not
over tighten.
Warning: Always attach the safety wire to prevent the insert
from backing out in the unlikely event that the cap nut fails or is
screwed on incorrectly.
5. Reattach the safety wire.
Servicing the Insert
Aquatic growth can accumulate rapidly on the depth transducer’s
surface reducing performance within weeks. Clean the insert with
a soft cloth and mild household detergent. If the fouling is severe,
use a stiff brush or putty knife to remove the growth
taking care
to
avoid scratching the depth transducer. Lightly wet sand with fine
grade wet/dry paper.
O-rings
must
be free of abrasions and cuts to ensure a watertight
seal. Install a large O-ring under the cap nut of the insert. Install a
small O-ring near the bottom (see Figure 5). Place the remaining
two O-rings in similar positions on the blanking plug.
Replacement Parts
Lost, broken, and worn parts should be replaced immediately. If
you have purchased a plastic housing and have a wood hull or
desire greater strength, purchase an Airmar metal housing. If you
have purchased a low profile housing and prefer a flush housing,
see below. Obtain the following parts from your marine dealer or
instrument manufacturer.
Sensor Replacement
The information needed to order a replacement Airmar sensor is
printed on the cable tag.
Do not
remove this tag. When ordering,
specify the part number, date, and frequency in kHz.
Blanking
Plug
Hull Nut
and/or Isolation Bushing
Housing, Nut & Washer
20-366-01
04-004 (plastic)
02-030 (bronze)
02-530-02 (stainless steel)
04-186-1 (isolation bushing)
33-100 (bronze, low profile)
33-224-01 (bronze, counterbore)
33-091-01 (bronze, flush)
33-094-01 (stainless steel)
Figure 5. Replacing the O-rings
blanking plug
insert
large
O-ring
small
O-ring
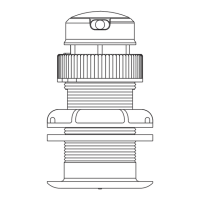
Figure 4. Preparing a cored fiberglass hull
inner skin
core
outer skin
solid or hollow cylinder
pour in
casting
epoxy
9-12 mm
(3/8-1/2")
larger than the
hole through the
hull’s outer skin
hull thickness
 Loading...