hinge.
Awnings
Complete instructions have been provided with your awning. You should make
sure your traveling companion is familiar with the operation of the awning.
We remind you that the awning is a sun protection, so please roll up your
awning in case of heavy rain, wind or snow. To prevent water build up on the
awning during a light rain, position one upper arm substantially lower than the
other to create enough of a slope for adequate water run off.
There is a clear tape placed between the exterior skin and the awning fabric.
This is to prevent the awning fabric from rubbing on the coating and wearing
through it. Inspect the tape every year or after a long trip. Have it replaced if
it begins to wear thin..
NOTE: IF WIND OR EXTENDED PERIODS OF RAIN ARE EXPECTED, ROLL UP
THE AWNING AND SECURE AS FOR TRAVEL!
CAUTION: THE EFFECTS OF WIND AND RAIN ON ANY AWNING
ARE UNPREDICTABLE. SEVER DAMAGE TO THE VEHICLE AND OR THE
AWNING MAY RESULT AND CANNOT BE COVERED BY WARRANTY!
Hitch Ball Height
The standard RECOMMENDED HITCH BALL HEIGHT for the Airstream Flying
Cloud is 17 ¾” for all models. If you plan long trips with the trailer heavily loaded
you should check your trailer, after loading, to determine the optimum height.
To check, park the trailer on a level surface and crank the front jack up or down
until the measurement from the frame to the ground is the same front and rear.
Measure from the ground to the upper surface of the hitch ball coupler. Add one
inch to this figure when setting the ball height on the tow vehicle to allow for the
suspension settling under the added weight.
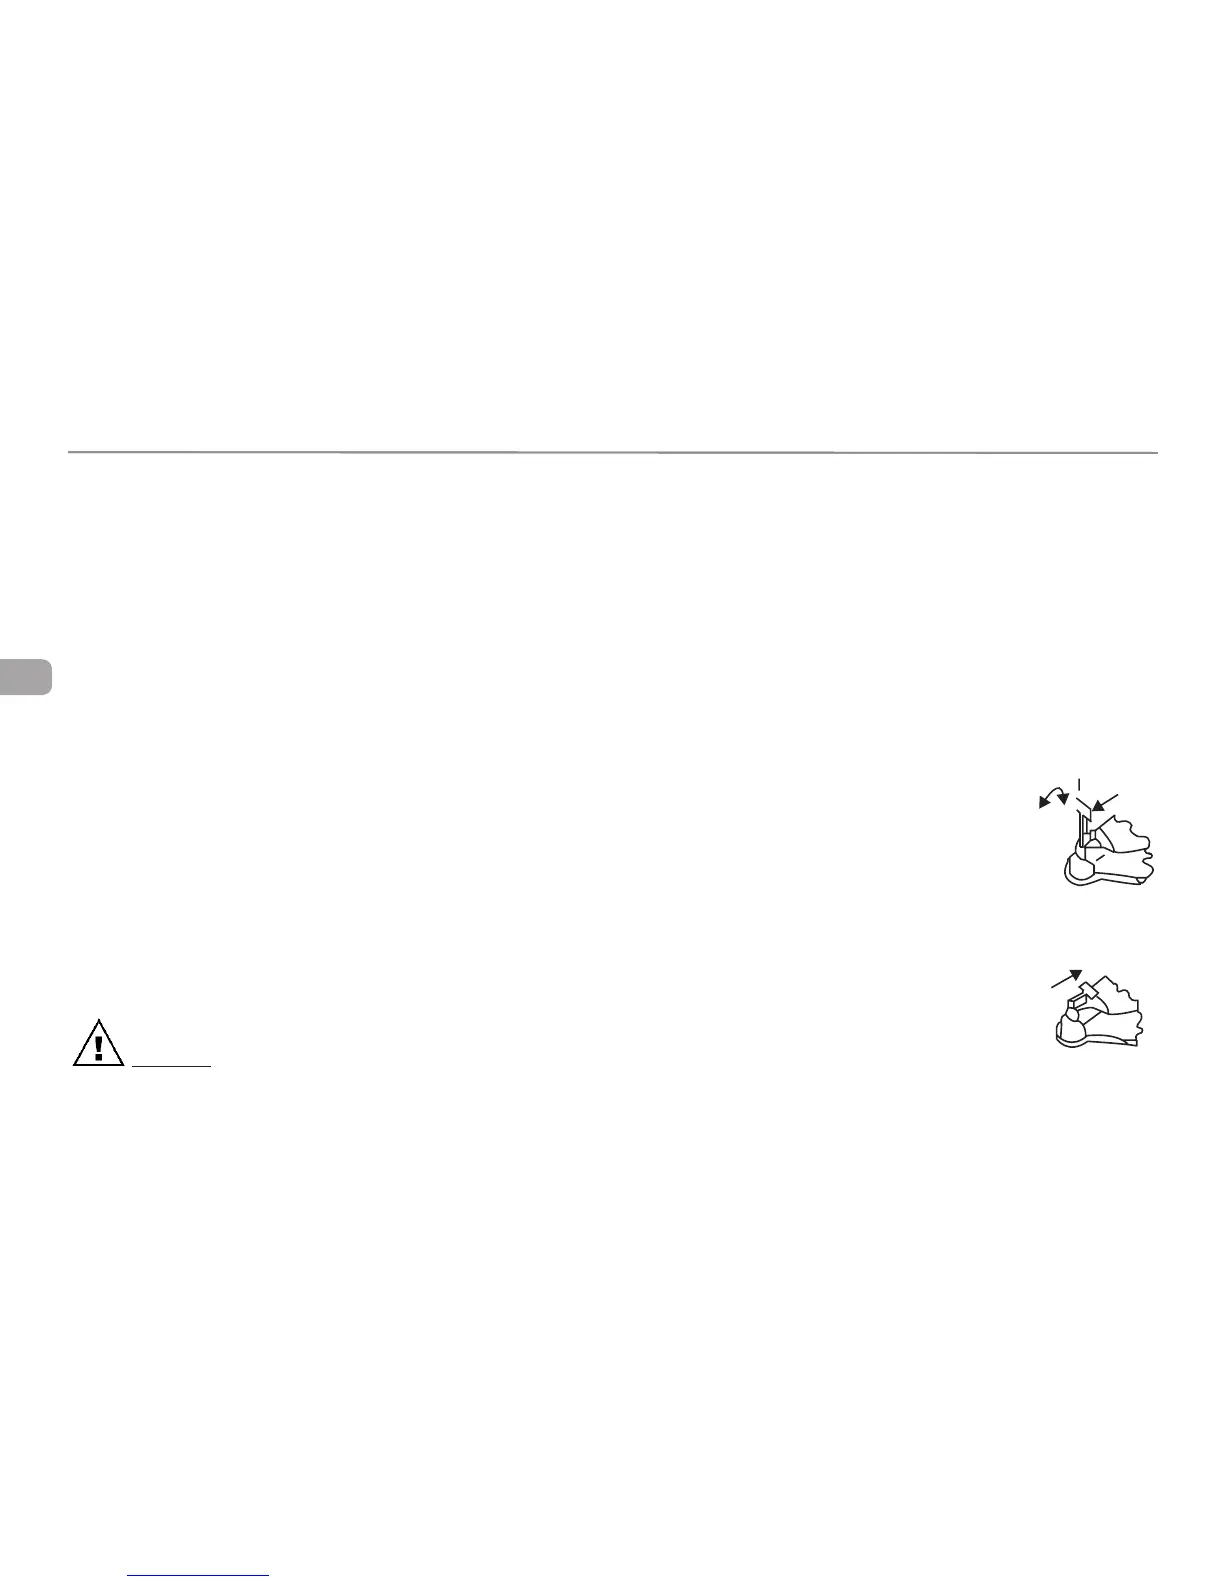
Coupler Operating Instructions
1. To open - slide forward and pull up to open latch before
inserting ball.
2. Place coupler on ball of same diameter as coupler and
of same or greater capacity.
3. When ball is completely nested in socket, push top of
latch handle rearward until handle snaps into closed
position. (Figure 2)
To Open
Open Position
Figure 1
To Close
Closed Position
Figure 2