11
Step 3
Step 1
1. Open the shut-off valve to allow water to flow into the water
heater.
2. Check for any leaks at plumbing connections. If there are
any leaks from the nipples, firmly tighten with a wrench,
but DO NOT OVERTIGHTEN.
3. Turn on the hot water faucet and allow water to run through
the water heater to purge all the air from the water lines.
This MUST be performed prior to turning on the power at
the unit. FAILURE TO FOLLOW THIS STEP CAN CAUSE
PERMANENT DAMAGE TO THE HEATING ELEMENTS.
4. Check again for any leaks at plumbing connections.
Correct any that are found.
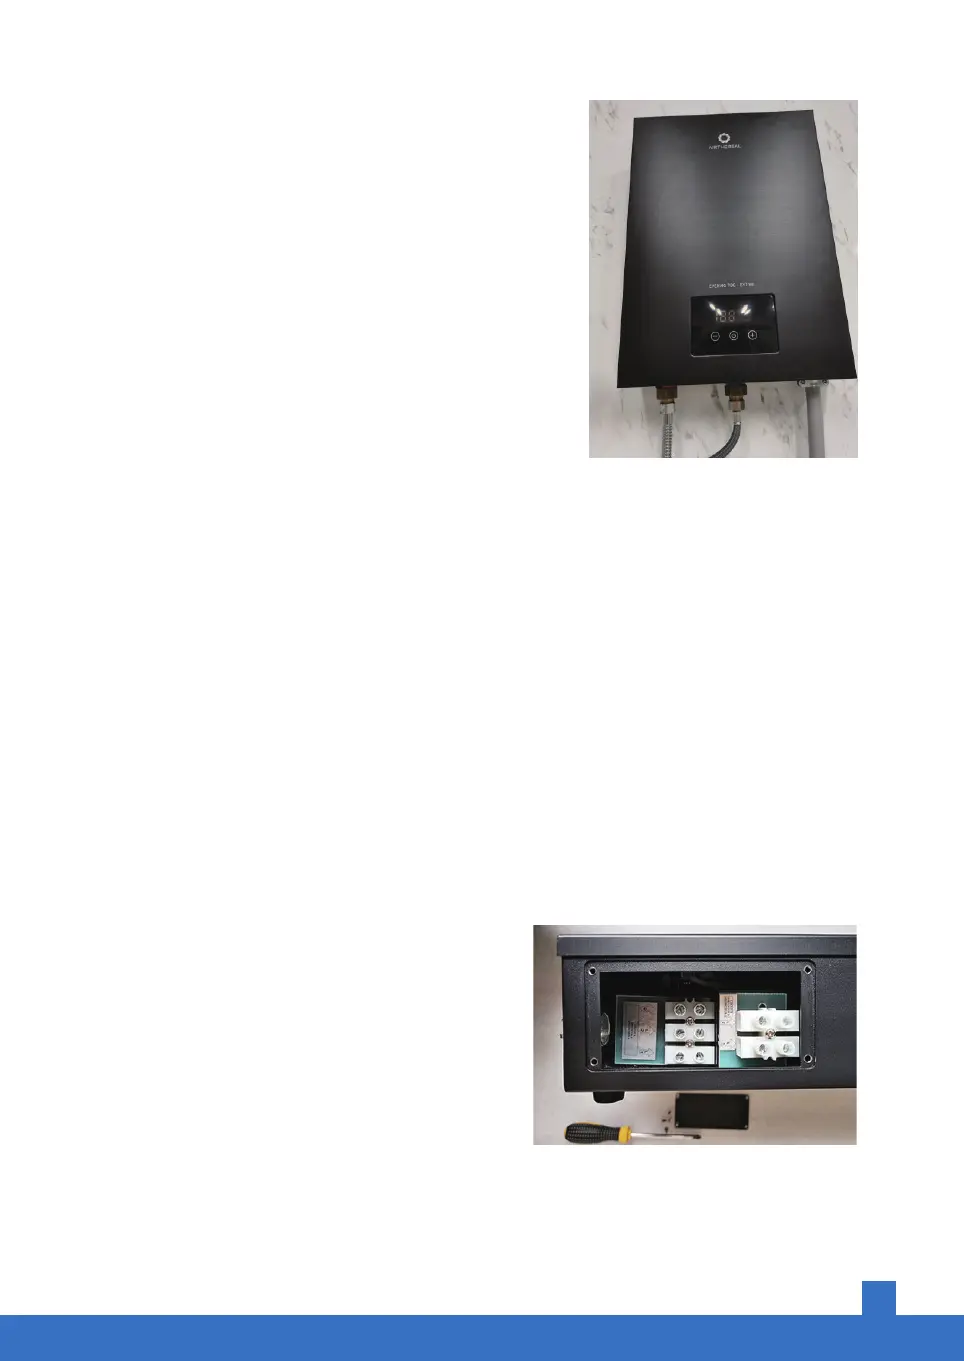
Remove the screws from the right side of the water
heater.
Warning: DO NOT disassemble the panel. There is
a wire connection between the panel and the heater.
If you have removed the panel, please refer to the
connection diagram on page 4 to restore the wiring
to the original setting.
ELECTRICAL CONNECTIONS
ATTENTION
1. Make sure that the breaker is switched OFF before installing the wire to avoid any danger of
electric shock. All mounting and plumbing must be completed before proceeding with the
electrical connection.
2. All electrical work must comply with national and applicable state and local electrical codes.
This water heater must be permanently connected to the direct main breaker panel. The use
of a plug and socket for power is forbidden.
3. The heater must be connected to its own independent electrical circuit. Install a fuse box or
switch (breaker) for the exclusive use of the heater.
4. All units must be connected to a properly grounded dedicated branch circuit with a proper
voltage rating.


 To Next Page