Do you have a question about the Aiwa CX-NA30 and is the answer not in the manual?
Covers placement, ventilation, water, heat, and mounting guidelines for safe unit operation.
Guidelines for connecting power, handling AC cords, and polarized plugs.
Covers safe use of extension cords and unplugging the unit when not in use.
Instructions for safely installing and grounding an outdoor antenna, including power line clearance.
Connect speakers, antennas, and AC power cord to the main unit for setup.
Connect surround speakers to the designated terminals on the main unit.
Connect supplied FM/AM antennas and outdoor antenna to appropriate terminals.
Manage remote batteries and utilize SHIFT/FUNCTION buttons for advanced control.
Control volume and enhance bass using the Super T-BASS system.
Select sound profiles like ROCK, POP, or CLASSIC for customized audio.
Connect headphones and adjust sound for recording.
Tune radio stations manually or use Auto Search for quick scanning.
Store and recall favorite radio stations using preset numbers.
Load, play, pause, rewind, stop tapes, manage counter, and care for tapes.
Manage the tape counter and follow guidelines for tape care and handling.
Load, play, stop, pause, search tracks, and replace discs during playback.
Use numbered buttons to select tracks and check remaining playback time.
Utilize random, repeat, and programmed play features for customized listening.
Record from tuner, CD, or external sources; control recording and insert blank spaces.
Erase unwanted recordings from tape.
Copy tapes manually or perform synchronized dubbing of entire tapes.
Record CDs to tape, automatically arranging tracks to fit tape length.
Designate tape length and program tracks for side A and B.
Record selected CD tracks to tape while checking remaining tape time.
Designate tape length, program tracks, and clear selections.
Connect and adjust microphone volume and tone to mix with music.
Adjust vocal levels and channel output for karaoke using fader or multiplex functions.
Reserve up to 15 tracks for playback after the current track.
Press play to start playback of reserved tracks.
Set the current time, switch formats, and display the clock.
Program the unit to turn on automatically with a selected source and duration.
Set the unit to turn off automatically after a specified time.
Schedule timer recording for TUNER and VIDEO/AUX sources.
Connect external devices via specific jacks like turntables or subwoofers.
Select and play audio from equipment connected to the VIDEO/AUX input.
Restore factory settings by performing a power cycle with the CLEAR button.
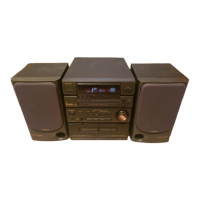
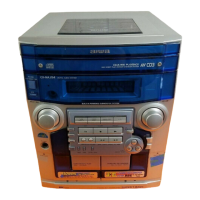
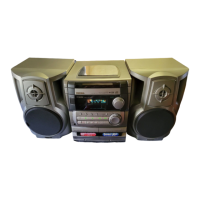
Technical details for the main unit and speaker system.
Information on copyright laws, FCC compliance, and interference guidelines.
Alphabetical listing of unit parts and their corresponding page numbers for reference.
| CD Player | Yes |
|---|---|
| Radio Tuner | FM/AM |
| Bluetooth | No |
| Remote Control | Yes |
| USB Port | No |
| Aux Input | Yes |
| Type | Stereo System |
| Cassette Deck | Yes |