Do you have a question about the AL-KO Powerline 5200BRV and is the answer not in the manual?
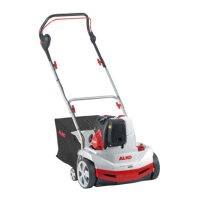
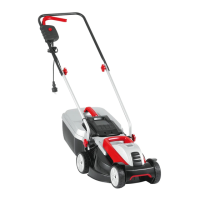
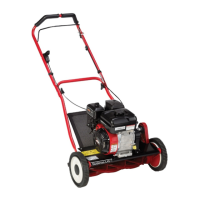
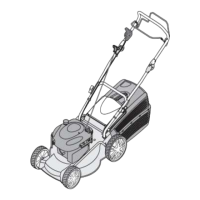
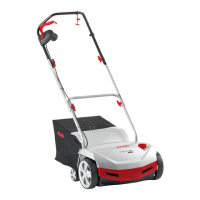
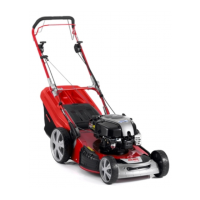
Describes various petrol lawnmower models, their features like grass catcher and mulching.
Intended for mowing private property on dry grass only.
Not for public spaces, must not bypass safety devices, not for damp grass.
Equipped with a safety brake; release if danger.
Provides protection against thrown projectiles.
Symbols related to electric start and safety precautions for electric shock.
Use in correct condition, don't disable safety devices, fire risks, keep others away.
Secure positioning, work across slope, gradient limits, turning care.
Petrol and oil are highly inflammable; observe manufacturer's instructions.
Steps for adding petrol safely.
Steps for adding motor oil safely.
Do not use if cutting gear/fastenings are loose, damaged, or worn.
Steps to adjust height using the central knob.
Steps to adjust height using levers.
Indicator shows when grass catcher is full.
Steps to remove and empty the grass catcher.
Only use without catcher if deflector plate torsion spring works correctly.
Steps to insert the mulch kit.
Steps to remove the mulch kit.
Steps to attach the side outlet duct.
Steps to detach the side outlet duct.
Steps to adjust handle height using clamps.
Never leave motor running in enclosed space.
Do not tilt lawnmower while starting.
Instructions for manual start with remote throttle and choke.
Instructions for manual start with remote throttle, no choke/primer.
Instructions for manual start with remote throttle and primer.
Steps for starting using electric start with primer.
Steps to engage the mower blade.
Steps to disengage the mower blade.
Steps to turn off motor without blade coupling.
Steps to turn off motor with blade coupling.
Steps to engage the wheel drive.
Steps to disengage the wheel drive.
Switch off motor, pull plug, wear gloves before maintenance.
Proper orientation for tilting based on manufacturer.
Resharpen/replace blades by specialists; rebalancing is crucial.
Steps for charging the starter battery.
Steps for draining and disposing of used motor oil.
Steps to adjust Bowden cable for wheel drive.
Lubrication of drive pinion on transmission shaft.
This document describes various models of petrol lawnmowers from AL-KO, designed for mowing lawns on private property. The manual emphasizes safe and trouble-free operation, requiring users to read the instructions before starting the machine and familiarize themselves with its control elements. It also stresses the importance of saving the instructions and passing them on to subsequent users, as well as observing all safety and warning signs on the machine itself.
The AL-KO petrol lawnmower is primarily intended for cutting grass on private lawns. Some models may include a grass catcher for collecting clippings or be suitable for mulching, where clippings are finely chopped and returned to the lawn as nutrients. The equipment is designed for use on dry grass only.
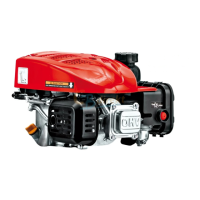
While specific technical specifications like engine power, cutting width, or engine displacement are not detailed in the provided excerpts, the manual indicates that the lawnmower uses petrol and motor oil as operating fluids. It specifies "Regular petrol / unleaded" for fuel and approximately 0.6 liters of motor oil, with exact types referring to the motor manufacturer's instructions. The manual also mentions a maximum grass height of 8 cm before mulching and a minimum of 4 cm after mulching for optimal results. The maximum gradient for operation on slopes is 20°.
The manual contains numerous safety warnings, including:
The manual also includes a "Faults and remedies" section to help users troubleshoot common issues like the motor not starting, reduced motor power, uneven cutting, or wheel drive malfunction. For faults not listed or unresolvable, users are advised to contact customer service. The warranty information specifies conditions for validity, such as proper use, adherence to operating instructions, and use of genuine replacement parts, while excluding normal wear and tear, tampering, or commercial use.
| Brand | AL-KO |
|---|---|
| Model | Powerline 5200BRV |
| Category | Lawn Mower |
| Language | English |