Chevrolet/GMC
FULL SIZE TRUCK 11/20
Installation Instructions
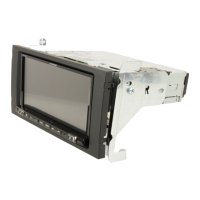
7 Connect the i209-G display, power, and climate
cables and snap into place. Also, choose desired
button illumination to better match that of your
factory illumination by selecting either red or blue
by sliding the switch.
Display Cable
Power
Key Harness
Climate Control
8 Secure the i209-G restyle bezel using (4) 7mm
factory screws and the 2 clips on the sides.
MENU
9 Attach the factory side vents cover by snapping in
the 10 clips on the back.
A/C
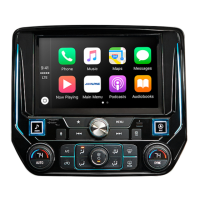
10 Connect the battery terminal and begin the i209-GM
setup. After i209-GM is powered on refer to page 19
for setup procedures.
Exploded-View Diagram
TEMP
A/C
OEM Climate Controller
OEM Bezel
Button Color
 Loading...