8
5. APPLICATION
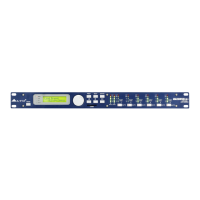
5.1 X23 2-Way Stereo
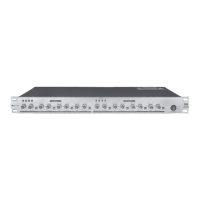
4.3 Rack Mounting
The most secure mounting is on a universal rack shelf available from various rack manufactures or your music dealer.
The X23 Active Crossover fits into one standard 19" rack unit of space. Please allow for theat least an additional 4" depth
connectors on the rear panel. Be sure that there is enough air space and pleasearound the unit for sufficient ventilation
do not place the X23 Active Crossover on high temperature devices such as power amplifiers etc. to avoid overheating.
HIGH
LOW
To get such a typical application, configure your system and connect the wires in the following proper steps:
1.Release the mode switch to enter into the 2-way stereo mode.
2.Apply the stereo program sources from the Mixer to the Input Connectors of Channel1 and Channel2.
3.Output the Low frequencies signal to the power amplifier.
4.Output the High frequencies signal to the power amplifier.
5.Set LOW-HIGH Crossover Range of channel1 and channel2 to 10.
6.Power up the X23 first, then the power amplifier to run the system. While powered off, please ensure the power
amplifier is turned off first, then the X23.
HIGH
LOW
110-120V
220-240V
HIGH
PHASE
HIGH
PHASE
MODE
CD
BOOST
CD
BOOST
STEREO MONO
CHANNEL 2
CHANNEL 1
HIGH OUT 1 / (NOT USED)HIGHOUT2/(HIGHOUT) LOWOUT2/(MIDOUT) INPUT 2 / (NOT USED) LOW OUT1 / (LOW OUT) INPUT 1 / (INPUT)
PUSH
21
3
NEW TIDE
PUSH
21
3
NEW TIDE
2WAY-STEREO
(3WAY-MONO)
/
AC INPUT
95-120V /210-240V 60-50Hz
Rated Power Consumption 8.5W
FUSE:
210-240V:T100mAL 250VAC
95-120V:200mA 250VAC
REPLACE FUSE WITH CORRECT
TYPE ONLY
Apparaten skall anslutas till
Jordat uttag nar den ansluts
Till ett natverk
A101
Unbalanced
Tip
Ring
Sleeve
Tip
Ring
Sleeve
Tip
Sleeve
Tip
Sleeve
Tip
Sleeve
Cent er
Cent er
Centre
Screen
Screen
Screen
1
2
3
Tip
Ring
Sleeve
1
2
3
1
2
3
TIP SLEEVE
TIP SLEEVE
TIP RING SLEEVE
TIP RING SLEEVE
1
2
3
2
1
3
2
1
3
Tip
Ring
Sleeve
1
2
3
Tip
Sleeve
1
2
3
TIP RING SLEEVE
TIP SLEEVE
1
2
3
1
2
3
SLEEVE TIP
SLEEVE RING TIP
 Loading...