9. Close and lock the bottom access door with the key
provided.
10. It is important that the unit does not move between the
process of marking of the upper and lower fixing holes
to ensure that the fixing points all align fully.
11. Carefully remove the unit from the wall and place it
safely to one side so that the brackets inside the unit are
accessible.
12. Using the marks made previously on the wall, generate
suitable fixings in the wall (drill and plug into a masonry
wall or provide a ply patttress behind plasterboard).
13. Remove the top and bottom fixing brackets from the unit
and transfer these brackets to the corresponding hole
sets previously made in the wall.
14. Screw each bracket onto the wall so that it is fully
secured.
15. Offer the unit up to the wall and locate it carefully over
the wall mounted brackets. Ensure the unit is pushed
back fully against the wall at each bracket location.
16. Fix the unit to the brackets using the screws provided
ensuring that they align correctly with the fixing holes in
the unit.
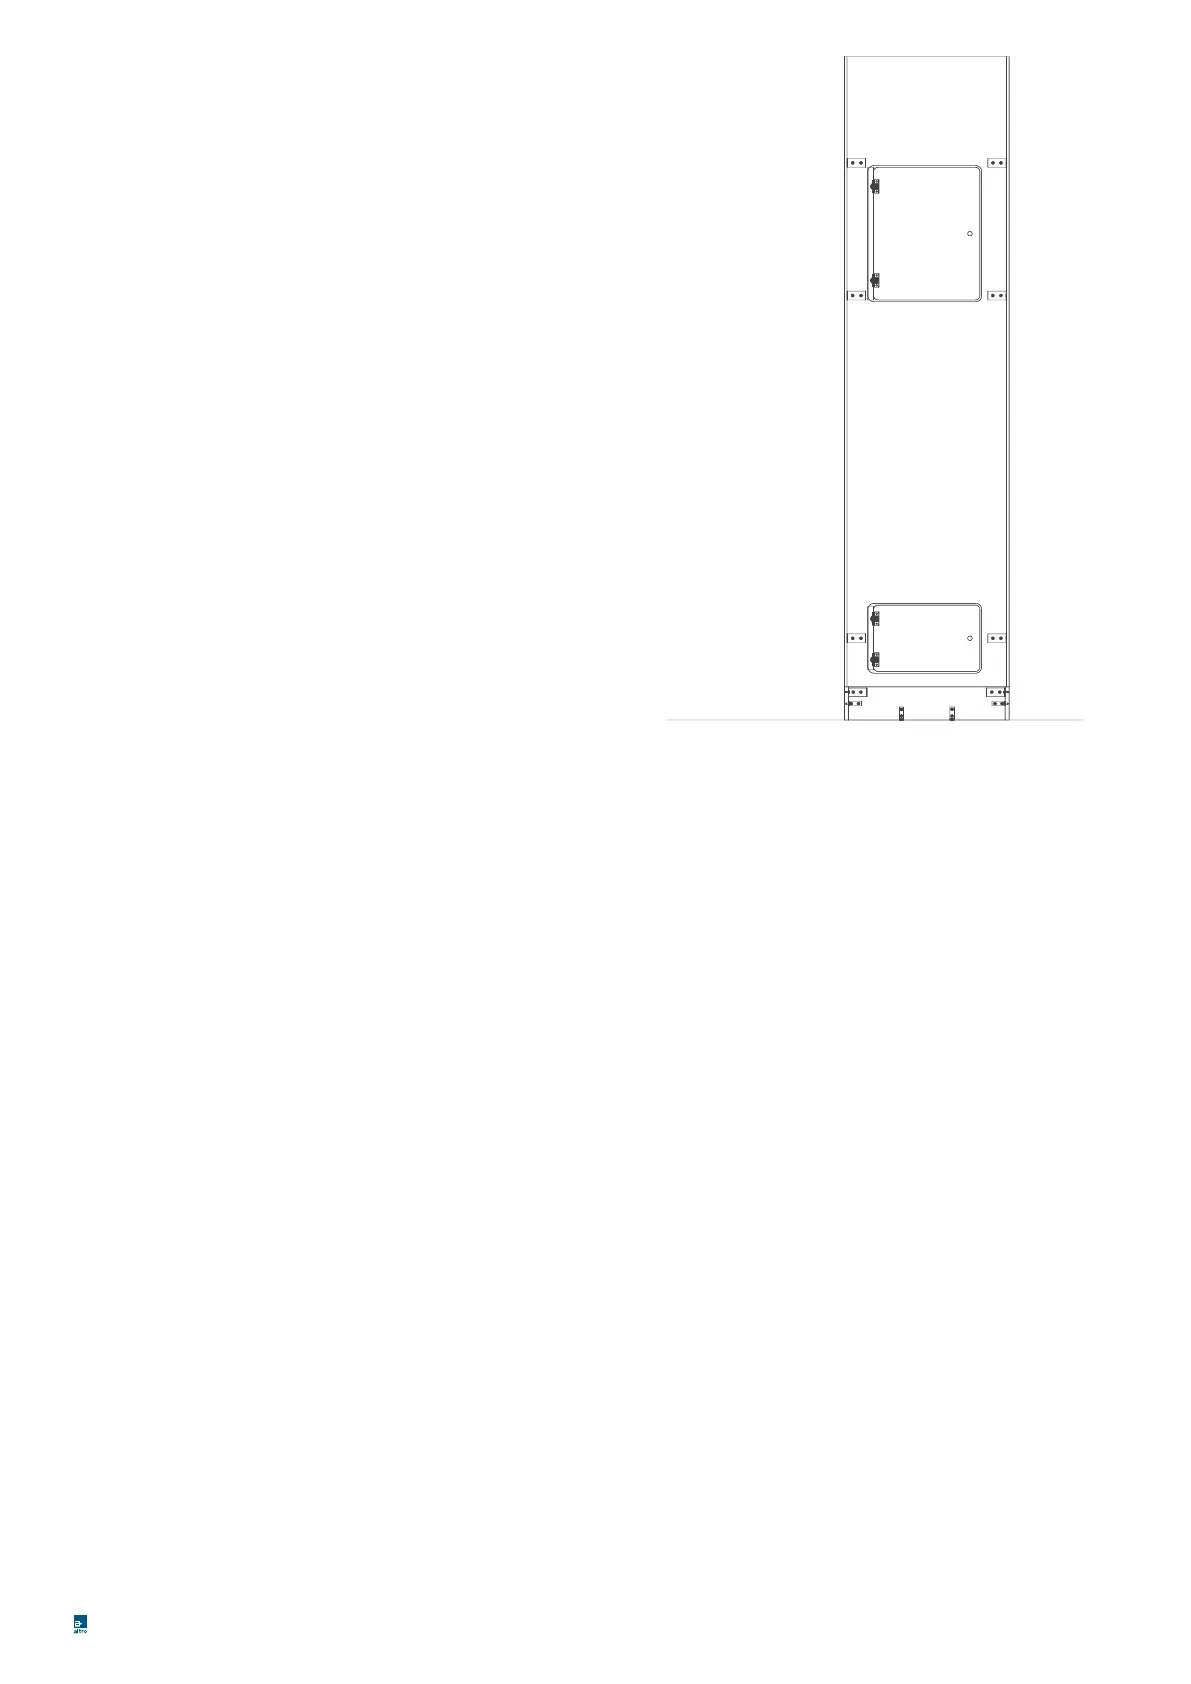
Top access door
Bottom access door
Installing the sanitary ware
1. The Altro Whitlock hand wash station will be delivered
with a protective foil covering the Altro Whiterock sheet.
2. Carefully peel back a small section of the protective foil
where the sanitary ware and taps are to be installed.
Make sure the rest of the protective foil is left in position
until the installation has been completed and the unit is
read for use.
3. In accordance with the manufacturer’s instructions
provided with the individual items, install the sanitary
ware and taps through the holes which have been
pre-drilled in the unit to receive the taps and the waste
outlet for the sanitary ware.
4. Connect the building’s hot and cold water feeds to the
copper pipe supplied with the unit.
5. Connect traps and waste outlets to the room or
building’s soil or waste pipes.
6. Commission and test the installation of the sanitary
ware and taps in accordance with the manufacturer’s
instructions.
7. Apply sanitary grade silicone sealant around the sanitary
ware.
8. Apply Altro sanitary sealant where the unit meets the
wall.
9. Check that all the required pre-use checks have been
done and commissioning is complete. Remove the
remaining protective foil.
For further information or technical advice
tel: 01462 707600
email: enquiries@altro.com or www.altro.com
Altro Limited, Works Road, Letchworth Garden City, Hertfordshire SG6 1NW.
, Altro, Altro Whiterock are trademarks of Altro Limited.
 Loading...