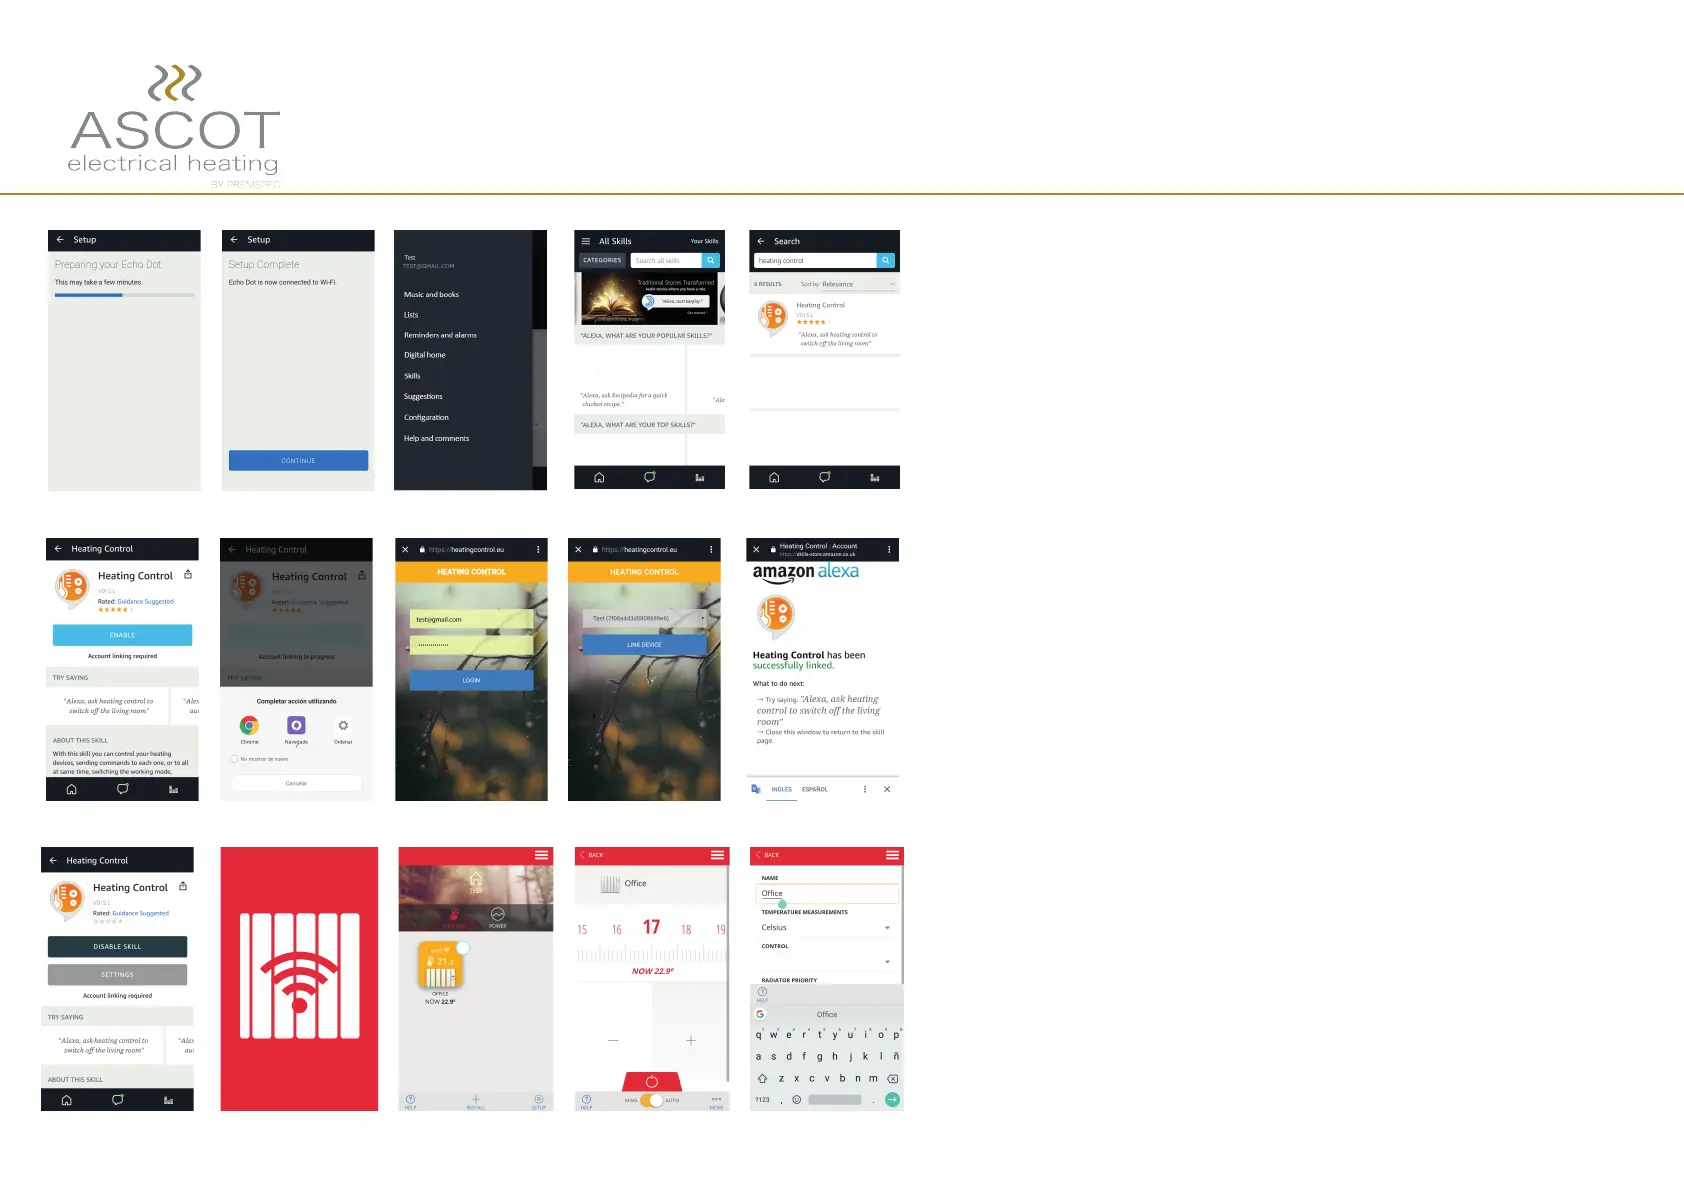
12. The first screen, will automatically appear and we
have to wait until our digital assistant is connected to
the WiFi network.
13. Once Alexa is connected, click again on the 3 hori-
zontal lines on the upper left corner, and press on
"Skills".
14. In order to control our WiFi radiator with our digital
assistant, we need to download the skill "Heating con-
trol".
15. Once selected the skill, press "Enable".
16. Will appear the browser, where we have to introdu-
ce the user and password (the same as the “Emisor
WiFi” APP, if you do not have it, create it) in order to
associate the skill with the Wi-Fi app account. And then
enter the code of the multilink (you can see it on the
backside of the device).
17. Now Alexa is ready to receive orders.
In case of error “disable skill” press again
“enable” and repeating the previous process.
18. We have to remember that Alexa works with a com-
mand structure; START + COMMAND + DEVICE/S
(for example: “Alexa, ask heating control to switch off
the office”).
19. For a correct operation, we have to introduce in the
"Emisor WiFi" APP, an english name for our radiator. For
this, click on radiator icon, then "more", choose "Setup"
and write it on the cell).
How to configure Amazon Alexa
 Loading...