EN
8
6.1 Switching on/o
1. To switch on the appliance, turn the power switch (9) to I or II.
2. To switch o the appliance, turn the power switch (9) to 0.
Power setting Recommended use
I For soft fruits and vegetables (e.g. oranges, tomatoes, lemons)
II
For hard fruits and vegetables (e.g. apples, carrots, celery, beets,
kale)
6.2 Using the juicer
1. Place the juicer on a at, level surface.
2. Connect the plug into a suitable socket outlet.
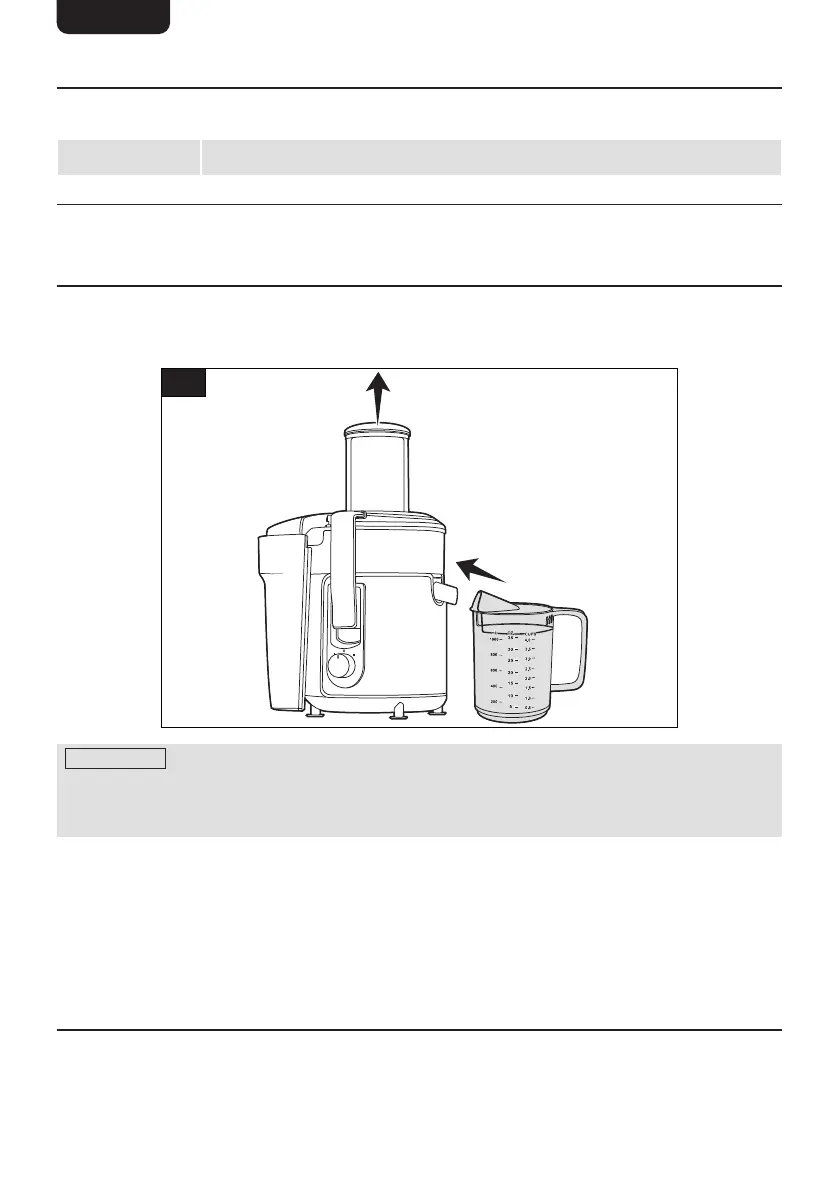
3. Place the juice jug (8) under the spout (6) and remove the plunger (1) (Fig. 5).
5
NOTICE Always wash fruits and vegetables before juicing. Remove large seeds,
pips, and peels as they may block or damage the rotating sieve (4). Remove thick piths
for the best taste. Cut larger fruit and vegetables into smaller pieces so they can t
into the funnel.
4. Prepare fruits and vegetables to juice.
5. Put a small amount of the prepared fruits and/or vegetables into the funnel (2).
6. Place the plunger back into the funnel and gently press down.
7. Turn the power switch (9) to the desired setting.
8. When the fruits and vegetables have been juiced, turn the power switch to 0. Remove
the plunger and continue to juice any remaining fruits and vegetables. Monitor the
juice jug (8) and pulp container (12) to make sure they do not overow.
6.3 Emptying the pulp container
1. Ensure the power switch (9) is turned to 0 and the plug is disconnected.
2. Unlock the locking handles (7) and remove the lid (3).
3. Lift the pulp container (12) away from the main body (10).
4. Empty the container into a food waste bin or composting bin.
 Loading...