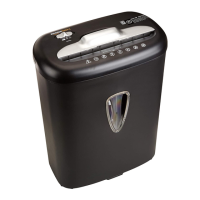
4 5
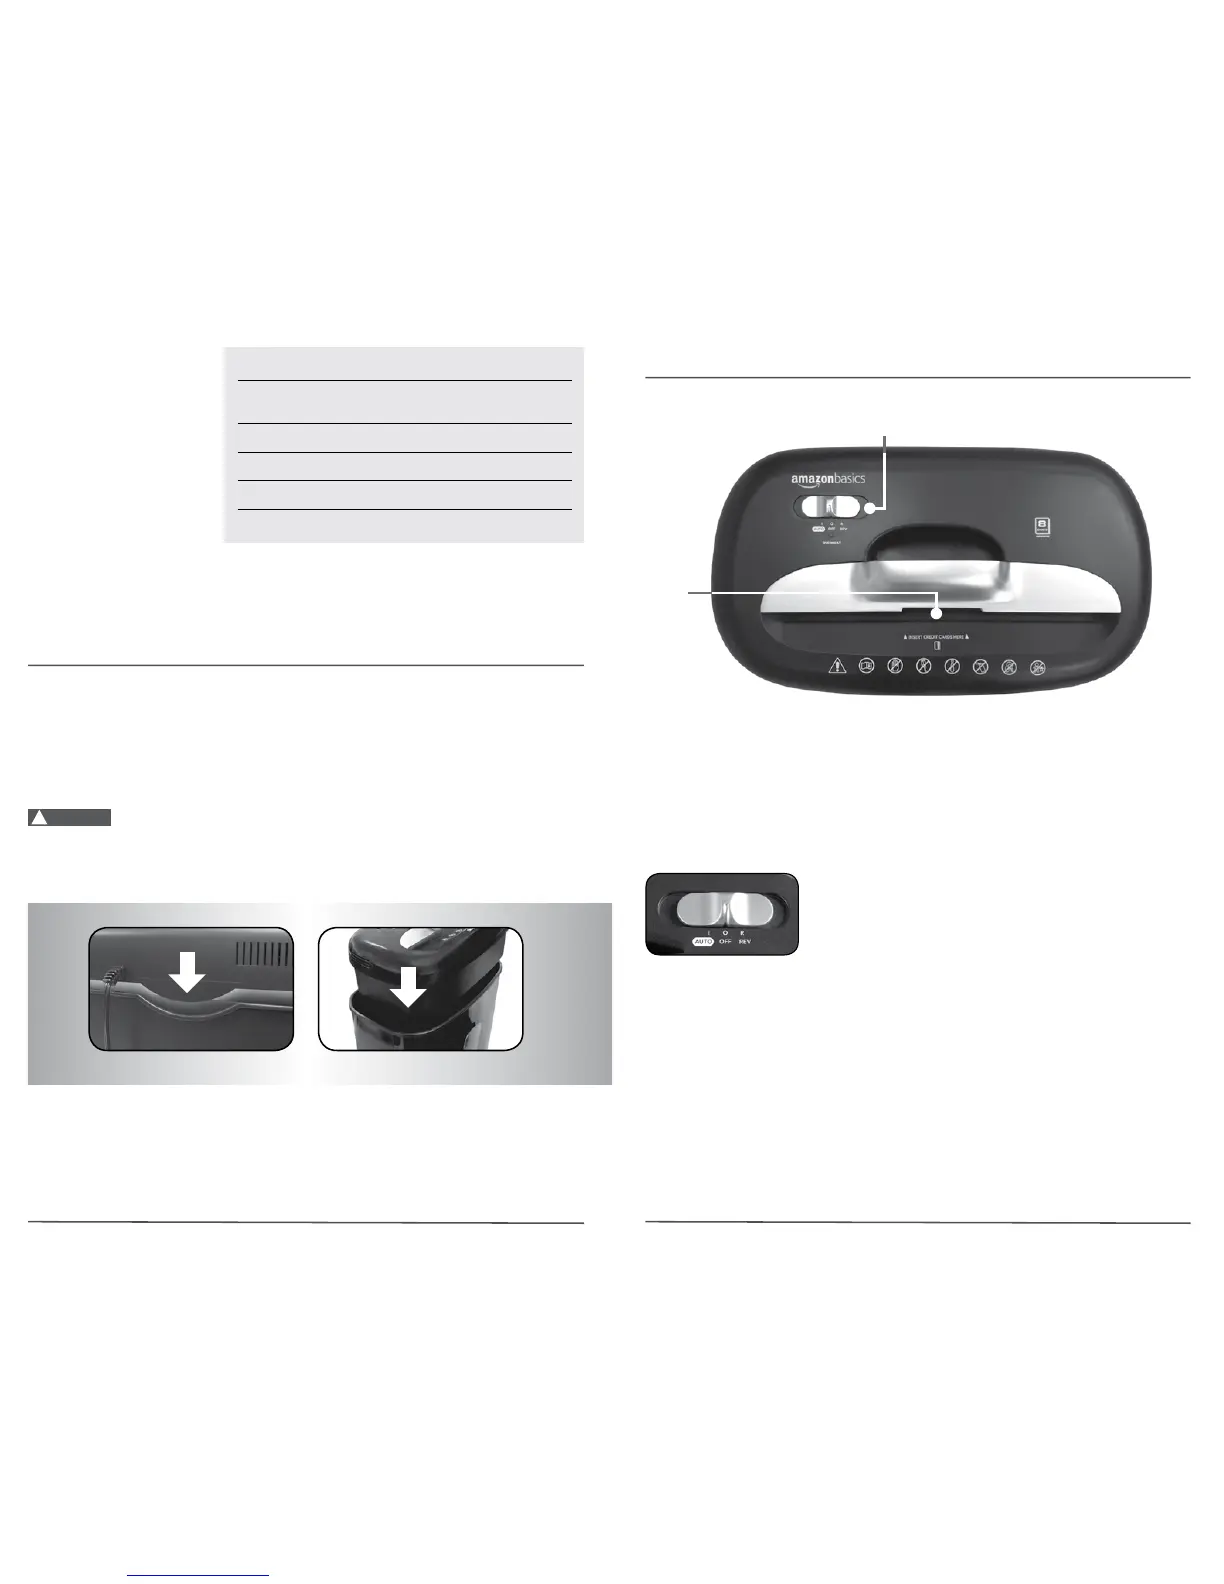
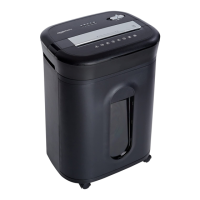
Control Switch
Using the switch located on the unit, select one of the following settings by sliding the switch either
left or right. (FIGURE 2)
I AUTO / ON:
This setting allows the shredder to be automatically started by insert-
ing paper into the feed slot. Always feed the paper in as straight as
possible. When the paper has passed through, the shredder will
automatically stop.
O OFF:
This setting turns off all features of the shredder. For safety
reasons, we recommend that you leave the shredder in the “Off”
position whenever the shredder is unattended or not in use.
R REV (REVERSE):
In the unlikely event of a paper jam, the reverse setting can be
used to help clear the cutters of paper that did not pass through.
Never attempt to clear a jam by using the reverse function until
you have emptied the wastebasket.
CONTINUED NEXT PAGE
Paper Shredder
Operating Instructions
Installation
Operation
Maintenance
Troubleshooting
*One Folded Sheet Of Paper Equates To 2 Sheets Of Paper
Heavier paper, humidity or other than rated voltage may reduce shredding capacity.
Sheet Capacity
Paper Shred Size
Paper Entry Width
Credit Card Capacity
Duty Cycle
Voltage
8 Sheets of 20 lb. bond paper*
3/16 in. x 1 27/32 in. pieces
5 mm x 47 mm pieces
8.7 in / 220 mm
1 at a time
3 min. on / 30 min. off
120V~60Hz / 2.2 A
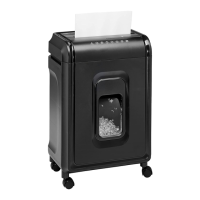
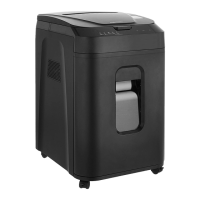
1. This model includes a built-in safety interlock mechanism, which requires the shredder to be correctly
mounted on to the included wastebasket. THE SHREDDER WILL NOT OPERATE UNLESS IT IS
PROPERLY MOUNTED AS PICTURED. (FIGURE 1)
2. A socket-outlet should be near the equipment and be easily accessible.
3. Connect the power cord to any standard 120 volt AC outlet.
Crosscut shredders have very sharp exposed blades on the underside.
Use care when mounting the shredder on the wastebasket.
!
Caution:
FIGURE 1
FIGURE 2
Installation
Operation