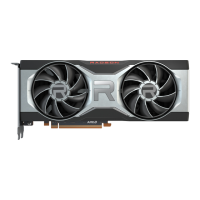
This document is a Quick Setup Guide for AMD Radeon™ RX 6000 Series Graphics Cards, specifically highlighting the AMD Radeon™ RX 6700 XT. It provides comprehensive instructions for installing and configuring the graphics card, ensuring users can get their new hardware up and running efficiently.
Function Description
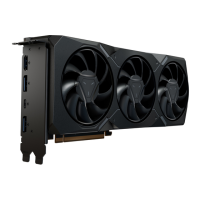
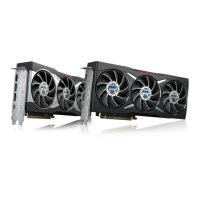
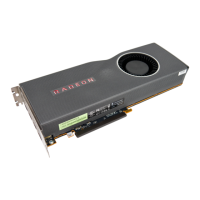
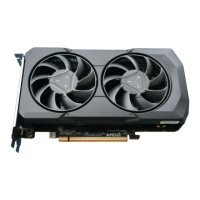
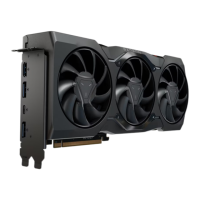
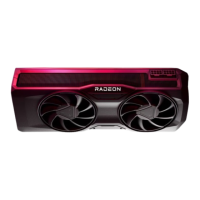
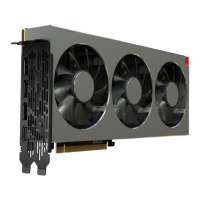
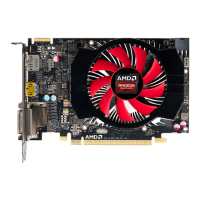
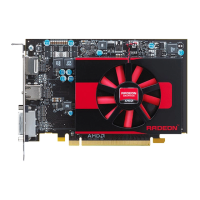
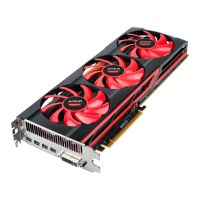
The AMD Radeon™ RX 6000 Series Graphics Cards, including the RX 6700 XT, are designed to enhance the visual performance of a computer system. These graphics cards process and render images, videos, and 3D graphics, delivering high-quality visuals to connected displays. They are essential components for gaming, content creation, and other graphically intensive applications, providing the necessary processing power to handle complex visual tasks smoothly. The cards leverage advanced technologies to offer improved frame rates, realistic lighting, and detailed textures, contributing to an immersive user experience.
Usage Features
The guide outlines several key usage features and considerations for the AMD Radeon™ RX 6000 Series Graphics Cards:
- System Requirements: Before installation, users must ensure their PC meets specific minimum requirements. These include having at least one PCI-Express x16 graphics slot on the motherboard, a minimum 650W system power supply, and at least 8 GB of system memory (16GB recommended). Supported operating systems include Linux®, Windows® 7*, and Windows® 10 (64-bit required). A compatible display with a DisplayPort®, HDMI®, or USB Type-C connection is also necessary.
- Pre-installation Inspection: Users are advised to visually inspect the graphics card and any accompanying components for missing or damaged parts upon receipt. This step helps prevent issues during installation and ensures all necessary items are present and in good condition.
- Hardware Installation Process: The guide provides a detailed, step-by-step process for installing the graphics card:
- Power Down: Turn off the computer, monitor(s), and other peripheral devices, then unplug the computer's power cord and disconnect all cables.
- Access Case: Remove the computer's case cover.
- Remove Old Card (if applicable): Unscrew or unfasten and remove any existing graphics card. If replacing an old card, it's recommended to uninstall its drivers and software first.
- Locate Slot: Identify the appropriate bus slot (PCI-Express x16) and remove corresponding metal backplate cover(s). Ensure internal cables are clear.
- Insert New Card: Align the new graphics card with the slot and press it firmly until it is fully seated.
- Supplementary Power: If the card requires supplementary power, connect the appropriate power connector cable(s) from the power supply to the graphics card's supplementary power connector(s).
- Secure Card: Fasten the graphics card securely to the back panel.
- Internal Cable Check: Verify that no internal cables interfere with computer components (e.g., cooling fans).
- Reassemble and Reconnect: Replace the computer cover, reconnect all disconnected cables, and plug in the computer's power cord.
- Power On: Turn on the monitor and then the computer. If installed correctly, the computer should start normally.
- Driver and Software Installation: After hardware installation, users must install the appropriate AMD Radeon™ RX 6000 Series graphics driver and configuration software. These are crucial for the card to operate at its full potential. The guide emphasizes uninstalling any previous drivers before installing new ones to ensure a "fresh" start. Radeon™ Software, included with the driver installation, allows users to control and manage their graphics product, configure display, video, and other graphics features such as AMD FreeSync™, Radeon™ Boost, and Radeon™ Anti-Lag. Drivers and software are available at AMD.com/radeonsoftware and AMD.com/support.
- Display Configurations: The graphics cards support up to 8K Ultra HD resolutions via DisplayPort® and HDMI® connections. The guide provides a table of connection options for various display types (CRT, DFP, HDMI®) using DisplayPort adapters. It notes that only up to three passive adapter cables can be used, with active adapter cables required for additional displays. For optimal performance, native or active connections are recommended.
- Motherboard Graphics: If the motherboard has an on-board graphics solution and it's not intended for a multiple monitor configuration, users are advised to disable it.
- Safety Precaution: A caution is included to wait approximately 20 seconds after unplugging the power cord before disconnecting peripheral cables or removing components from the motherboard to prevent potential damage.
Maintenance Features
While the guide primarily focuses on setup, it touches upon aspects related to ongoing maintenance and support:
- Driver Updates: Users are advised to reinstall Radeon Software drivers each time they reinstall or upgrade their operating system, ensuring they always have the latest drivers for optimal performance and compatibility.
- Serial and Part Numbers: Users are instructed to record the serial number and part number, which are located on a sticker on the back of the AMD Radeon™ RX 6000 Series graphics card. These numbers are essential for product registration and technical support, facilitating any future maintenance or warranty claims.
- AMD Customer Care: The guide highlights AMD Customer Care as a resource for resolving issues and getting the product running. It directs users to amd.com/support for technical troubleshooting guides and contact information. AMD Customer Care helps determine if difficulties stem from product defects or warranty issues.
- Important Safety Instructions: The document includes safety instructions, emphasizing that the product should only be used with compatible UL-listed personal computers. Users must read all installation and operating instructions, retain them for future reference, and heed all warnings. Proper grounding is also stressed, particularly for accessories equipped with a three-wire grounding plug, to protect against electric shock and fire. Secure attachment of the product with all screws tightened is required for continuous bonding with the PC chassis.