04. Function setting
05. Alarm Installation
Main unit installation
Suggest to install the main unit in a secret place under the panel, after fixing the main unit in the suitabable
place, please find out the necessary connecting wires (ACC, direction lights, power, brake etc.). Wires are
connected correctly according to wirec onnection diagram and packed well by rubber fabric. Then connect
these wires to the main unit, shock sensor and LED indicator. After test the function, please putting back all the
parts.
Shock sensor installation and adjustment
Suggest to fix the shock sensor near to the door or beside the panel after installing the main unit. So that it is
easy to detect any intrusion actions.
Trouble shoting
The remote transmitter doesn't work
– check if remote battery is out of power.
– check if the battery pin is loose contact.
– check if the remote transritter is wet.
– check if the remote transmitter is mechanical damaged.
Code Learning For The New Remote
Note! Before programming, please remove short circuit from JP3.
In disarming mode, open the doors, the direction light will flash. Then please stem on the brake continously, but
don't stem off the brake, turn the key from OFF to ON repeatedly for 3 times, and stop to ON position, the
direction lights would be on for a long time and enter into code learning mode, then press any button on the
transmitter, the siren would chirp three times after 3 second, the first remote is finished the code learning, so it
can control the alarm.
Note! The remote must be finished the code learning within 5 seconds after the system enter into code learning
mode, otherwise the system will exit the code learning mode. Repeat the above code learnig procedure for other
new remotes, but this way can finish max. 4 remote transmitters.
Remove Old Code
In disarming mode, open the door, the direction lights would flash, then please step on the brake continuously,
but don't step off the brake, turn the key from OFF to ON repeatedly for 5 times, and stop to OFF position. The
direction lights would be on for a long time, the siren would chirp three times after 3 seconds, at the moment,
all of the original code in the main unit will be cancelled.
Note! If the owner lost the transmitter, please do cancel all of the codes in order to ensure the safety.
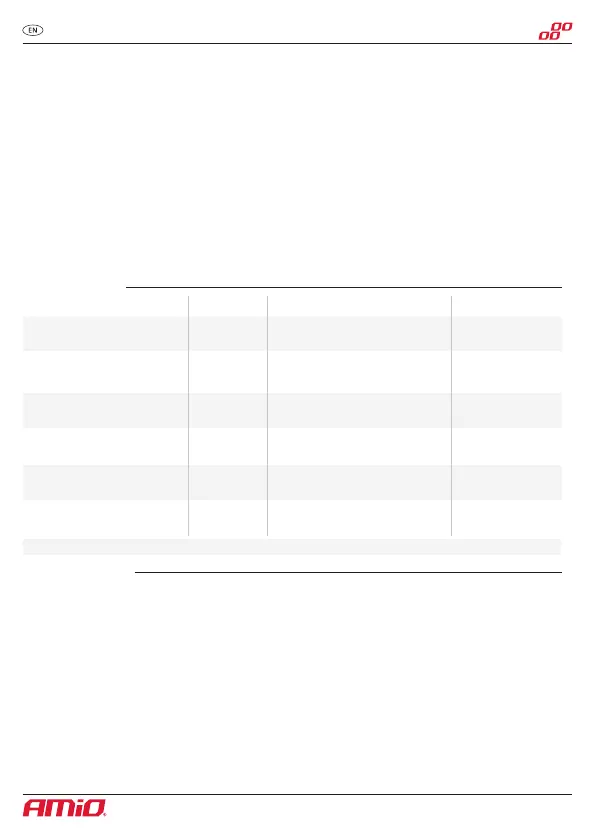
Function
Pneumatic / Electric
lock
Auto arming setting
Reminding open door
Reminding arm
Positive/negative trigger
transmition on side doors
Positive/negative output option
for trunk
Setting method
Open circuit: electric actuators
Short circuit: pneumatic actuators
Open circuit: off(with auto arming)
Short circuit: on (no auto arming)
Open circuit: on
Short circuit: off
Open circuit: off
Short circuit: on
Negat trigger: short circuit 2-3 pins
Posit. Trigger: short circuit 1-2 pins
Negat trigger: short circuit 2-3 pins
Posit. Trigger: short circuit 1-2 pins
Nr. jumper
NOTE! Any change the jumpers set ONLY when main unit is POWER OFF.
JP1
JP2
JP3
JP4
JP5
JP6
Default factory's set
Open circuit
Open circuit
Open circuit
Open circuit
Short circuit:
pins 2-3
Short circuit:
pins 1-2
3
Car alarm AMiO CA14 - User manual
 Loading...