Cardmeter User Manual ver 008 2016-02-24.doc
PAGE 5 of 16
3 USER SETTINGS
3.1 Getting Started
3.1.1 When the supply is first connected, the meter powers up and displays the
software version (currently CPM-SM V1.6C-4F) and then remaining credit.
3.1.2 As supplied the meters have £1 of credit, so the display will read R1 CRED
£1.00. This means that the currently operating tariff is R1, that the account
is in credit, and that credit is £1.00. The supply is also connected (you can
hear the relay clunk) and the led on the front panel lights).
3.1.3 The led will remain lit if less than 12.5W is drawn and no current will be
recorded. When an average of more than 12.5W is drawn in a five minute
period, the meter will record all consumption.
3.1.4 Pressing the SETTINGS DISPLAY (blue button) allows the settings of the
meter to be reviewed (these are the settings that both the landlord and
tenant can view):
The current time as used to apply the 1/100
th
of the weekly
standing charge every 1.63hrs.
The total amount of credit inserted into the meter.
The total number of cards used to insert credit into the meter.
The standing charge rate applied per week.
The total number of kWh consumed at Rate 1.
The total number of kWh consumed at Rate 2.*
The set cost per kWh on Rate 1 (pence per unit).
The set cost per kWh on Rate 2 (pence per unit).*
The total energy passed through the meter.
Returns to the original display on pressing SETTINGS
DISPLAY.
3.1.5 The meter reverts to displaying the current credit if no key is pressed for 30
seconds.
3.1.6 *Single rate meters may not display the rate 2 information.
Cardmeter User Manual ver 008 2016-02-24.doc
PAGE 6 of 16
3.2 Setting Rates
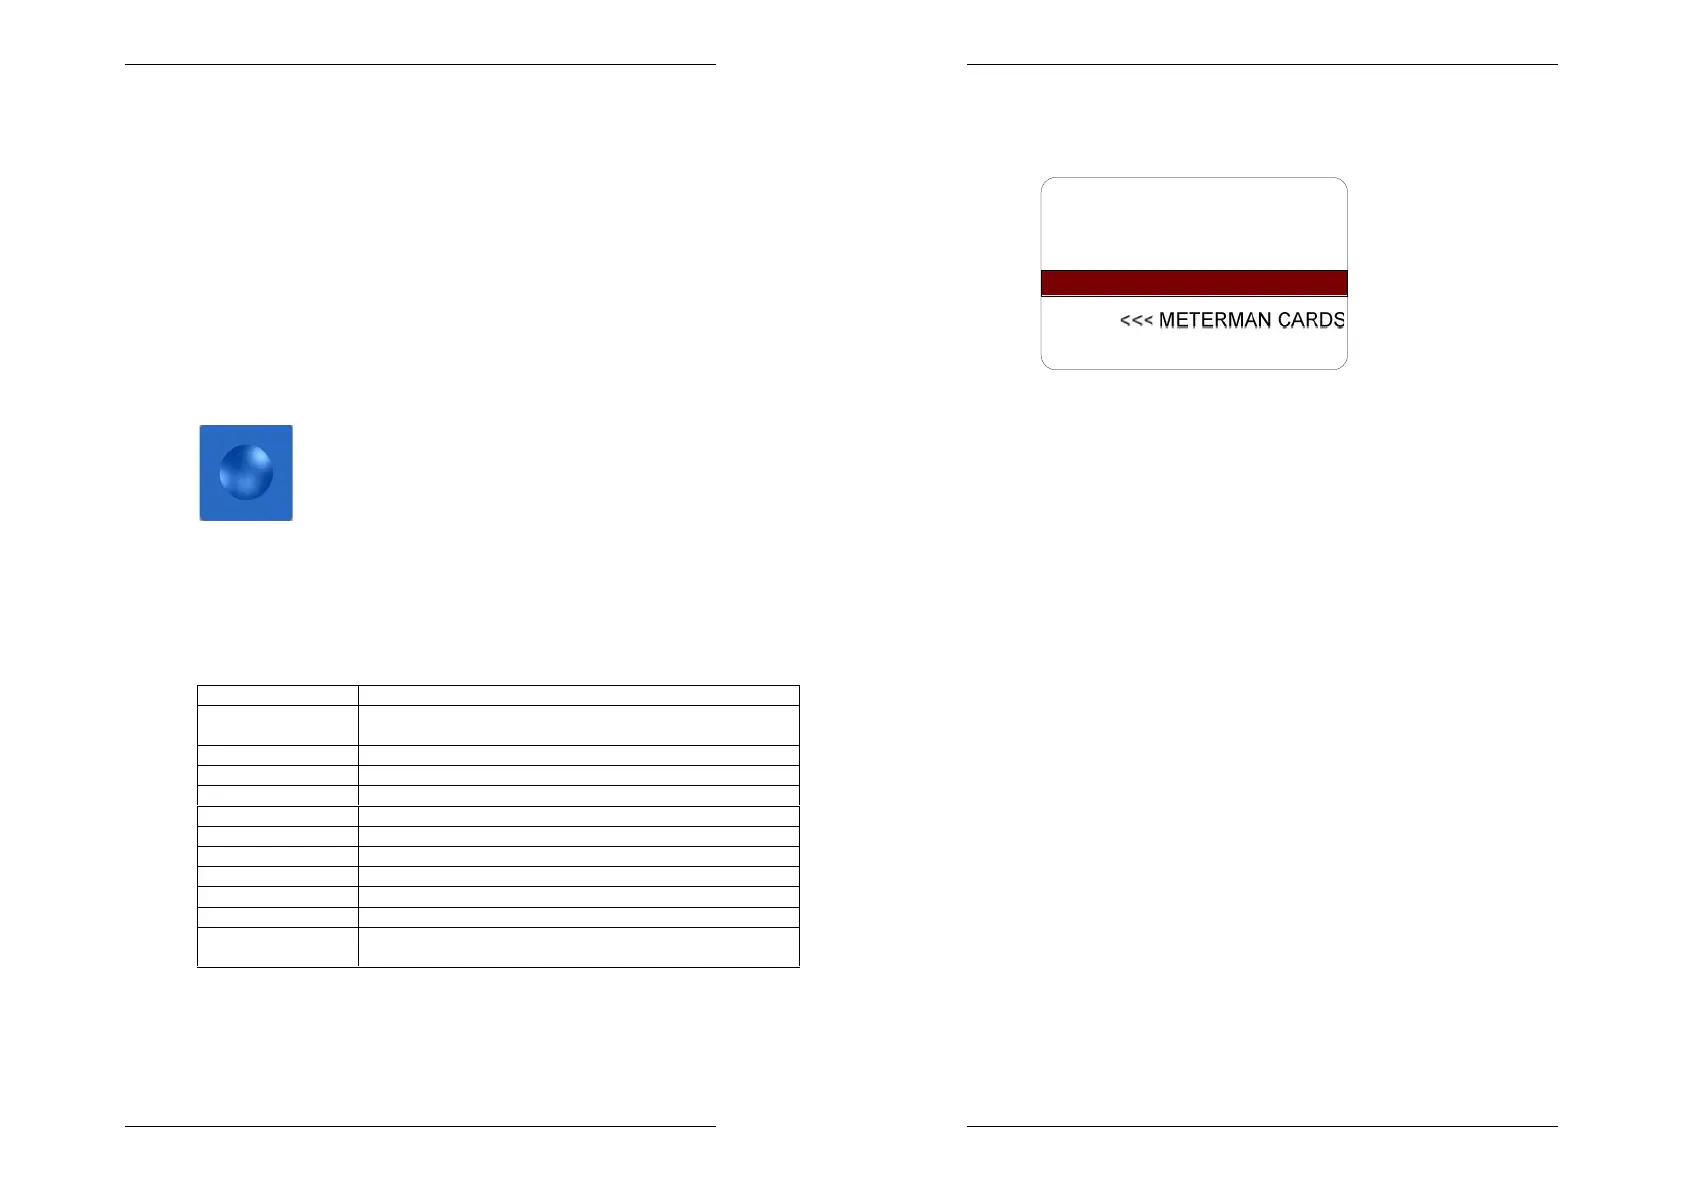
3.2.1 The METERMAN CARD is required to setup the meter for your chosen
tariff.
3.2.2 The meterman card is similar to a card used to apply credit to the meter,
although it carries no credit and is not erased and so can be used many
times.
3.2.3 Keep the meterman card safe, storing away from magnetic fields which
may inadvertently affect the magnetic information stored on the card. We
recommend ordering an additional meterman card and storing this
separately for emergencies.
3.2.4 Insert the card in to the meter as indicated by the arrows on the card. The
meter will display REMOVE CARD if the data has been read correctly.
When the card is removed #PROGRAMMING# will be displayed. If this
is not seen, insert and withdraw the card again, ensuring that when
REMOVE CARD is seen, the card is immediately removed.