®
www.amulethotkey.com
Quick Start Guide
DXZ4-A Quick Start Guide v1.0 February 2017
QS-DXZ4-A001
Overview
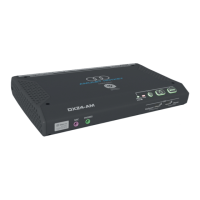
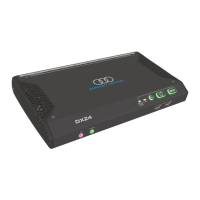
The DXZ4-A is a PC-over-IP® (PCoIP®) zero client based on the latest TERA2 chipset
that supports up to four heads of video at the desktop. The DXZ4-A has been
evaluated by the CESG Commercial Product Assurance Scheme and approved for
use at foundation grade for Remote Desktop v1.0.
The DXZ4-A comes with two RJ45 sockets for dual-redundancy support.
Before you start
You will need to have configured a remote workstation and PCoIP host ready for
connection. This must be powered and connected to the appropriate network. You
will need the IP address of the PCoIP host.
Set up the DXZ4-A
Using the diagram below as a guide, connect the DXZ4-A as follows:
1. Connect at least one compatible monitor to the DXZ4-A, start at Video port 1.
2. Connect a USB keyboard and mouse. Although the front panel USB ports are
labelled for this purpose, any of the USB ports will support these peripherals.
3. Connect audio devices, if required
4. Connect the network cable.
5. Connect the zero client power supply.
Only use the PSU supplied with this device.
6. Power up the DXZ4-A, monitor(s) and remote workstation.
Single network connection
There are two network ports on the DXZ4-A zero clients. You need only use one
port. When not used in a dual-redundant configuration, the second network port
can operate as a network repeater for cascading other devices.
Dual network connection
To set up a dual-redundant configuration, connect both ports and use Spanning
Tree to manage the system. You can configure the zero client to use DHCP or a
static IP address.
Establish a PCoIP connection
1. After a short delay, the built-in On Screen Display (OSD) displays on the
monitor connected to port 1.
2. If you want to change any network settings, select Options→Configurations
and select the Network tab. Use the default password ahkdante.
3. Click the Connect button. The ‘Discovering hosts’ message displays, followed by
a list of all available hosts.
Note: The Connect button is greyed out until the DXZ4-A has a network
connection and an IP address. If no PCoIP hosts are available, the connect button
will still work but, after trying and failing to discover any hosts, the ‘No Hosts
available for connection’ message is displayed.
Select a PCoIP host from the list using the host IP address as a reference and click
OK. If the connection is successful, the Link LED displays constant green and the
video from the remote workstation displays on the monitor(s).
See the PCoIP Zero Client & Host Administrator Guide for more detailed setup
instructions, including those covering VMware® View™.
USB devices
PSU
Available kits DXZ4 part number
DXZ4-A (two RJ45 sockets) with power lead and
Power Supply Unit (PSU).
KT-DXZ4-A001