EN
35
11. Replace the front panel.
FIG. 22
12. Tighten the grommet nut.
FIG. 23
USE
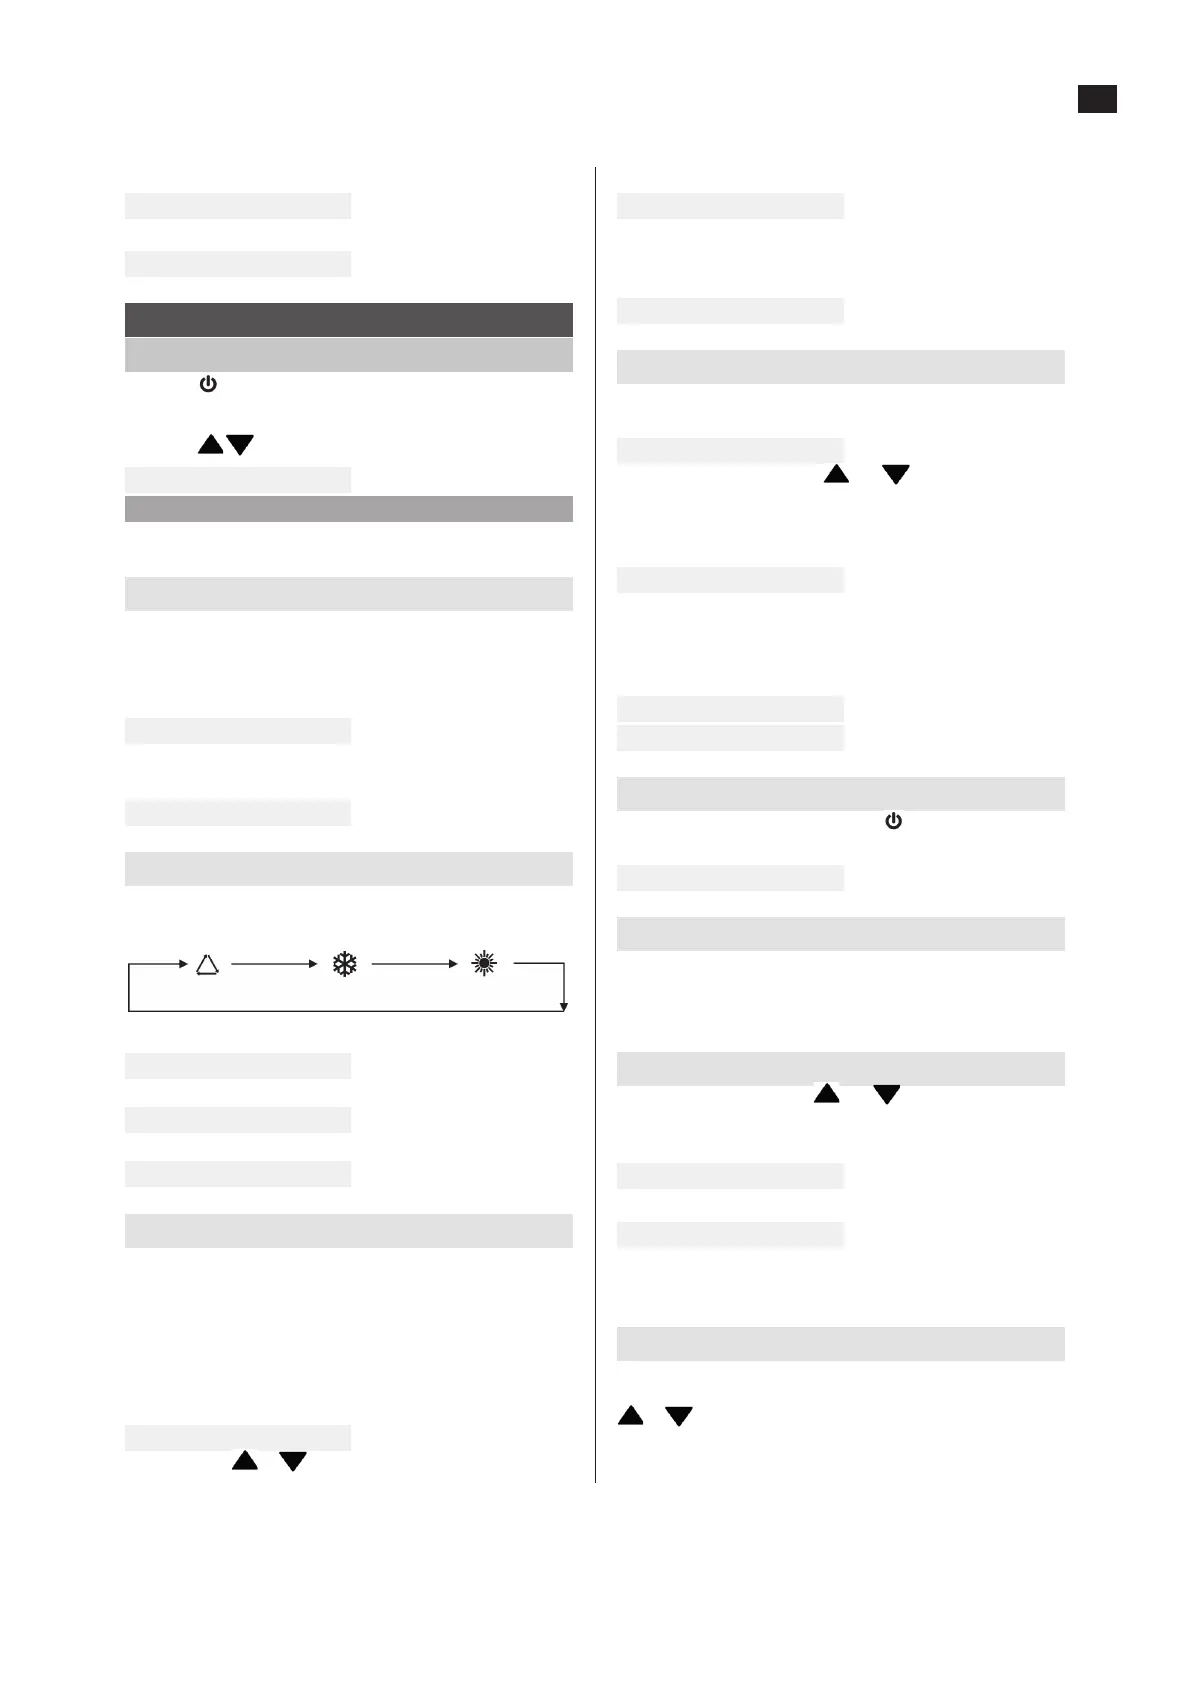
CONTROL PANEL
• Press to switch on and o the power supply to the pump.
• Press M to switch between Auto – Cooling – Heating.
• Press
SET at the same time to set or check the data.
FIG. 24
NOTE:
Remember to close the watertight box after setting.
Start and standby
1. When the power is switched on all the symbols are shown on
the display.
2. After 5 seconds Auto mode and the ambient temperature
are shown. The pump is now in standby mode.
FIG. 25
3. If the main processor card and the control panel cannot
communicate, error code EE08 is shown on the display.
FIG. 26
Selecting the power mode
When the pump is in standby mode, press MODE to select the
required mode. The following modes are available:
• Auto
FIG. 27
• Cooling
FIG. 28
• Heating
FIG. 29
Setting the water temperature
The set point temperature of the water in cooling mode is set
under parameter 0, and the set point temperature in heating
mode is set under parameter 1. Follow the instructions below to
set the set point temperature.
1. Press SET when the pump is in standby mode to select
parameter 0 (set point temperature in cooling mode) or 1
(set point temperature in heating mode).
FIG. 30
2. Now press
or to increase or reduce the set point
temperature for the selected mode in steps of 1 degree.
FIG. 31
3. After 5 seconds the setting is saved automatically if no
buttons are pressed. You can also press SET again to save the
settings and go to the next parameter.
FIG. 32
Setting other parameters
1. Press SET repeatedly to go from standby mode to the
required parameter.
FIG. 33
2. Keep both arrow buttons
and pressed at the same
time for 3 seconds. A long audio prompt indicates that the
parameter setting programme is activated. The parameter
value now ashes.
FIG. 34
3. Use the arrow buttons to increase and reduce the parameter
value. After 5 seconds the setting is saved automatically if no
buttons are pressed. You can also press SET again to save the
settings and go to the next parameter.
FIG. 35
FIG. 36
On/O
When all the parameters are set, press to start the pump. The
display shows the inlet and outlet temperature of the water.
FIG. 37
Checking the parameter settings
When the pump is on press SET repeatedly to browse through all
the parameters and to read o their set values. See PARAMETER
TABLE after heading in TROUBLESHOOTING.
Key lock
1. Keep the arrow buttons and pressed at the same
time for 3 seconds when the pump is running. An audio
prompt is give to indicate that the buttons are locked.
FIG. 38
2. A padlock symbol is shown in the display.
FIG. 39
3. To unlock the buttons, press the arrow buttons again for 3
seconds (an audio prompt is given).
Checking system status
To check the inlet and outlet temperature of the water and the
values of the parameters P1 to P5, press one of the arrow buttons
or when the pump is on and the start display is shown.
After 5 seconds the display returns to start mode if no buttons are
pressed.


 To Next Page