iBook (14.1 LCD 16 VRAM) Take Apart -
102
Bezel Brace with Clutch Assembly
Procedure
Note:
Although your bezel assembly might appear somewhat different than shown, the
steps to follow are the same.
1. With the bezel assembly lying on a soft cloth, remove the three pieces of tape.
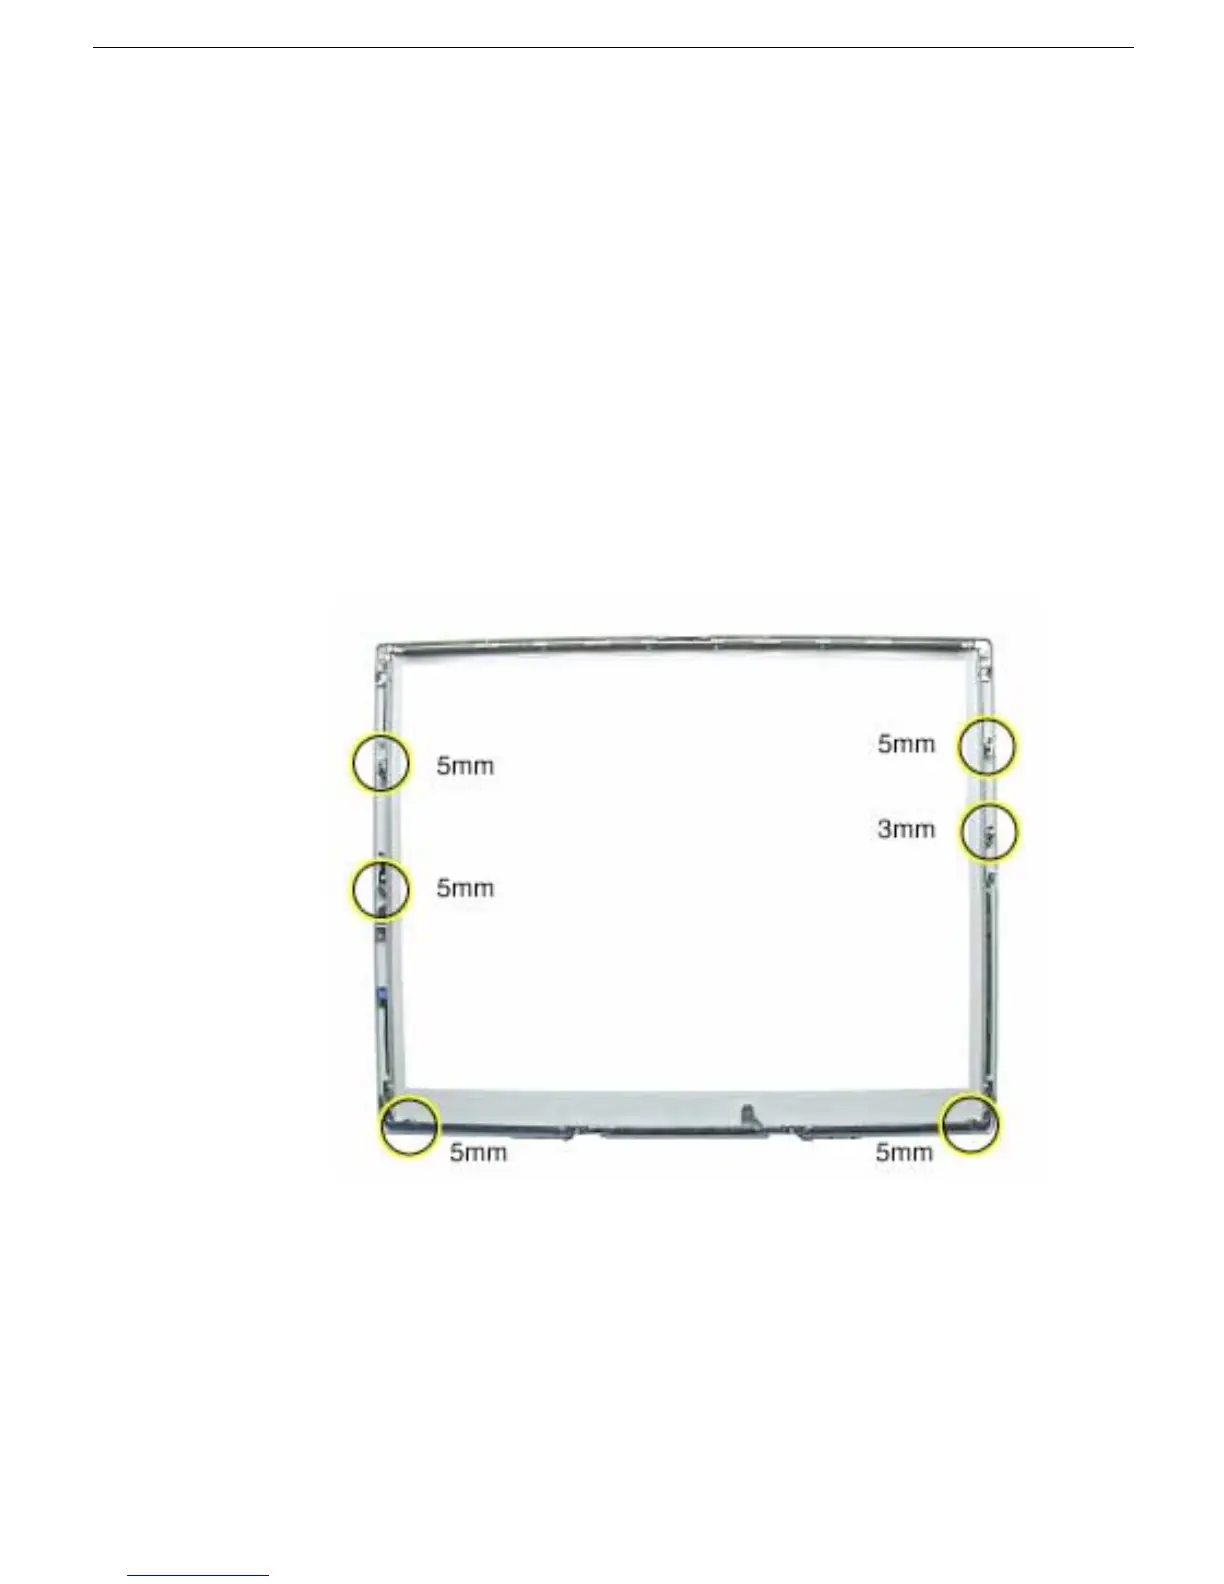
2. Remove the two 5- mm long Phillips screws at the left bezel brace.
3. At the right bezel brace, remove the two Phillips screws:
• one 5-mm long screw near the top of the right brace
• one 3-mm long screw near the middle of the right brace
Replacement Note:
When installing the replacement bezel brace with clutch
assembly, make sure the shorter 3-mm long screw is installed in the middle of the
right bezel brace, as shown.
4. Remove the two 5- mm long Phillips screws at the bottom bezel brace.