134
|
Chapter 16
4. Check (or uncheck) the Sync Mail Accounts checkbox.
5. (Optional) Check (or uncheck) the checkboxes of the email accounts whose
settings you want to synchronize with your iPad.
6. (Optional) Check (or uncheck) the Sync Safari bookmarks checkbox.
7. (Optional) Check (or uncheck) the Sync notes checkbox.
8. (Optional) Check (or uncheck) the checkboxes in the Advanced category
to define whether you want to erase information stored on your iPad and
replace it with information from your computer.
9. Click Apply.
Synchronizing with iTunes over Wi-Fi
If your computer uses Wi-Fi, you can wirelessly synchronize your iPad to iTunes over
a Wi-Fi connection. To do this, you must first connect your iPad to your computer
with the USB cable, choose your iPad in the sidebar, click the Summary tab, select
the Sync with this iPad over Wi-Fi checkbox, and then click Apply. You can now
choose to synchronize your iPad to your computer with the USB cable or over Wi-Fi.
To synchronize your iPad to your computer over Wi-Fi, follow these steps:
1. Run the iTunes program on your computer.
2. Plug your iPad into an electrical outlet.
3. Make sure your computer and iPad are using the same Wi-Fi network.
4. From the Home screen of the iPad, tap Settings. The Settings screen
appears.
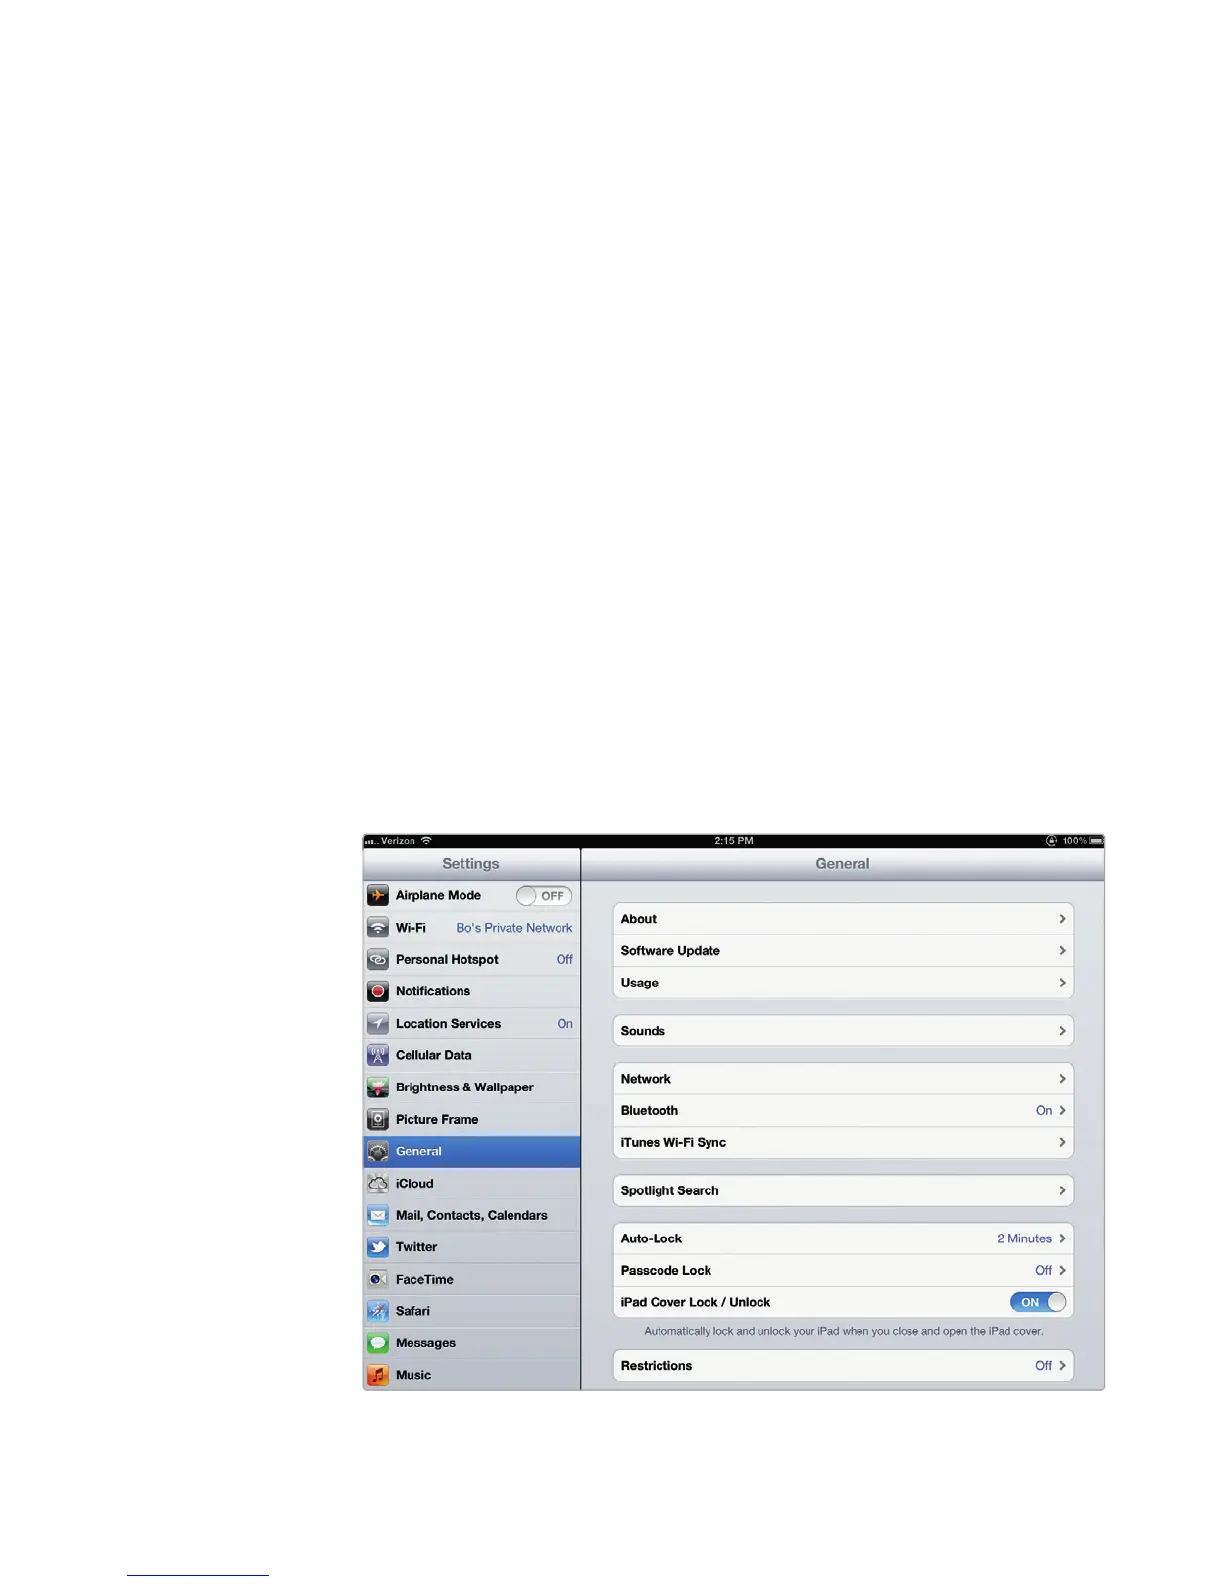
5. Tap General. The General settings screen appears, as shown in Figure 16-9.
FIGURE 16-9: iTunes Wi-Fi Sync is in the General settings.