Viewing, Using, and Sharing Photographs
|
191
6. Tap the To text field and type an email address. Use the blue plus button to
choose a Contact.
7. Type your message, and tap Send. Off it goes!
Assigning a Picture to a Contact
When you start storing names and other personal information about people in the
Contacts app, you might also want to store a picture of that person (or a picture
that best represents that person) in the Contacts app.
To assign a picture to a name in the Contacts app, follow these steps:
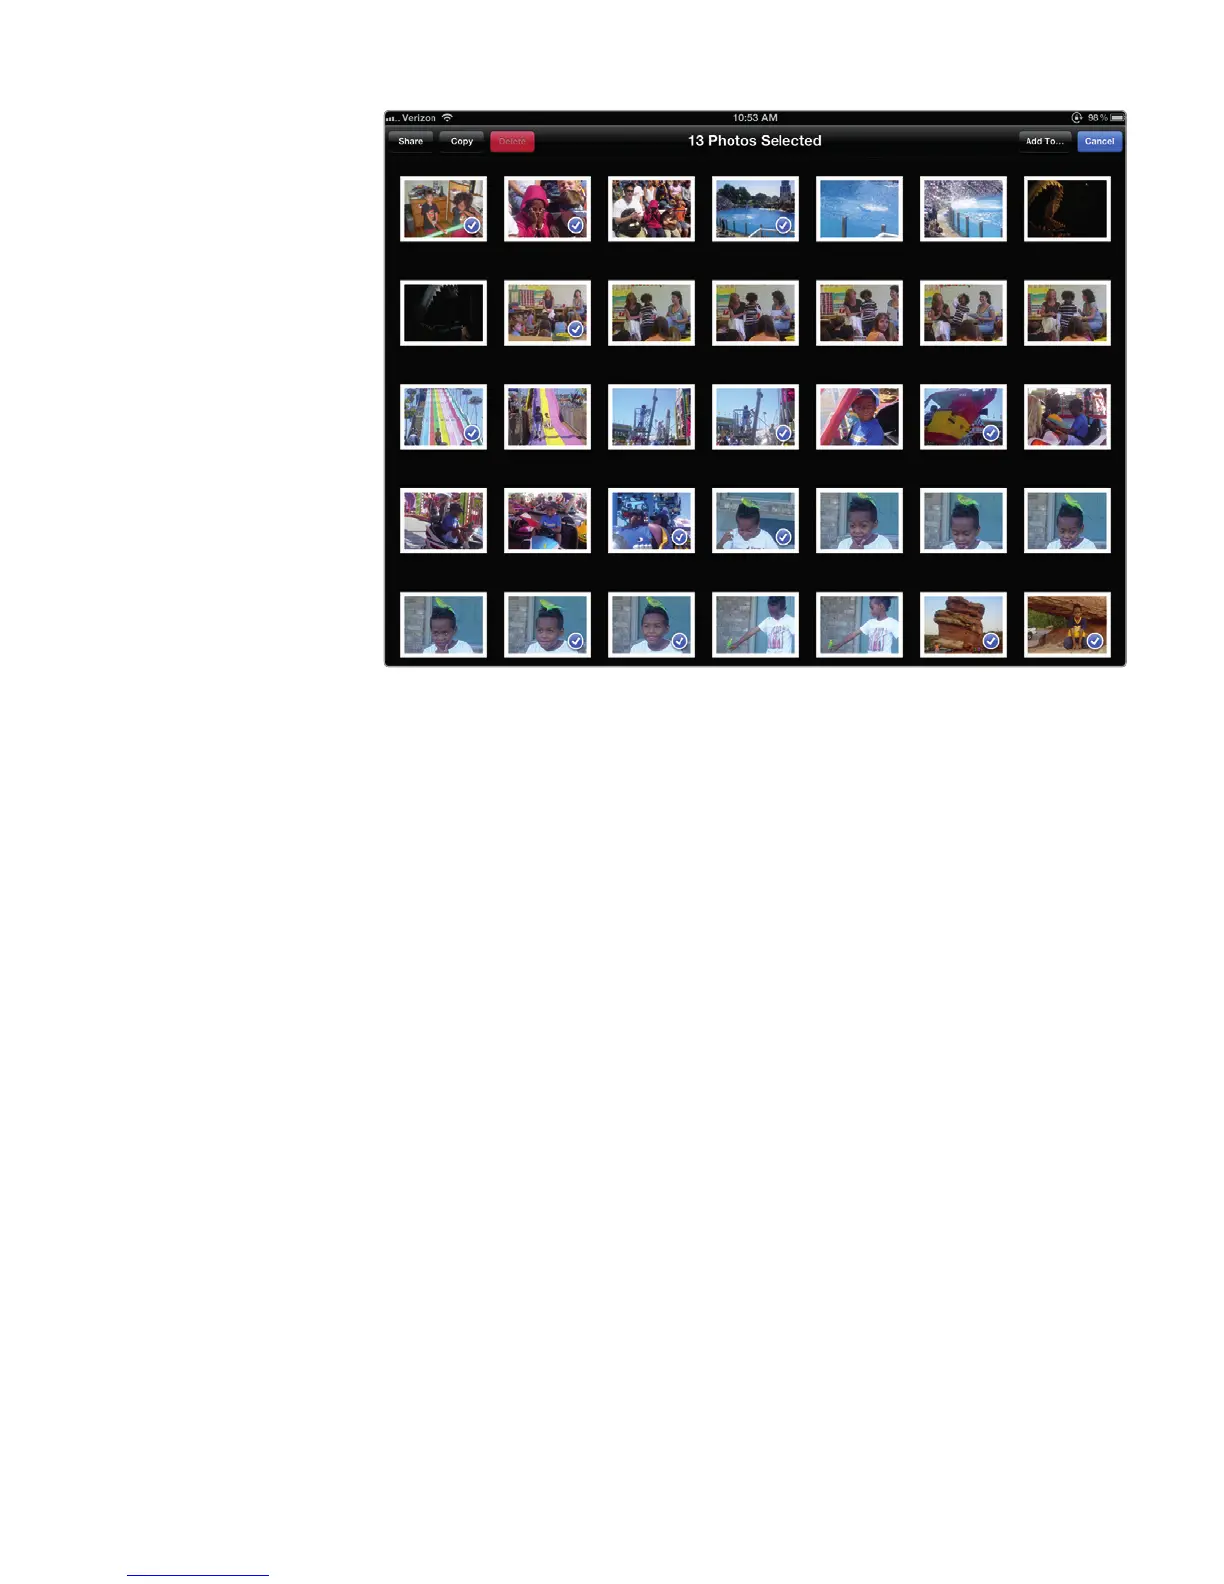
1. From the Home screen, tap Photos. The Photos screen appears.
2. Tap one of the tabs at the top of the screen (Photos, Albums, Events,
Faces, or Places). If you tap Photos, you’ll see thumbnail images of all your
pictures. If you choose any of the other options, you’ll need to choose an
album, event, face, or place to view thumbnail images of your pictures.
3. Tap a picture. Your chosen picture fills the screen.
4. Tap the screen to display the Action icon in the upper-right corner of the
screen.
5. Tap the Action icon. A menu appears (shown earlier in Figure 22-9).
6. Tap Assign to Contact. The All Contacts window appears, as shown in
Figure 22-12.
FIGURE 22-11: A checkmark identifies which pictures you have selected.