216
|
Chapter 25
Adding a New Contact
When you’re travelling with your iPad, you may meet someone and want to store
that person’s information into the Contacts app. (Later you can synchronize this
contact information with your computer as explained in Chapter 16.) To add a new
contact, follow these steps:
1. From the Home screen, tap Contacts. The Contacts screen appears.
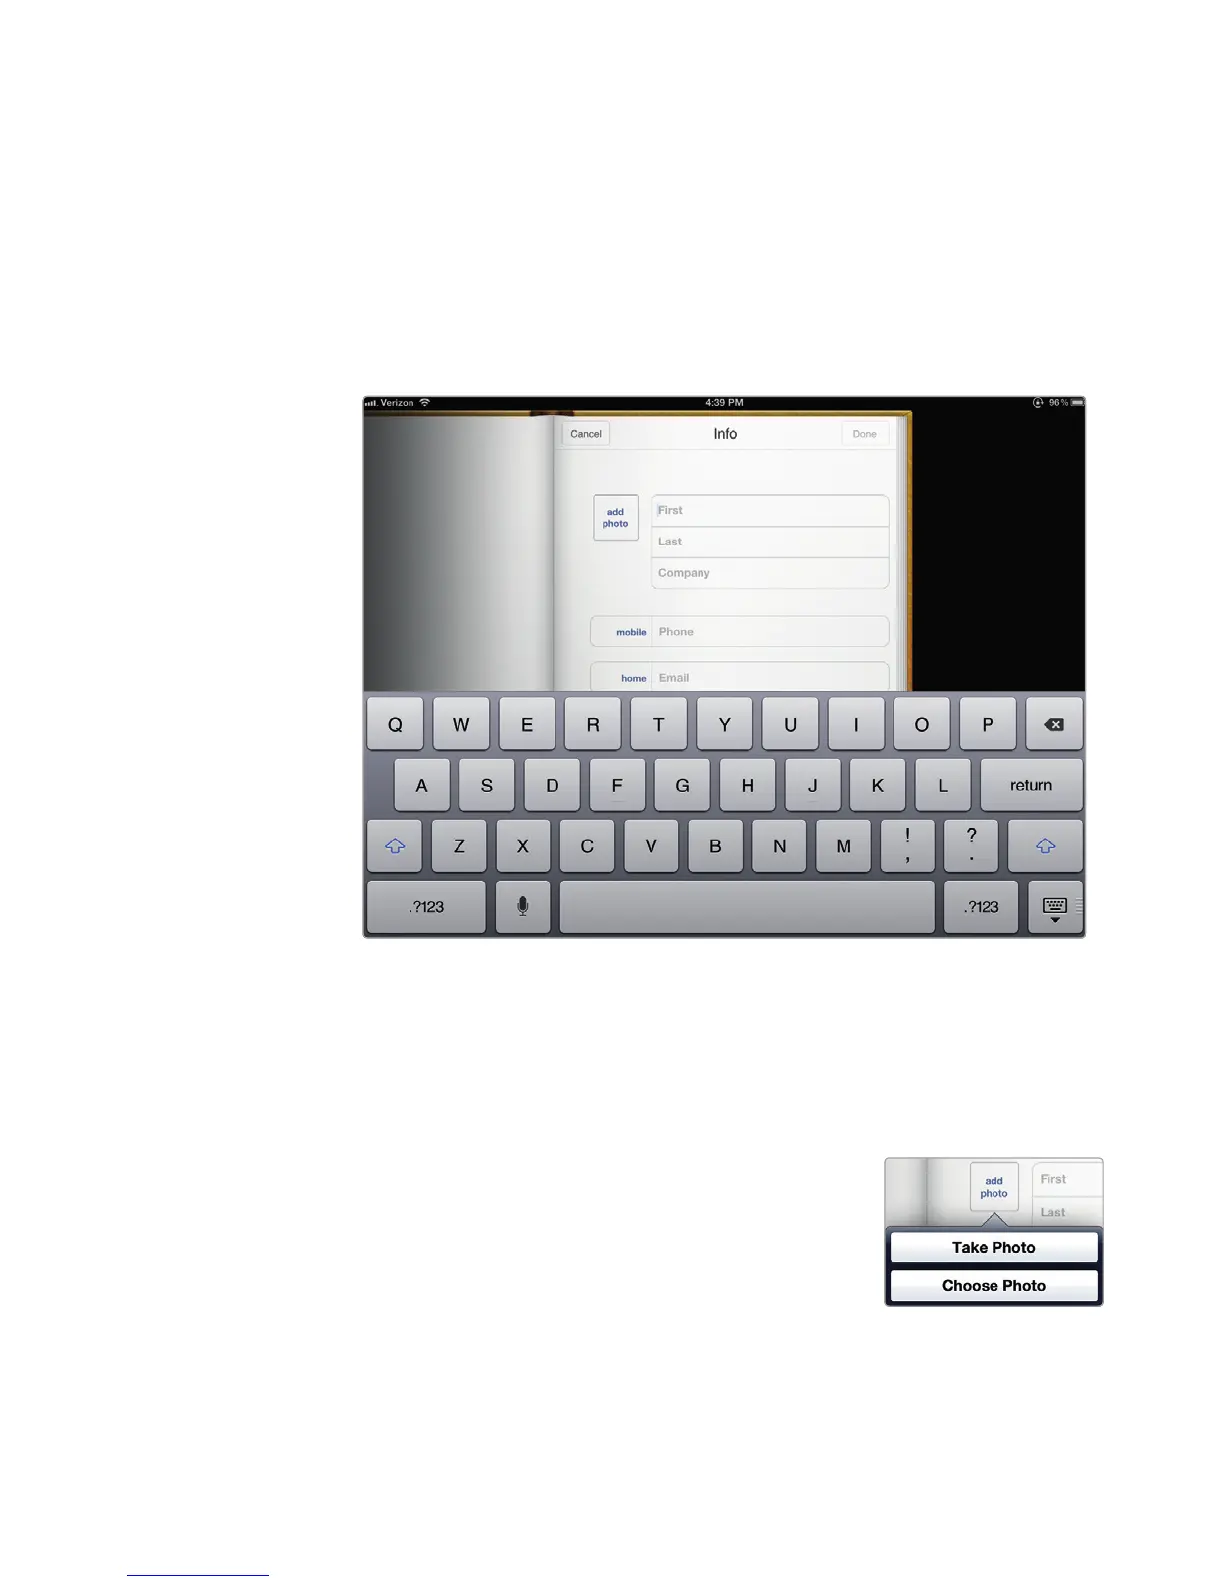
2. Tap the Add Contact icon. The New Contact window appears along with the
virtual keyboard at the bottom of the screen, as shown in Figure 25-2.
3. Tap each text field where you want to add information (such as the First and
Last text fields). You don’t need to fill in every text field. For example, you
might want to store only a person’s name and email address but not a street
address or home phone number.
4. (Optional) Tap the add photo box to choose a
picture to represent the person. The Take Photo
and Choose Photo buttons appear, as shown in
Figure 25-3. If you tap Take Photo, you can use
the iPad’s camera to take a picture. If you tap
Choose Photo, you can choose a picture stored
on your iPad.
5. Tap Done in the upper-right corner of the
screen when you’re finished typing information
about a person.
FIGURE 25-2: The New Contact window
FIGURE 25-3: Assign-
ing a photo to a
contact