44
|
Chapter 6
What You’ll Be Using
To customize the virtual keyboard, you need to use the following:
The Notes app The Settings app
Typing with Voice Dictation
Anything you can type, you can also create using voice dictation, which translates
spoken words into text. While not always perfect, it’s often accurate enough that
you may need to do only minor editing.
To use voice dictation, you have to tap the Voice Dictation key once to turn
it on before you speak. When you’re done speaking, tap the Voice Dictation key a
second time to turn it off. To see how to use voice dictation, follow these steps:
1. From the Home screen, tap Notes. The Notes screen appears.
2. Tap anywhere on the right side of the screen that looks like a yellow notepad.
The virtual keyboard appears.
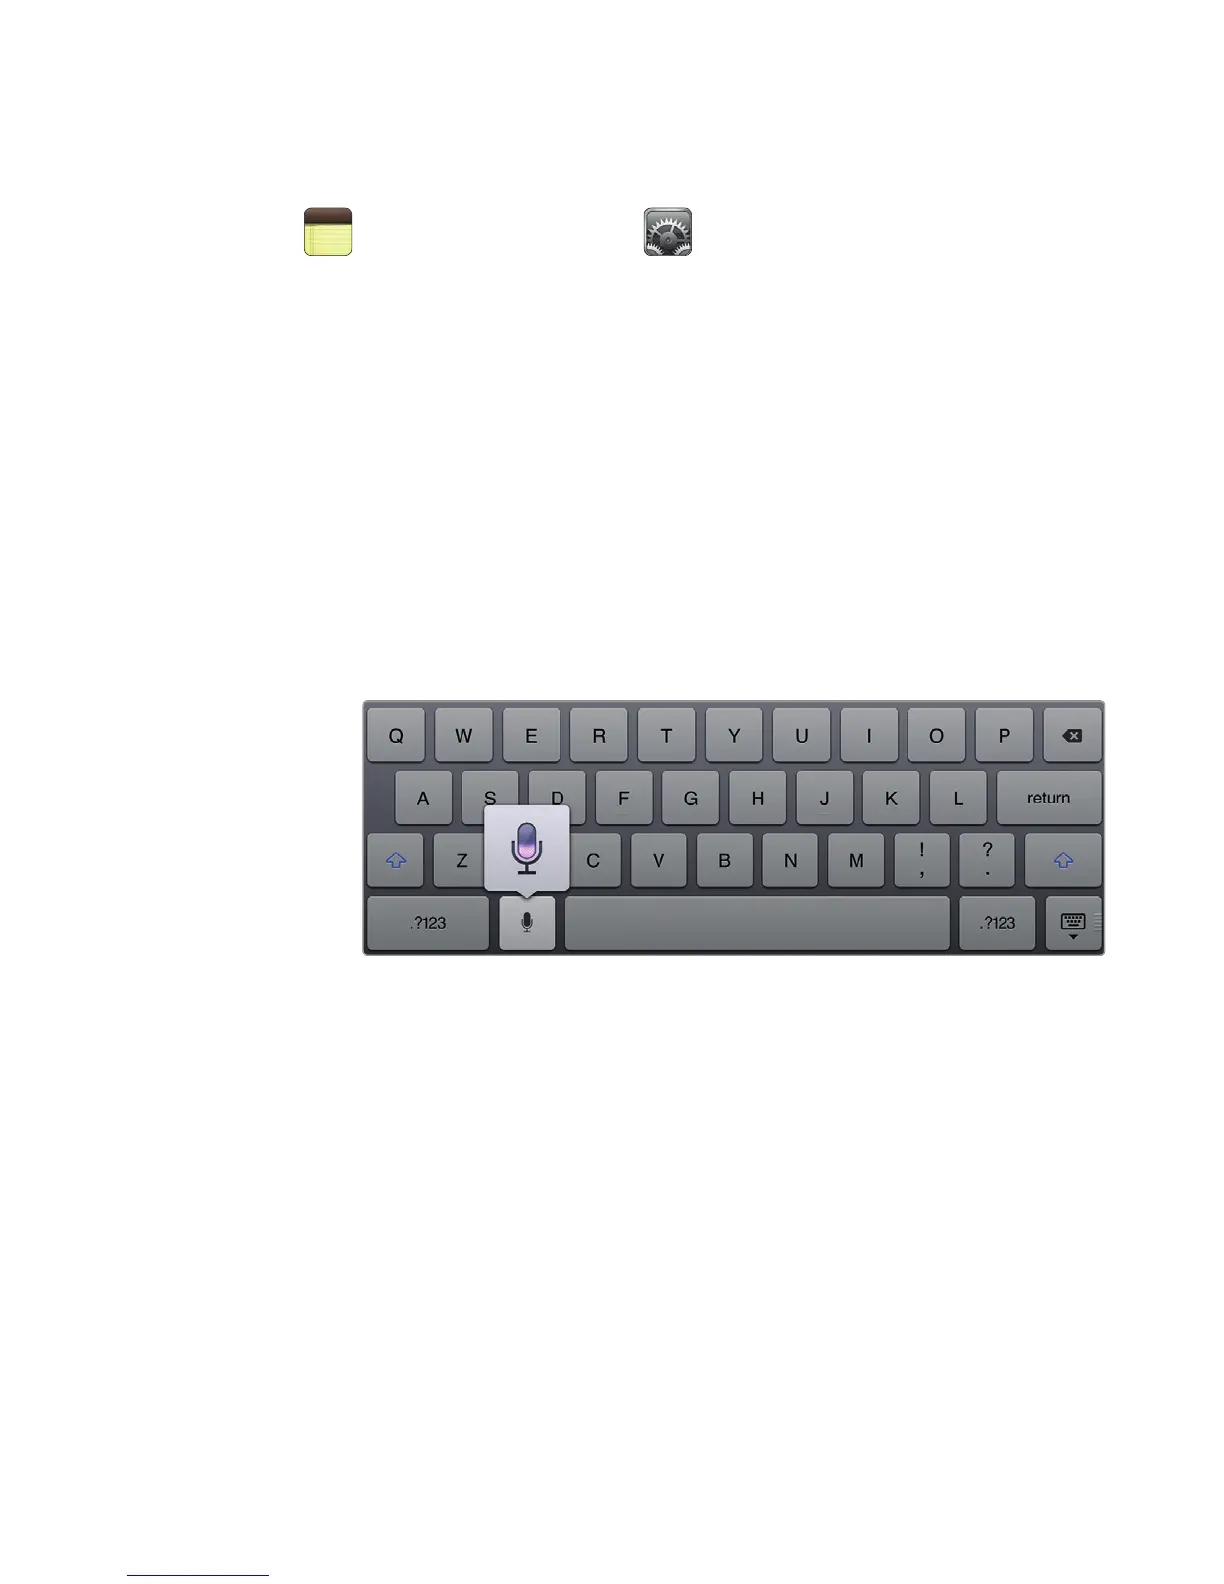
3. Tap the Voice Dictation key. The Voice Dictation key pops up to let you know
your iPad is listening to you, as shown in Figure 6-1.
Q NOTE: The Voice Dictation key appears only when you have a 4G or Wi-Fi Internet
connection. If you do not have an Internet connection, you won’t see the Voice
Dictation key.
4. Speak to your iPad and say a phrase such as “I am testing voice dictation on
my iPad.”
5. Tap the Voice Dictation key again to signal to your iPad that you’re done
speaking. After a few moments, the iPad displays the text it thinks you said.
6. Press the Home button.
7. Tap Safari. The Safari screen appears.
8. Tap the Search field in the upper-right corner of the screen. The virtual key-
board appears.
FIGURE 6-1: The purple bar moves as you speak. Tap the microphone
when you’re done.