Chapter 4 Lesson 4: Using iPod mini as a Hard Disk 25
Using iPod mini as a Hard Disk
You use iTunes to set iPod mini to be used as a hard disk.
To enable iPod mini as a hard disk:
1 Connect iPod mini to your computer and open iTunes.
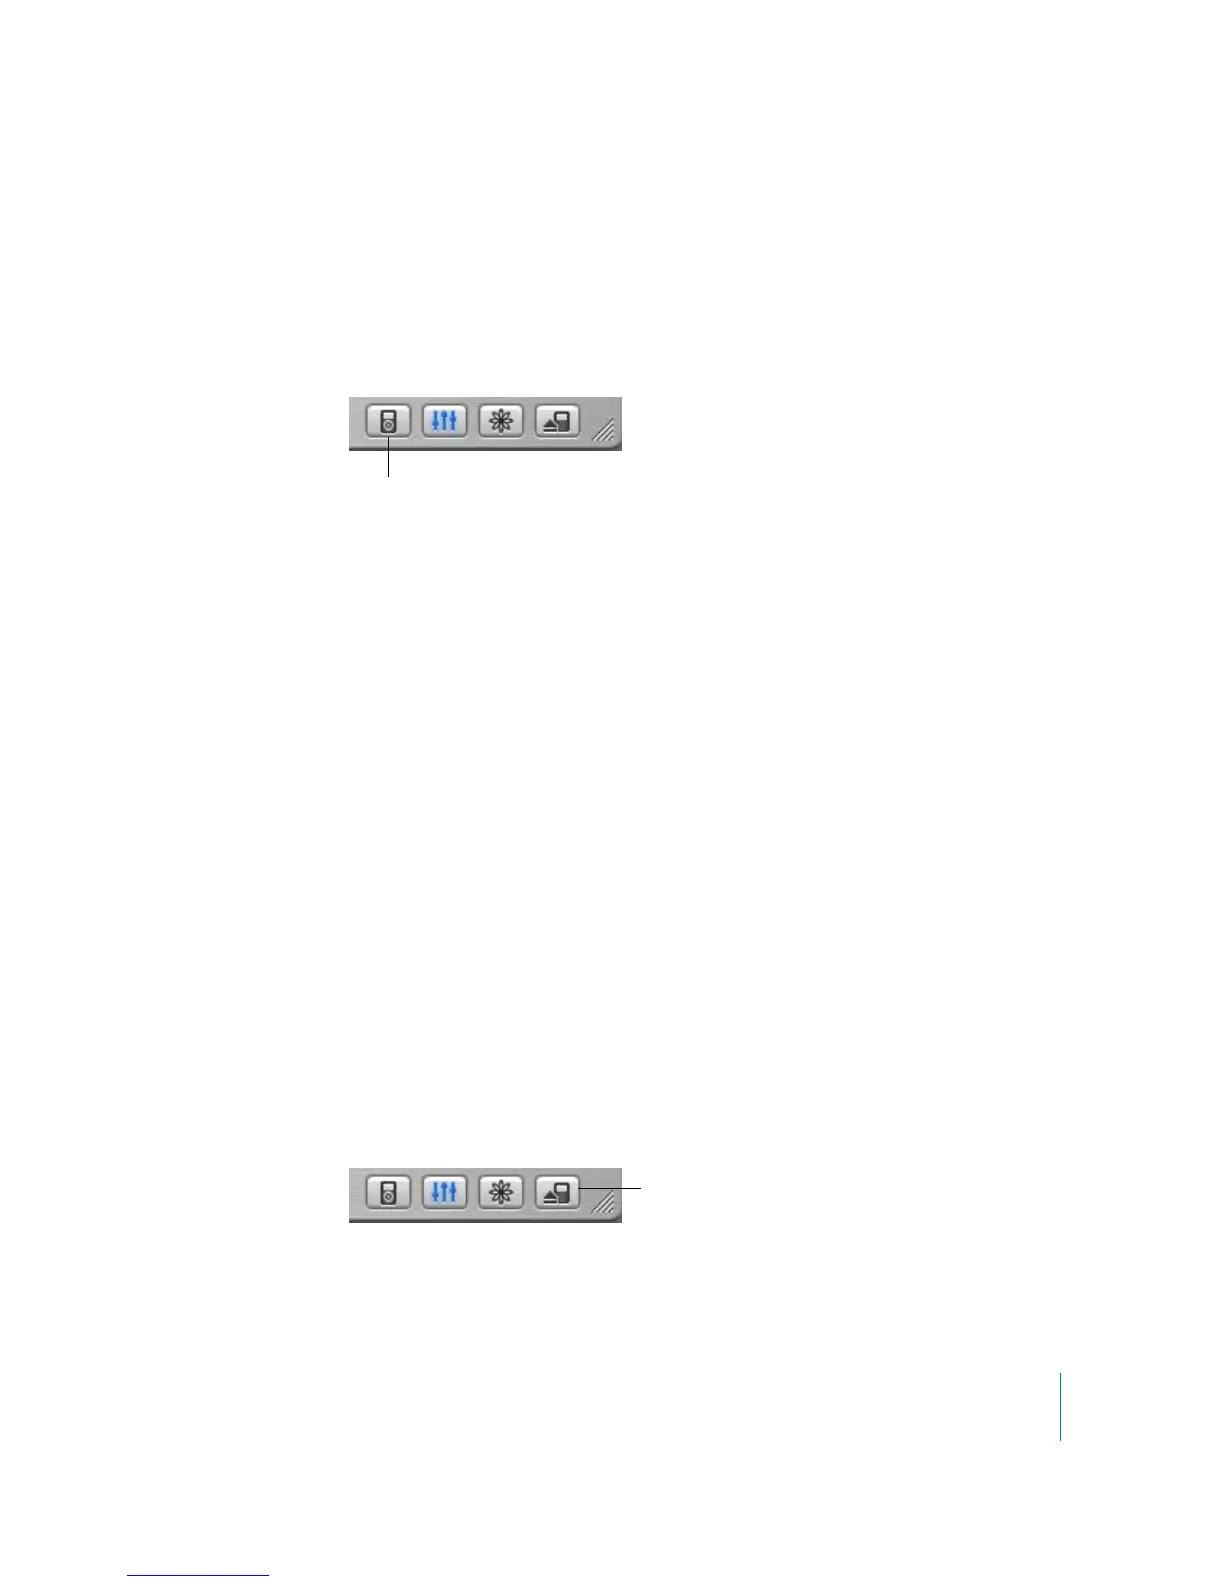
2 Select iPod mini in the iTunes Source list and click the Options button.
3 Select “Enable disk use.”
Note: Selecting “Manually manage songs and playlists” in the Options window also
enables iPod mini to be used as a hard disk.
When you use iPod mini as a hard disk, the iPod mini disk icon appears on the desktop
on the Mac, or as the next available drive letter in Windows Explorer on a Windows PC.
To copy files to iPod mini:
m
Drag them from a folder on your computer (or from the desktop) to iPod mini.
Note: Files you store on iPod mini take up space. To see how much space is left on
iPod mini, choose Settings > About.
Disconnecting iPod mini
When using iPod mini as a hard disk, you must eject it before disconnecting it from
your computer.
To eject iPod mini if you’re using a Macintosh:
m
Drag the iPod mini icon on the desktop to the Trash.
To eject iPod mini if you’re using a Windows PC:
m
Click the Safely Remove Hardware icon in the Windows system tray and select your
iPod mini.
You can also eject iPod mini by selecting the iPod mini icon in the iTunes Source list
and clicking the Eject button.
Options button
Eject button