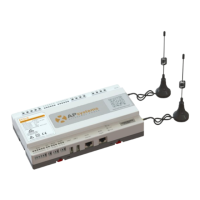
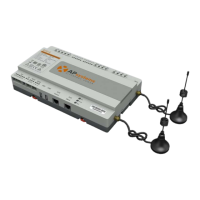
ECU-C Energy Communication Unit with advanced functions
Quick Installation Guide
This guide is for reference only and assumes you have access to, and have read the detailed instructions
in the ECU-C Users Manual (available at APsystems.com).
Step 1: Power-on ECU
ECU-C installed in the YC1000,YC600 and QS1 system, connect the supplied power cable to
the AC input port. can also be used 16V DC power supply, the 16V DC power line access to
DC on the ECU-C interface.If only single-phase power is needed, the L1 must be
connected.
NOTE: Do not put the antennas inside a metal box, that will block the signal.
Step 2: Connect ECU to Internet
Option 1: LAN connection – use the LAN Cable to connect ECU to a Broadband Router.
Option 2: WiFi connection.
Turn on the Wi-Fi function on PC or phone. Scan the ECU’s SSID which named
“ECU-WIFI_XXXX” (the “xxxx” refers to the last 4 numbers of the ECU-C ID),
connect to the ECU-C’s SSID. The first connection has no password. Using a standard
web browser on your computer, Enter the ECU
’
s IP 172.30.1.1 into browser to access the
local web. Select
“
Administration
”
and
“
WLAN
”
, then click
“
WLAN
”
tab.
Select the button next to the available network that you wish to access SSID, and a
password entry field will be displayed below the network name.
Enter the password into the password entry field, then click “Connect”. If ECU has
connected to the router, it will display the SSID and IP address.
Step 3: Register microinverters to ECU and configure the system.
Option 1
:
1) Scan the ECU
’
s SSID on PC and phone, and connect to ECU. Enter the ECU
’
s IP
172.30.1.1 into browser to access the local web. This should bring up the screen below:
2) Click “Administration”, then click “ID management”, and enter the inverter IDs
into the ID Management box, or use the Scanning Gun to scan the inverter IDs and
copy into the ID Management box. Or using the EMA App, scan the inverter IDs by
mobile phone.
Product information is subjuct to change without notice.
3) Click
“
Update
”
, and the ID will be updated in the ECU.
4) Click
“
Real Time Data
”
from the ECU Home, to view the real-time data of all
microinverters.
5) If a microinverter does not show up, please confirm if the inverter's ID is correctly
input.