MPS
connection. If you decide not to use automatic calibration, you will have to manu-
ally perform a calibration on a regular basis by clicking “Set current flow to zero”
when the pump is not running.
If you are using fittings or hoses from other manufacturers, you can or have to cal-
ibrate the flow sensor manually. To do so, you will have to determine at least two
different flow rates by using a reference sensor or manual gauging and note the
corresponding “unscaled values” of the mps sensor (displayed in the lower left
area below the calibration curve). For best results, use a flow rate in the middle of
the range as well as a flow rate in the upper range of the sensor. Add your values
in the “User defined flow calibration” section and click the button “Calculate cali-
bration data”. The software will calculate the calibration curve which can also be
manually customized.
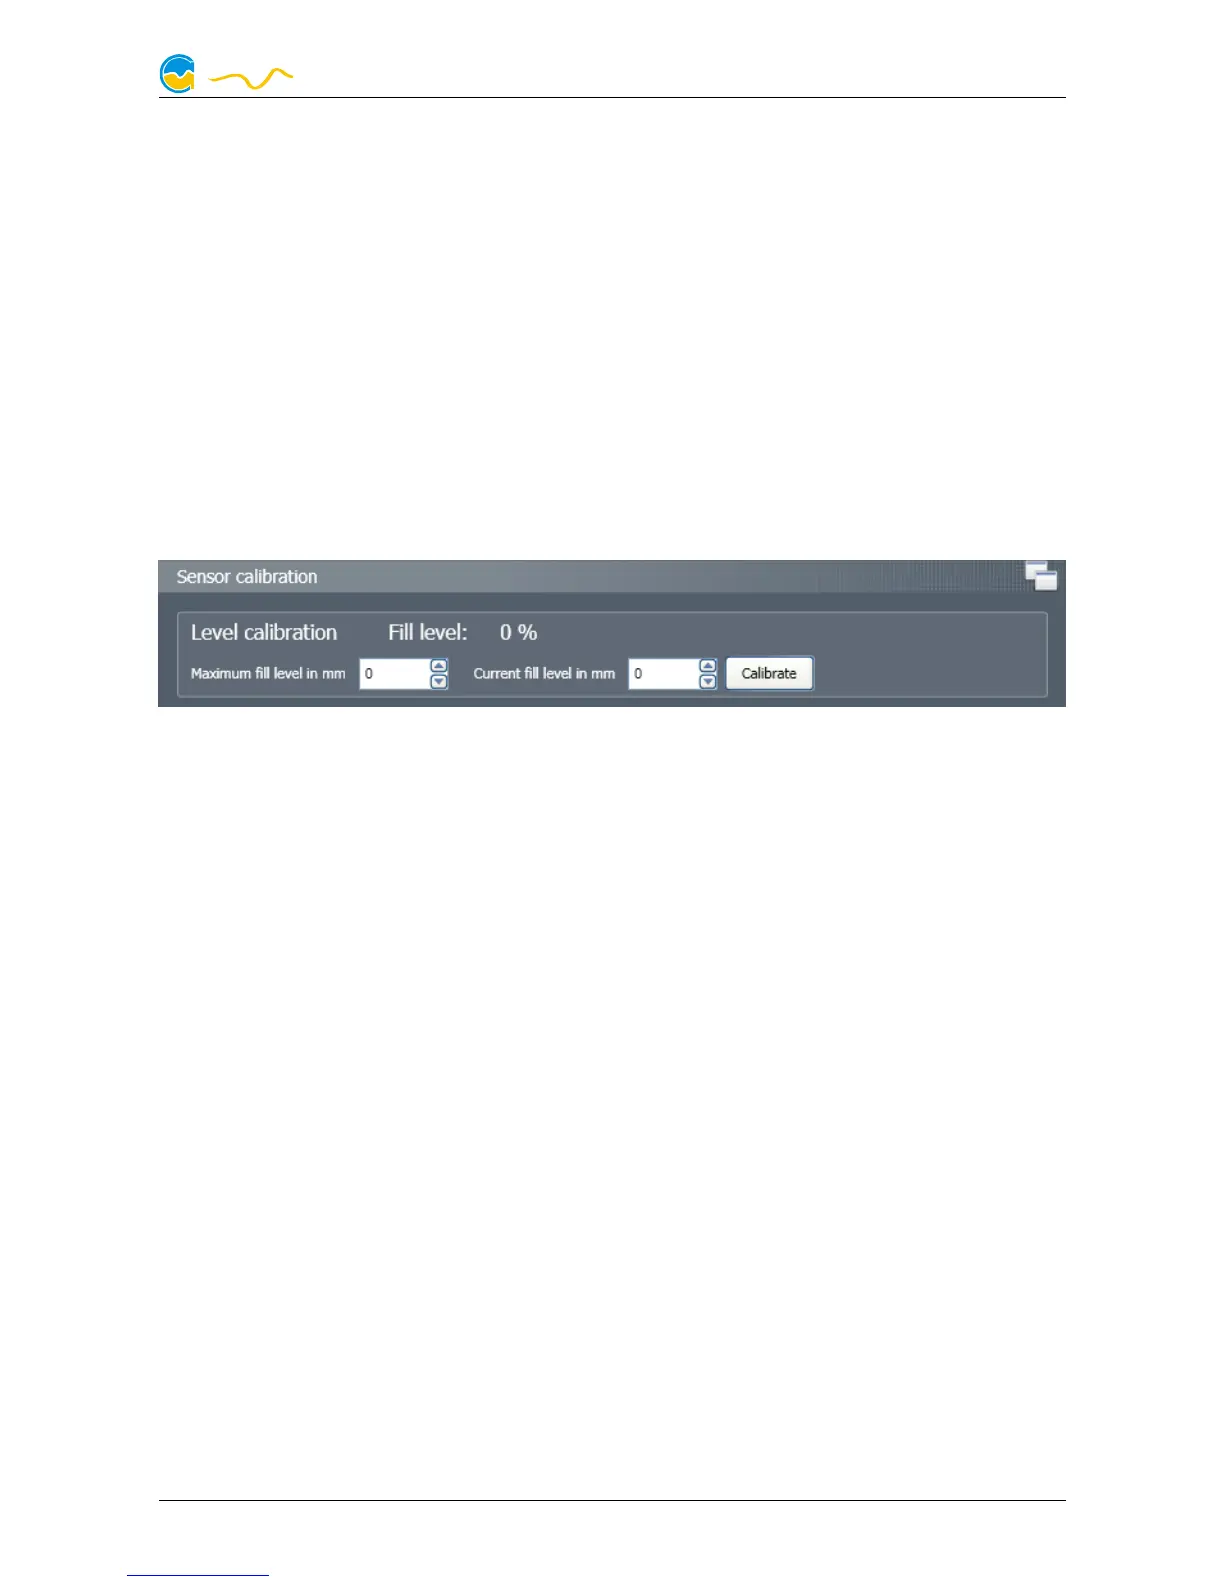
12.3. Sensor configuration fill level sensor
12.3. Sensor configuration fill level sensor12.3. Sensor configuration fill level sensor
12.3. Sensor configuration fill level sensor
Before the sensor can produce accurate readings, it needs to be calibrated. To do
so, use a folding rule or measuring tape to determine current fill level and maxi-
mum fill level of your reservoir and enter the values into the corresponding boxes
of the software. After confirming these values by clicking “Calibrate”, the software
will generate the calibration data.
The calibration curve can be manually adjusted, although it should not be neces-
sary
12.4. Sensor configuration pressure sensor
12.4. Sensor configuration pressure sensor12.4. Sensor configuration pressure sensor
12.4. Sensor configuration pressure sensor
Before the sensor can produce accurate readings, the zero value has to be cali-
brated. To do so, make sure that the sensor is at zero (differential) pressure. If the
sensor is connected to monitor a differential pressure around a component in the
cooling loop, the pump must be turned off during the calibration process. Then
start the calibration process by clicking “Calibrate zero value” and wait until the
process is finished. If you have turned off you pump before, make sure to start it
again.
The calibration curve can be manually adjusted, although it should not be neces-
sary
12.5. Pump power
12.5. Pump power12.5. Pump power
12.5. Pump power
Adjust pump power as desired. Please note that flow rate and pump speed do not
notnot
not
scale proportionally to selected pump power!
© 2012-2016 Aqua Computer GmbH & Co. KG - 19 -
Gelliehäuser Str. 1, 37130 Gleichen