Do you have a question about the Aqua Medic Helix Max and is the answer not in the manual?
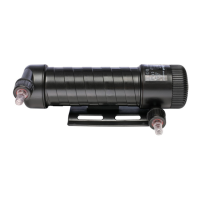
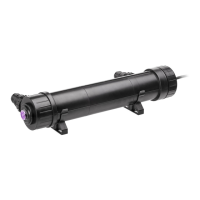
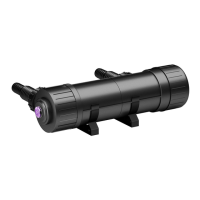
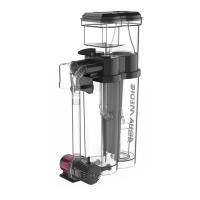
Unique spiral water flow ensures optimum water clarification and efficient UV-radiation use.
Inlet/outlet connections can be rotated 360° for easy adaptation to mounting conditions.
Describes the 6 Helix Max models, their cable lengths, and intended aquarium/pond applications.
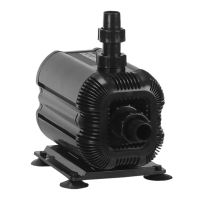
Guidance on suitable aquarium/pond volumes and recommended flow rates for various Helix Max models.
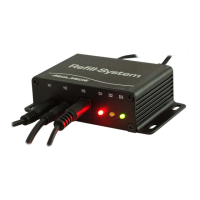
Units 5W, 9W, 11W are for indoor use only. Units must be switched on only when water flow is on.
Units need to be switched off and removed during winter to prevent frost damage. Do not submerge or operate under water.
Transparent pieces allow bulb function check. Cut to size based on pump and water flow.
Connections can be rotated 360°. Outlet connection must be at the highest point to avoid air trapping.
Replace lamps after 8,000 hrs; clean quartz tube when changing lamps. UV-C output decreases after 5,000 hrs.
Switch off power, stop water flow, and drain the unit by dismounting water connections before maintenance.
Open screw cap carefully; lamp is fixed with socket. Remove lamp gently after opening the cap.
12-month warranty for material/workmanship defects, provided correct installation and usage as per instructions.
Requires original invoice or receipt showing dealer name, model number, and date of purchase, or a Guarantee Card.
Warranty void if numbers altered, unauthorized repairs made, or damage caused by accident, misuse, or neglect.
| Brand | Aqua Medic |
|---|---|
| Model | Helix Max |
| Category | Aquariums |
| Language | English |