16
ASSEMBLY
1) Locate a at, dry area with access to the launch site. To prevent damage to your kayak
do not set up on sharp, pointed rocks, shells or coral. The kayak should be carried into
position. Dragging or sliding the product over ground, either before or after ination, can cause
permanent damage.
2) Unfold the kayak completely to prepare for ination. The Side Tube valves are a Boston-type
valve. The valves must be securely screwed into the Ring Plate before ination.
3) Inate the Side Tubes to 2.0 psi (0,14 bar). DO NOT OVERFILL. Once inated, rmly cap
each valve.
4) Next inate the Floor to 6.0 psi (0,41 bar). The valve is a halkey-roberts type valve. Inate
with the oor valve closed. Once inated, rmly cap the valve. DO NOT OVERFILL. The valve
must be securely screwed into the Ring Plate before ination.
5) Conrm that the boat looks straight and level. Shifting of the inatable bladders during
transport or ination can occasionally cause the boat to have a slight twist. This condition is
best corrected with one or more bladders partially inated.
6) If twist is present, partially deate the oor and hold the boat by bow & stern handles (best
done with 2 people). Gently shake the boat up and down to re-position the oor, then fully re-
inate the oor. Occasionally it may be necessary to partially deate the side tubes and gently
reposition the inatable bladders by hand. Once in place, follow the original ination order –
side tubes rst and oor second.
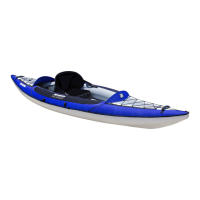
7) Next position the seat(s) in the cockpit. Seat(s) connect to the oor with Velcro. Seats should
be placed so as to evenly balance the boat when in the water. A solo paddler should be slightly
aft of the boat’s center. With two paddlers, the heavier one should sit toward the rear.
8) Once seat position(s) are conrmed, connect seat front straps to the accessory rings
forward of each seat using metal seat clips. Adjust front straps to bring seat back to upright
position.
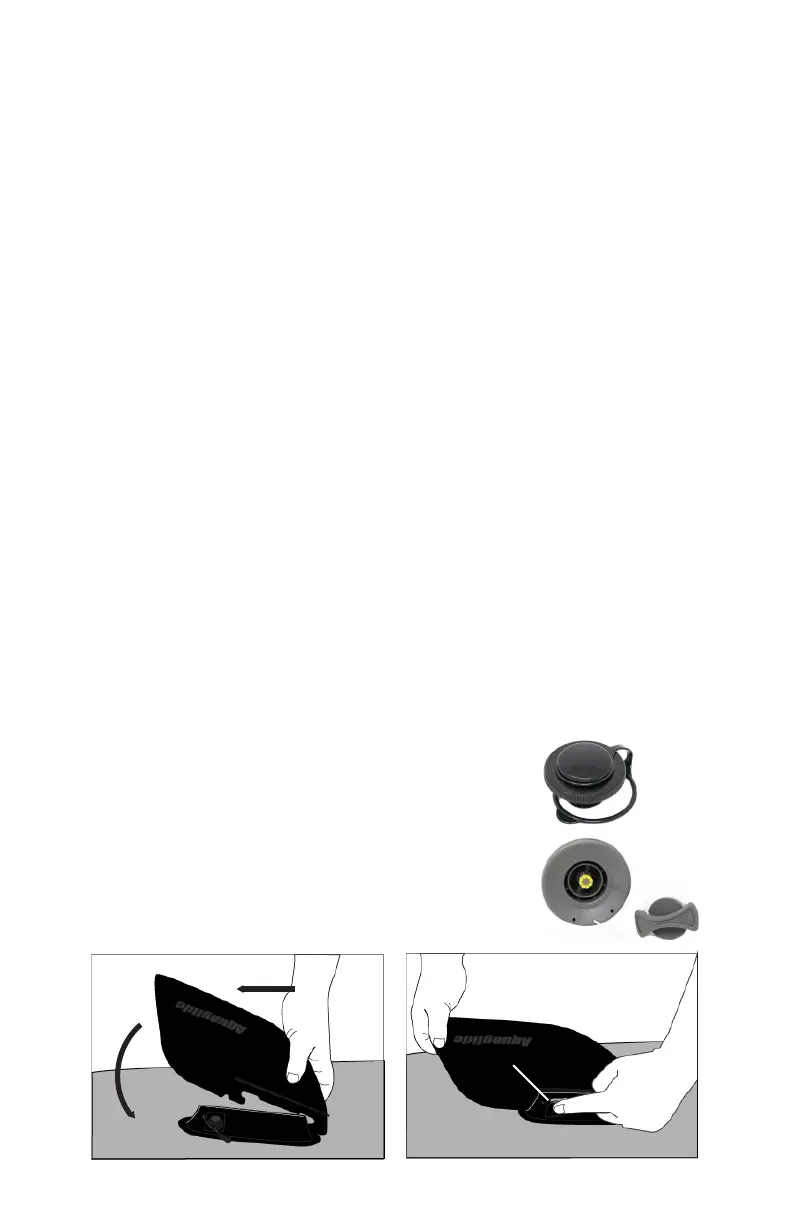
9) To install the n, turn the kayak upside down. Insert the front section of the n into the front
portion of the n box. Pull the n back while pushing it into the n box. When seated properly,
the Quick Release pin, found on a small rope nearby, will slide easily into the hole at the back
of the n box.
Step 1
Step 2
Quick Release Pin
Step 3
Your Aquaglide kayak comes with strategically positioned drain
plugs to allow for quick draining of water. You can choose to
leave the plugs open while paddling to allow for the kayak to
self-bail if you are in water which allows for the bottom of the
kayak to be exposed to air. However, if you are paddling in at
water, it is suggested to keep these drain plugs closed. You can
easily screw the drain plug to open or close when you choose
to drain water from our kayak.
Halkey-Roberts valve
Drain Plug
Fin Installation
 Loading...