14
Make sure you have all the components before beginning installation.
To prevent damage, attach the motor to the support rod on a soft surface
or use the polystyrene contained in the package.
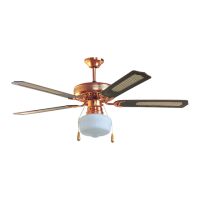
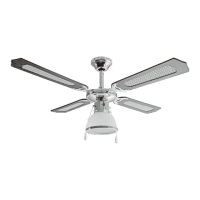
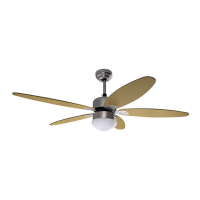
- Open the carton box and take out the fan (fig. 1)
- Assemble the support plate on the ceiling using two or more screw
anchors and appropriate washers. Attention: the provided screw are for
wood joist. (fig. 2).
- Insert the support rod through the upper cap and lower cap.
- Insert the electric cables coming out from the motor through the support
rod and connect them to the screw terminal placed on the top of support
rod. NB: arrange the electrical connection as shown in fig. 3
- Fix the support rod to the motor using the pin and pin’s nut (see
Technical information - n° 7-8).
- Hang the fan on the hook on the support plate and connect the electrical
cable coming from the ceiling to the screw terminal placed on the top of
support rod. NB: arrange the electrical connection as shown in fig. 3
- Slide upwards the upper cap (fig. 4)and fix it with the screw (fig. 5) -
Slide downwards the lower cap; it must be supported by the motor. Fix
it with the screw (fig. 6).
- Remove the plastic retainer of the blades fastening screws located in
the upper part of the motor body as shown in fig. 7.
- Center the slots on the blades with the heads of the blades fixing screws
and slide the blades so that the head of the screws are positioned at the
end of slot (fig. 8)
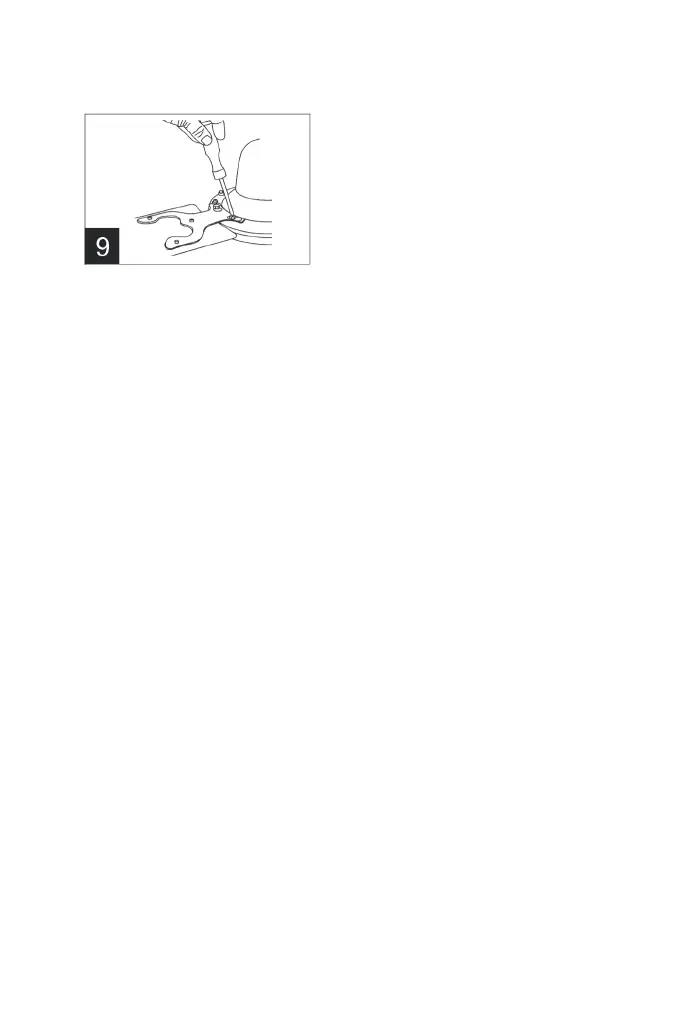
- Tighten the screw (fig. 9)