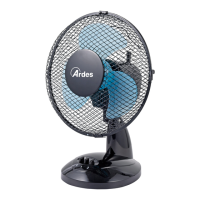
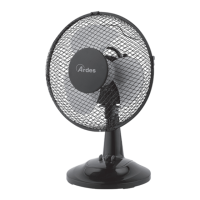
8. Unscrew the locking ring of the rear grille (5) from the motor shaft (7)
by turning it counterclockwise.
9. Insert the rear grille (6) on the motor shaft (7) making sure that the
handle on the back is facing upwards and the locking pins (A-B) are in
the vertical holes of the rear grille. Screw the locking ring (5) by turning
it clockwise.
10. Place the blade (4) on the motor shaft (7) and secure it by turning
counterclockwise the locking ring (2).
11. Insert the fan (4) on the motor shaft (7) and fasten the lock ring (2) by
turning it clockwise.
12. Open the clips of the front grille (1) and place it on the back grille
(6) making sure that the logo on the central stud is placed horizontally,
parallel with the oor.
13. Find the proper position to lock the clips and insert the safety screw
of the grille (3).
11
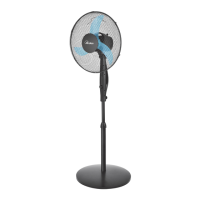
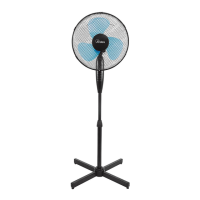
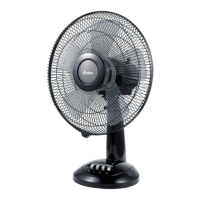
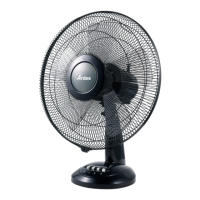
Instructions for use
Place the fan on a at, dry and stable surface, and insert the plug of the
fan in a socket. Select the desired speed by pressing the buttons on the
control panel (10):
0 =off 1 =minimum speed 2 =medium speed 3 =maximum speed
OSCILLATION:
For the automatic oscillation from right to left press the knob (8) placed
on top of the motor. To disable it, pull up the knob.
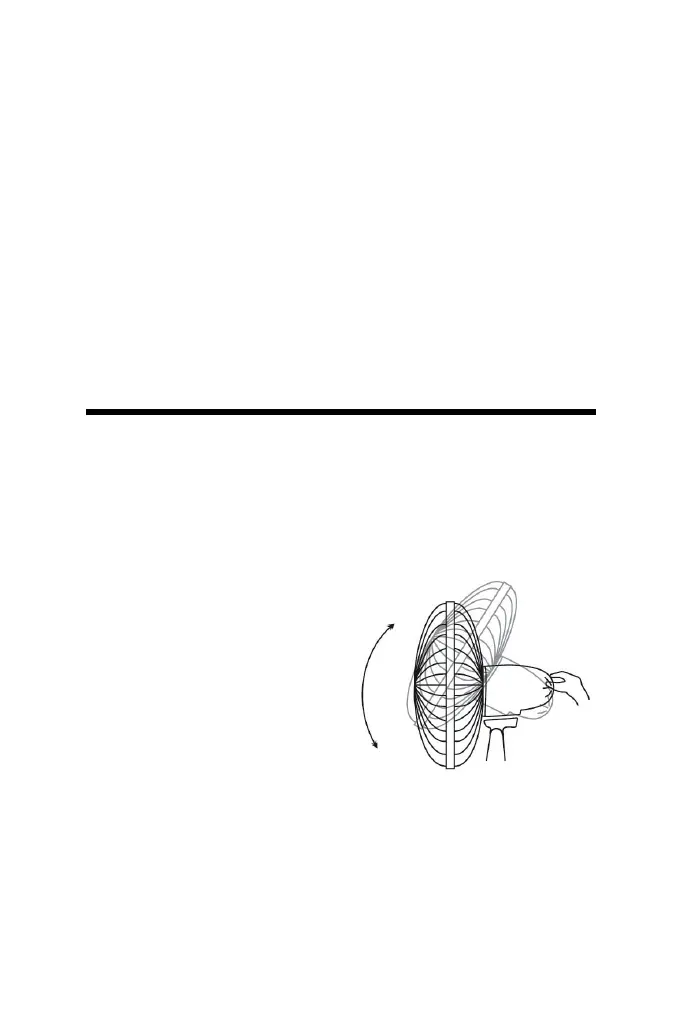
VERTICAL SLOPE:
You can vertically point the front of
the fan choosing the desired angle.
It is sufcient to move the front of
the fan up or down according to the
desired slope.
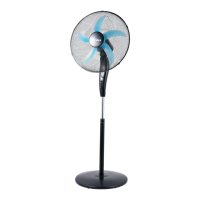
ADJUSTMENT HEIGHT.
Loosen the height adjustment knob (14), then set the desired height for
the fan. Tighten rmly the knob after adjusting the rod.
N.B: this operation must always be carried out while the fan is turned off.