17
Instructions for use
GB
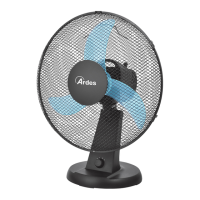
Loosen the lock ring of the base (19) at the underside of the fan main
body; place the main body on the base and secure it with the lock ring
of the base (19). For easy movement, insert the wheels (20) into their
designated places and push in rmly to secure. Loosen the lock ring
of the fan (4) from the motor shaft (8) by turning it clockwise. Loosen
the lock ring of the back grille (6) from the motor shaft (8) by turning
it anticlockwise. Place the back grille (7) on the motor shaft (8) lining
up the round holes in the back grille with the locating lugs on the front
motor cover (9). Fix the back grille using the lock ring of the back grille
(6), turning it clockwise. Tighten the lock ring rmly, but do not force it.
Slide the fan (5) onto the motor shaft (8): the groove in the center of the
fan blade aligns with the “T” bar on the motor shaft (8) to ensure correct
positioning. Fix the fan using the lock ring of the fan (4) by turning it
anticlockwise. Unscrew the 3 screws (3) at the back of mist plate (1) and
use them to x the mist plate in the center of front grille (2). Now x the
front grille (2) to the back grille (7), holding them with the locking ring (21).
Tighten the screw at the bottom of the locking ring to secure the grilles
together. To t the parts together insert the support pole (13) into the hole
on the top of the main body until you cannot push it in any further. The
small dent in the pole should be aligned with the screw hole at the back
of the main body. Insert the fastening screw (14) and tighten it rmly, in
clockwise direction, to secure the fan head and motor to the main body.
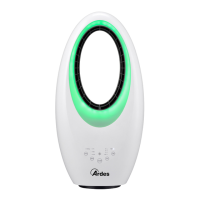
Connect the mist tube (22) to the mist plate (1).
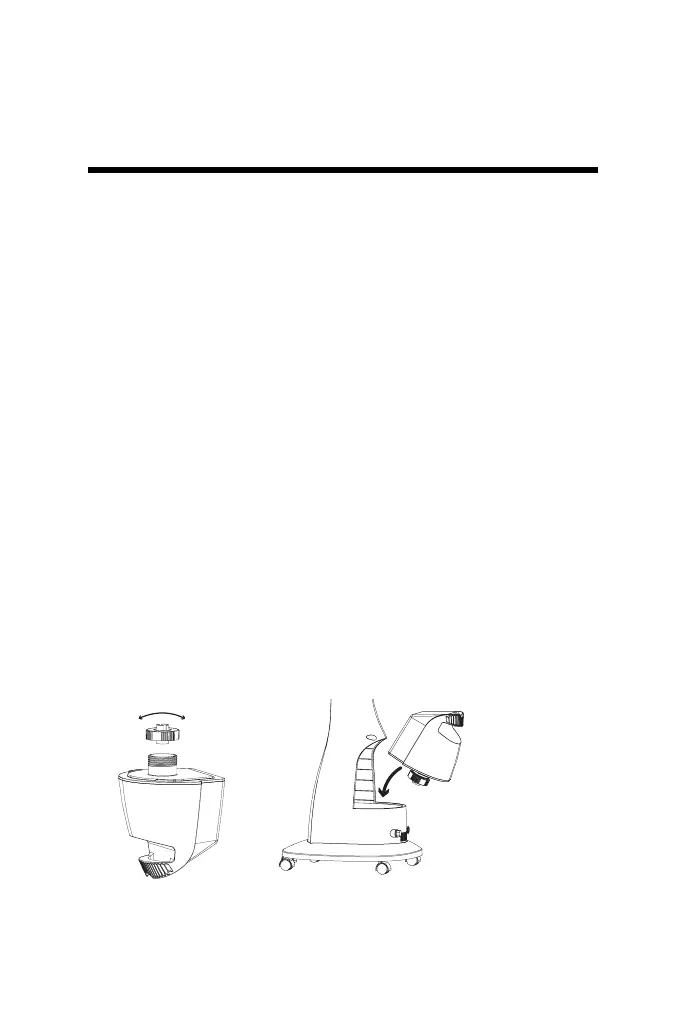
Fill the water tank:
Unscrew the valve cover to open the tank turning it anticlockwise, ll the
tank with cold and clean water making sure not to overll it. To close the
tank, screw the valve cover back on securely turning it clockwise. Turn
the tank over and place it back into its designated space at the back of
the fan main body.
TightenLoosen