23 / 28
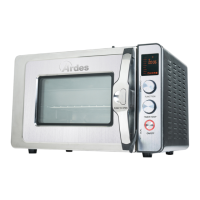
- TIMER/TEMP knob (6)
TIMER/TEMP function are in the same knob.
By pushing this knob, you can switch from time setting to temperature setting
(and the opposite).
When you turn the knob, the Timer or Temp will change as you desired.
Temperature can be adjusted even during cooking.
Note: timer and temp values might not increase or decrease if the knob will be
rotated too fast.
- ON/OFF button (7)
Press this button in order to start or stop cooking.
The ON/OFF button has a signal lamp that shows the oven state:
o LIGHTED OFF: oven is off.
o BLINKING: while program setting.
o LIGHTED ON: cooking or end of cooking.
- Sealing Lever (8)
Your oven has the ability to cook in STANDARD oven mode (STATIC) or in
PRESSURE mode. Both function have to lower the SEALING LEVER (8) to
the SEAL position.
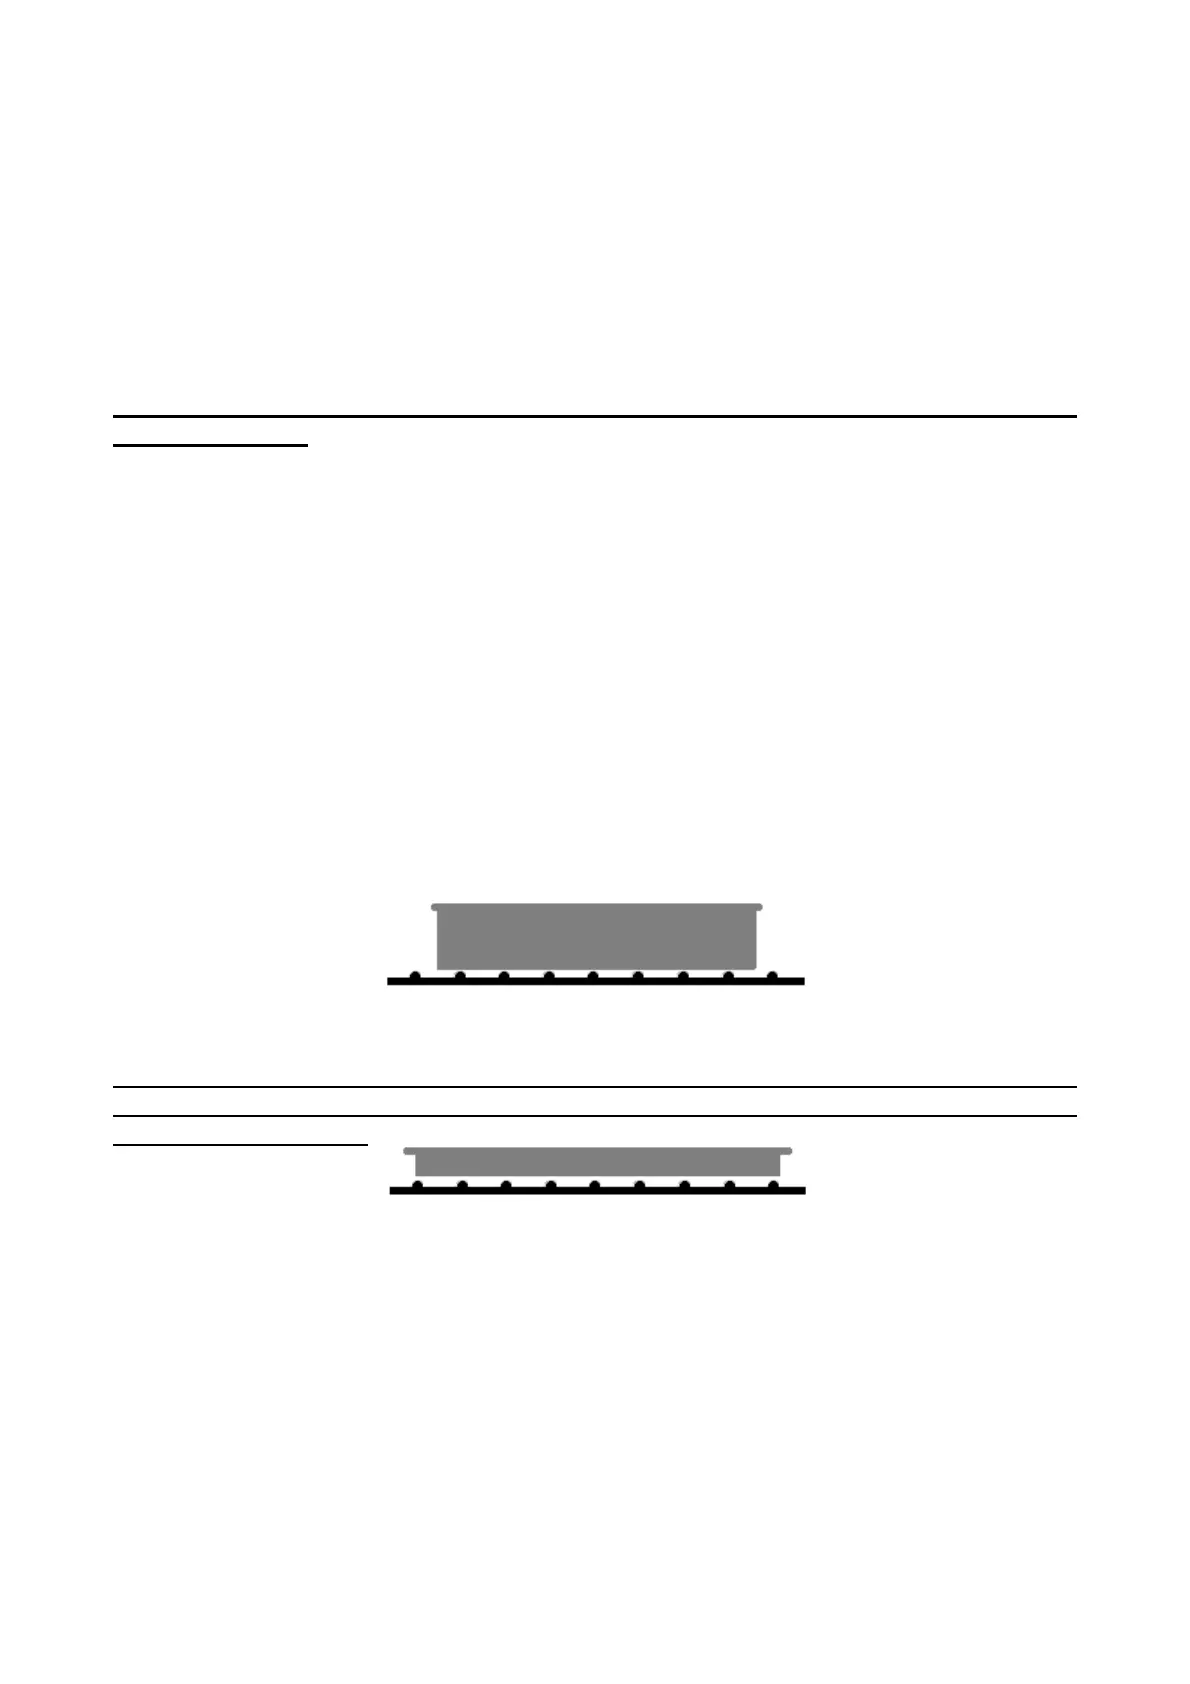
- Roasting pan (9)
When used, the roasting pan has to be placed on the Baking rack (14).
- Drip Pan (10)
When used, the Drip pan (10) has to be placed on the Baking rack (14).
Note: the Drip pan (10) is not intended to come in contact with food to eat; It
can be used to collect cooking liquids during cooking with broil rack insert (12)
or rotating stick (11).
- Chicken rotating stick (11)
Put the stick throug the food in way that the food remains in the middle. Use
the forks in order to lock the food and then place the stick in the holders placed
in the middle of the cavity.
- Broil Rack Insert (12)
When used, it has to be placed on the roasting pan (9) or on the Drip/Baking
pan (10).
- Crumb tray (13)
 Loading...