EasyManua.ls Logo

Arduino ESP 8266 User Manual

Arduino ESP 8266
11 pages
To Next Page IconTo Next Page
To Previous Page IconTo Previous Page
Page #5 background image
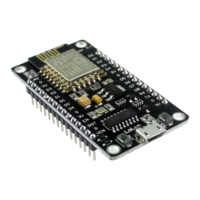
ESP8266 Quickstart Guide
5
Please note: (Solution example provided at the end of document)
Arduino 8266 LED_BUILTIN:
DigitalWrite HIGH -> LED off;
DigitalWrite LOW -> LED on;
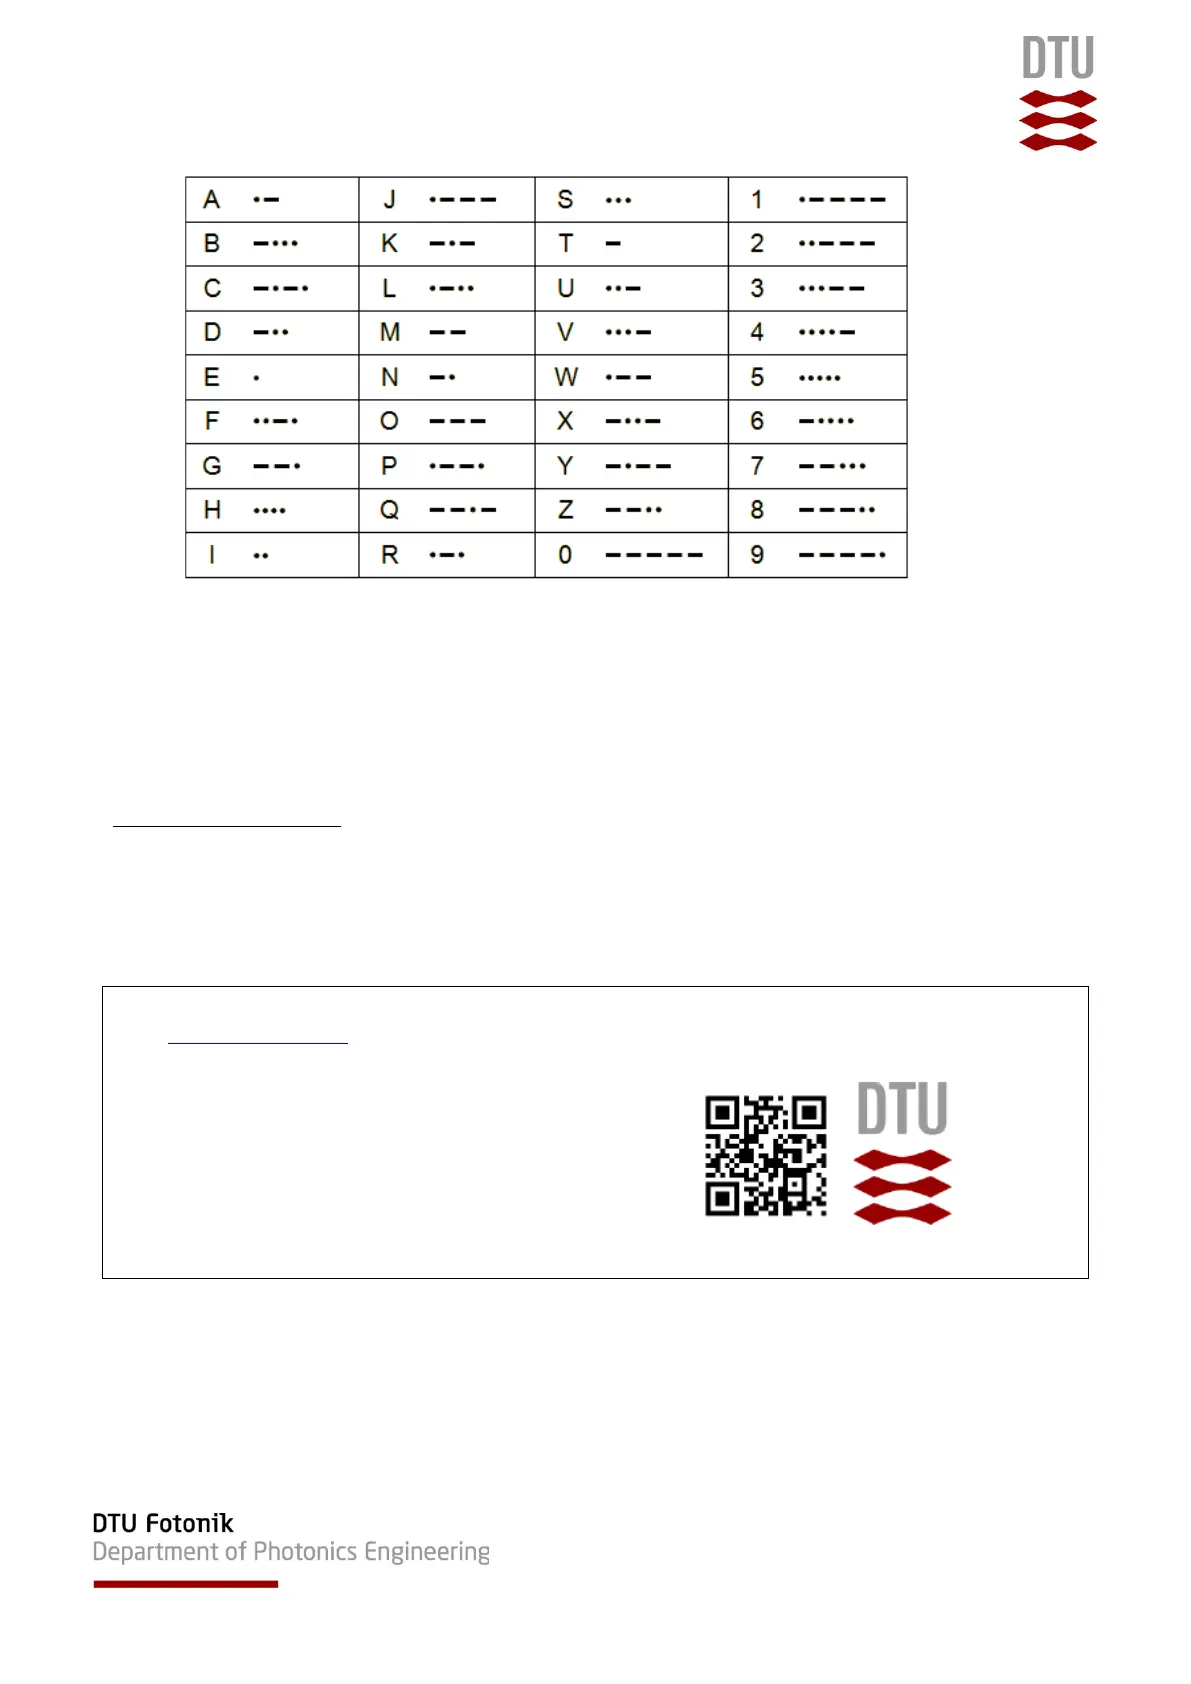
Part 4: Morse your name
14. Alter the blink program to Morse your name. Save the Blink program with name:
”Morse_NAME_yourname”
Want to know more about DTU Fotonik: For information on our B.Sc. programme
Go to www.fotonik.dtu.dk on Network Technology and IT, please visit:
Check out our education profile, courses
and research areas.
For questions, feel free to contact
B.Sc. Head of Studies Henrik Wessing at
hewe@fotonik.dtu.dk
We hope to welcome you as our future students
For High Schools, we offer:
- Workshops on Internet of Things programming with Arduino
- SRP projects (Build your own Earthquake Warning System)
Please contact: Sarah Ruepp (srru@fotonik.dtu.dk) or Martin Nordal Petersen (mnpe@fotonik.dtu.dk)
Question and Answer IconNeed help?

Do you have a question about the Arduino ESP 8266 and is the answer not in the manual?

Arduino ESP 8266 Specifications

General IconGeneral
MicrocontrollerESP8266
Operating Voltage3.3V
Flash Memory4MB
Wi-Fi802.11 b/g/n
Analog Input Pins1
Clock Speed80 MHz

Summary

Setting up the Arduino Environment

Add ESP8266 Board Manager URL

Add the ESP8266 board manager URL to Arduino IDE preferences for installing ESP8266 boards.

Configuring Arduino IDE for ESP8266

Install ESP8266 Board Libraries

Install the ESP8266 board package via the Arduino IDE's Board Manager.

Select NodeMCU Board

Choose the NodeMCU 0.9 (ESP-12 Module) from the Arduino IDE board selection menu.

Select Correct COM Port

Identify and select the correct serial port for your Arduino board in the IDE.

Configure Upload Speed

Set the upload speed for programming the ESP8266 board in the IDE.

Running the Blink Program

Load Blink Example Sketch

Open the default Blink example sketch from the Arduino IDE's examples menu.

Understand Blink Sketch Functionality

Analyze the Blink sketch code and verify the LED blinking behavior.

Morse Code Programming

Implement Morse SOS Program

Modify the Blink sketch to create a Morse code SOS signal.

Implement Morse Name Program

Adapt the Blink sketch to transmit your name using Morse code.

Appendix: MAC User Setup

Install MAC USB Driver

Download and install the necessary USB-UART driver for macOS users.

Related product manuals